
Start With the Fabric Mix, Not the Garment Colour
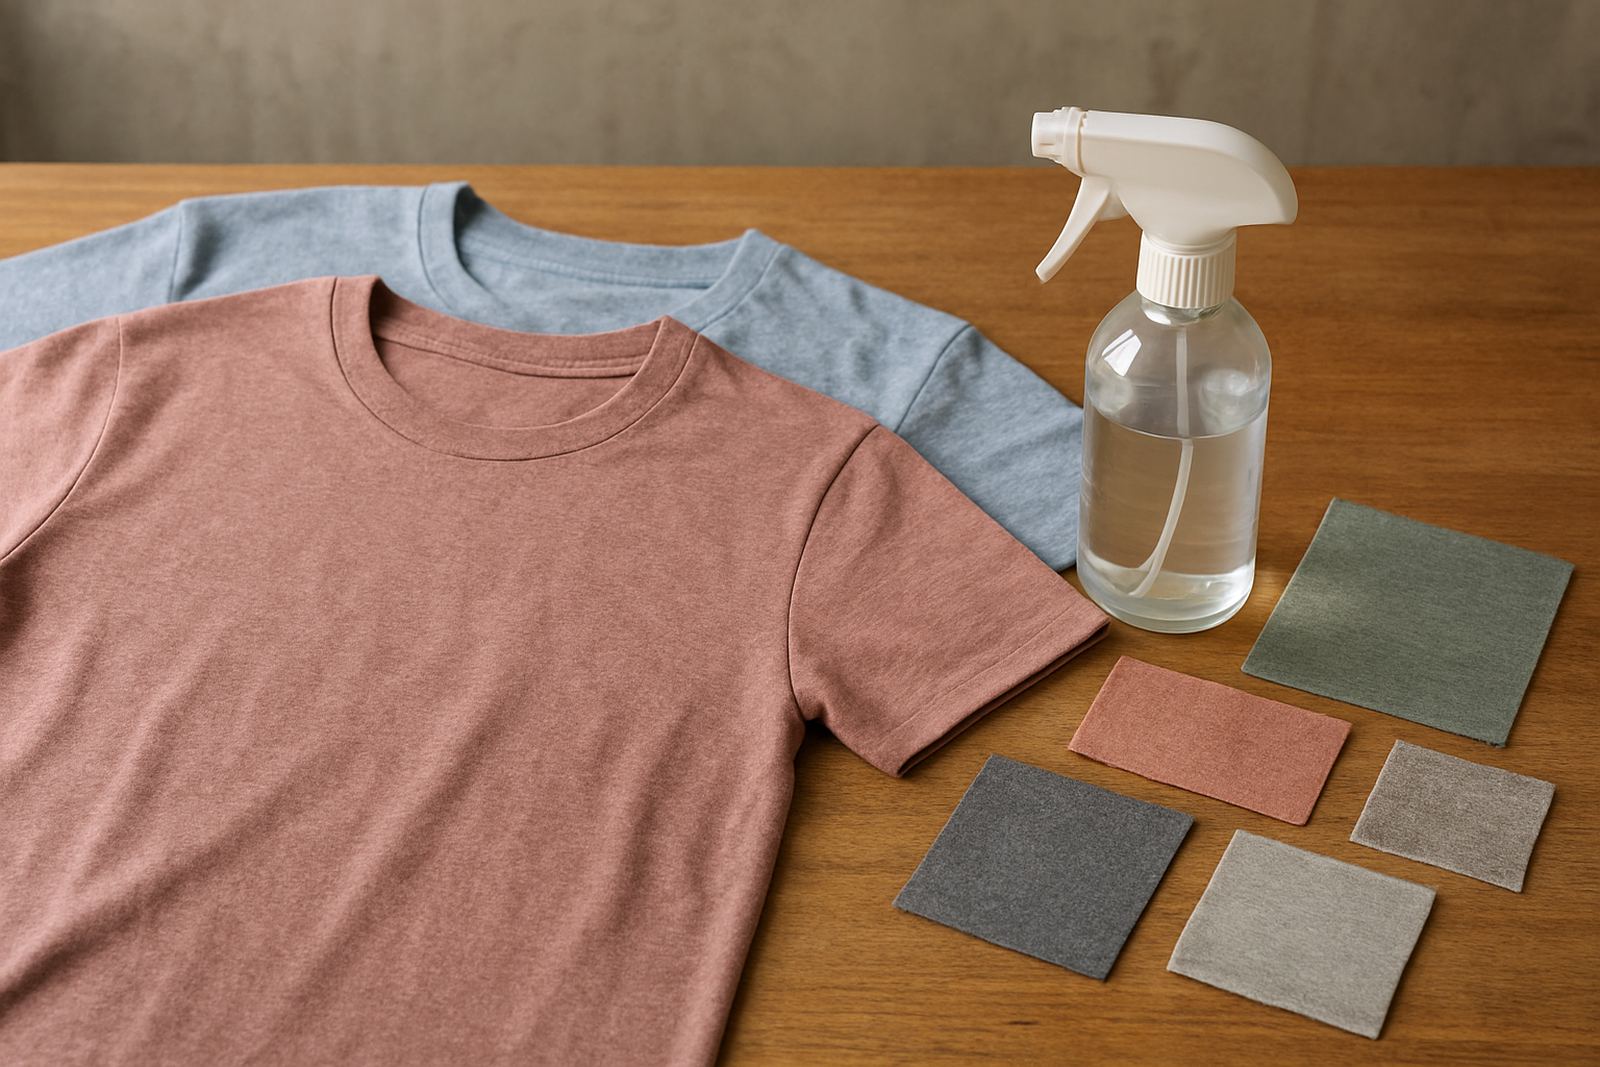
Before you pour a drop of pretreat, confirm what the garment is made from. A 60/40 cotton-poly shirt behaves differently from an 80/20 blend, and even two black tees from the same supplier may react differently if the knit weight changes. Cotton fibres take the pretreat more readily, while the polyester side can cause strike-through, ghosting or a slightly uneven print face if the application is too heavy.
In Johannesburg and surrounding areas, many shops move between winter dry air and summer humidity, so keep your stock in a clean, dry room and let garments settle before printing. If the shirt has been packed tightly in a carton or trucked in from Durban, unfold it and give it time to relax. That small step helps the pretreat sit evenly instead of pooling in the seam or collar area.
- Check the fibre mix on the label or supplier note.
- Separate light blends from dark blends.
- Inspect for moisture, folding marks and lint.
- Keep mixed stock grouped by style and size.
Apply Pretreat in a Measured, Even Pass
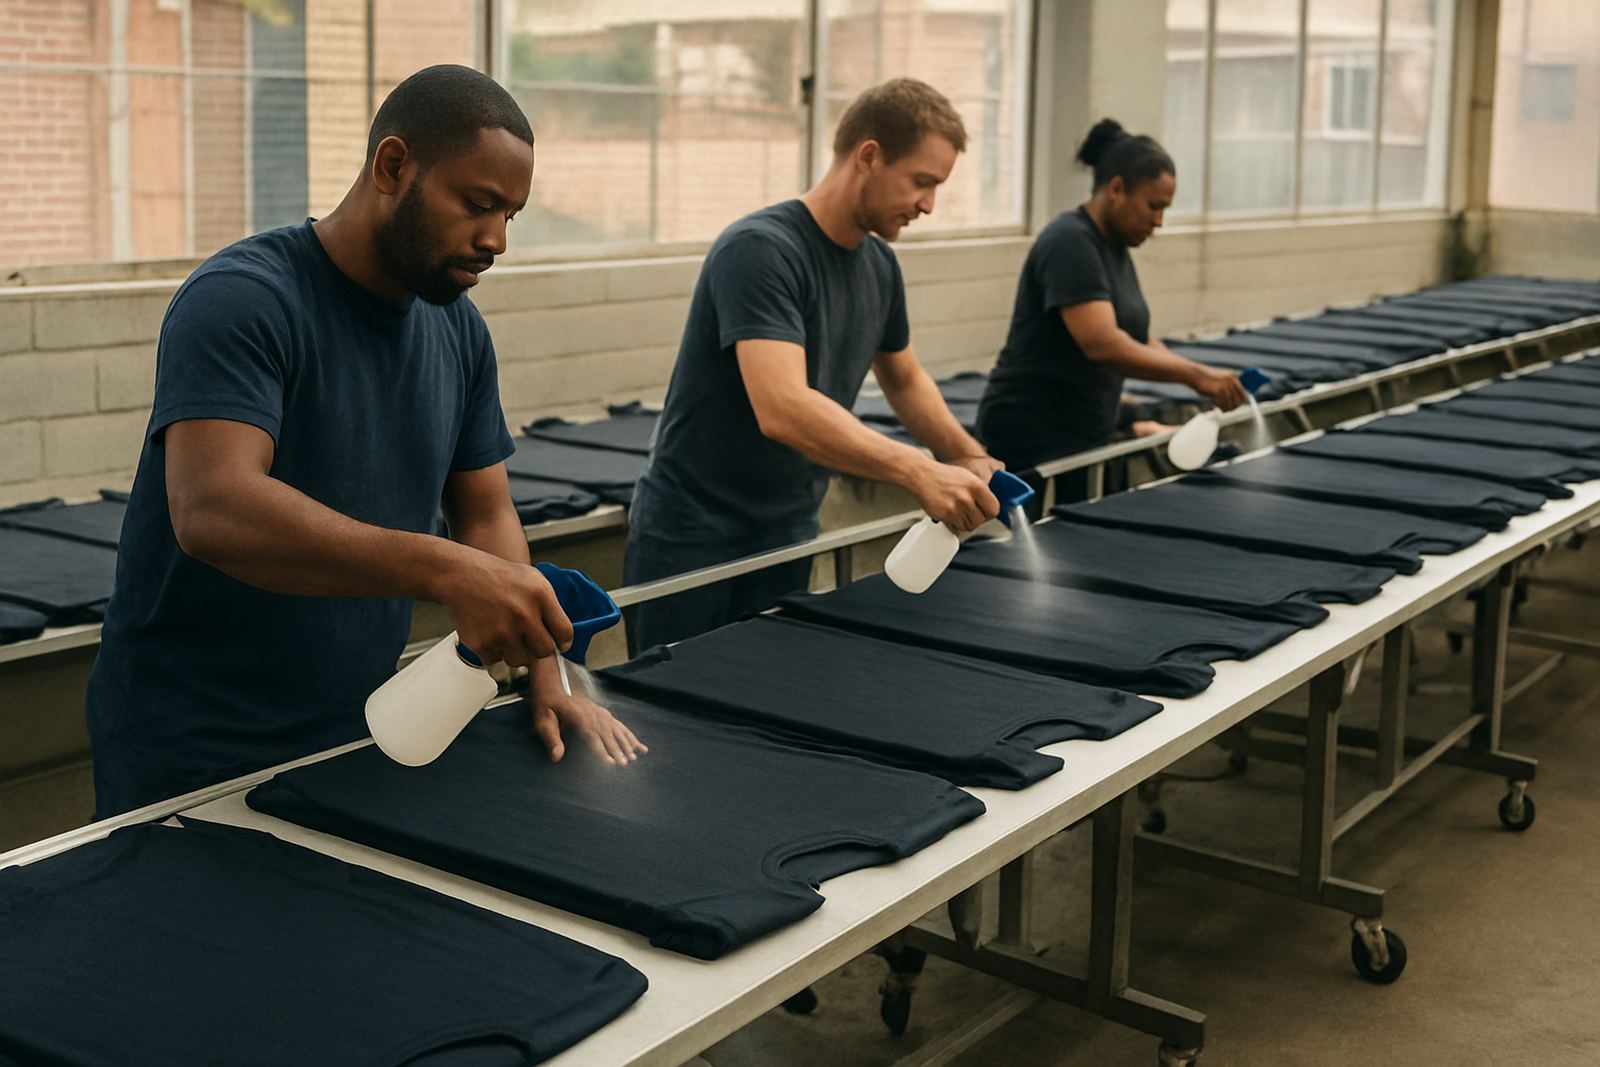
On cotton-rich blends, less is often better than more. Too much pretreat can leave a shiny patch, stiff feel or a visible box around the print area. A light, even pass is usually enough to help white ink or strong colour sit properly on the surface. If your setup changes often, for example when you switch from small chest logos to larger back prints, keep notes for each garment type so your team can repeat the same result.
Use a consistent spray pattern or approved application method across the whole run. The aim is to wet the print zone evenly without soaking the fabric. If the shirt has side seams, a pocket or textured knit, adjust your support so the material lies flat and the spray does not miss the corners. In busy shops around Crown Mines, Randburg and Midrand, this is where most waste starts, not at the printer itself.
- Set a fixed application area for each garment size.
- Use the same pass count across the batch.
- Avoid heavy build-up at the edges.
- Keep a sample piece for comparison after curing.
Dry and Cure With Consistent Heat
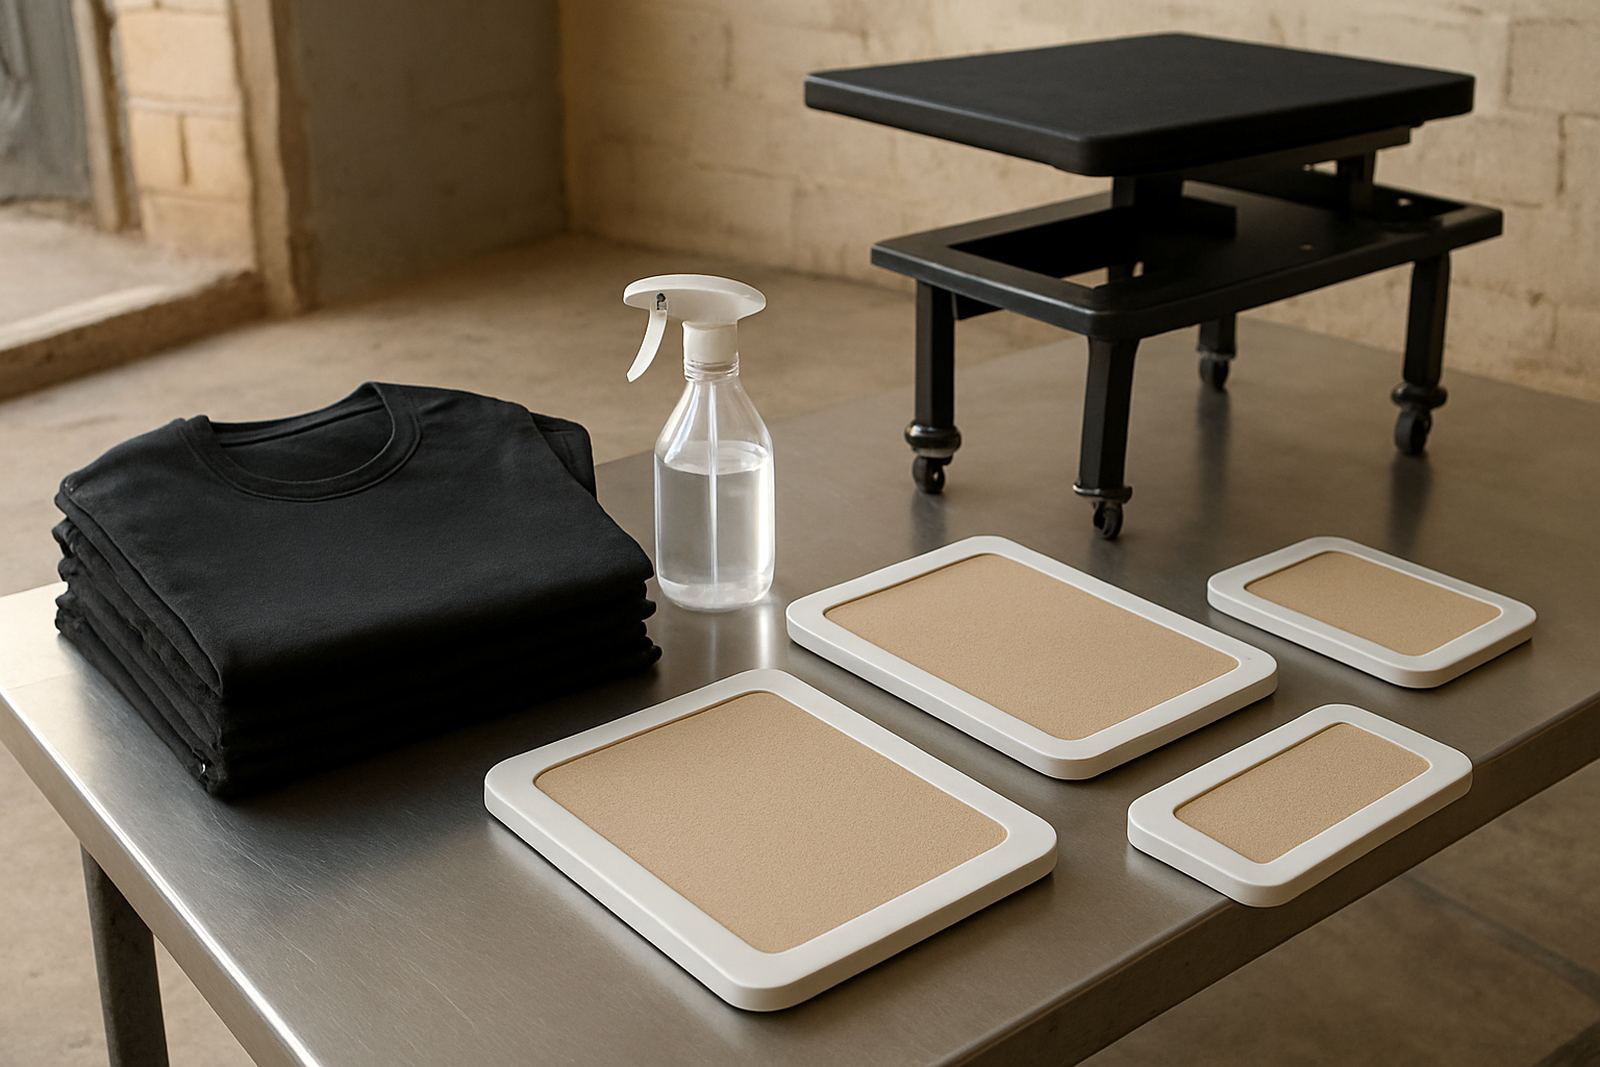
Pretreat that is not cured properly can create damp fibres, dull print edges or patchy finish. On polyblend garments, the curing step needs enough heat to lock the pretreat into the cotton side without pushing the polyester into a glossy state. A flat, stable platen and good contact are important here. If the garment lifts or wrinkles during the cure, the print later shows it.
For most shops, the right answer is consistency rather than speed. Use the same dwell time, same pressure and same loading position from one shirt to the next. If load-shedding is affecting the day, build your workflow so the pretreat and cure area can restart cleanly after power returns. Do not guess at the first garment after a stop. Test it, then carry on. It saves a lot of scrap.
- Confirm the garment is fully dry before printing.
- Check that seams and collars are not sitting under pressure.
- Use a sample after any power interruption.
- Record time, heat and pressure for each garment type.
Load the Garment So the Print Area Sits Flat
Polyblend garments move more than heavier cotton items, so placement matters. If the shirt is not seated properly on the platen, the print can drift a few millimetres and that becomes obvious once the transfer is cured. A steady fit is especially important for left chest logos and repeat runs where customers expect exact positioning across all sizes.
Take a moment to smooth the front panel and check the neckline, side seams and hem before you print. If the shirt has stretch, avoid pulling it too tight over the platen because it can relax after printing and change the image shape. For seasonal work, like school wear in Pretoria East or promotional runs in Sandton, a quick setup check before each batch keeps the whole line calmer and the output more reliable.
- Align the shirt to the same centre point every time.
- Flatten seams before printing.
- Keep stretch even across the chest panel.
- Recheck after each garment size change.
Watch for Common Polyblend Faults Before They Grow
Most faults on cotton-rich blends show early if you know what to look for. A pale print face can mean the pretreat was too light or the garment was not cured properly. A shiny square, on the other hand, often means too much pretreat or too much heat. If the print edges look fuzzy, check for lint, excess moisture or movement during the print pass. These small faults are easier to correct at sample stage than after a full run.
Keep one tested sample from each fabric mix, especially for garments that you reorder often. That reference piece helps your operator compare a new batch from the same supplier, which is useful when fabric lots change quietly from season to season. It also helps with remote troubleshooting if your team needs support from Crown Mines after hours or between jobs.
- Compare the first print against a kept sample.
- Look for shine, edge blur and colour drop.
- Check the garment after curing and again after cooling.
- Separate faulty pieces immediately so they do not mix back into stock.
Build a Repeatable Shop Routine for Better Output
The best polyblend results come from a simple routine that every operator can follow. That means the same pretreat amount, the same cure settings, the same loading point and the same final check before the shirt leaves the platen. If your team in Durban, East Rand or Centurion works across different shifts, write the steps down and keep them near the pretreat area. One person may know the process by heart, but the shop needs a method that still works when someone is away.
For growing print shops, this routine also makes planning easier. When the order book fills up, your workflow is already set for sample testing, seasonal reconfiguration and production scaling. If you need help with a new garment type, a changing mix of cotton-rich fabrics or a line that is getting harder to control, keep the steps simple and measurable. That is what gives you stable output on the day and fewer repairs later.
- Standardise the pretreat amount for each fabric mix.
- Keep a written check before and after curing.
- Store sample notes by garment style and order type.
- Review the routine whenever stock, staff or output changes.