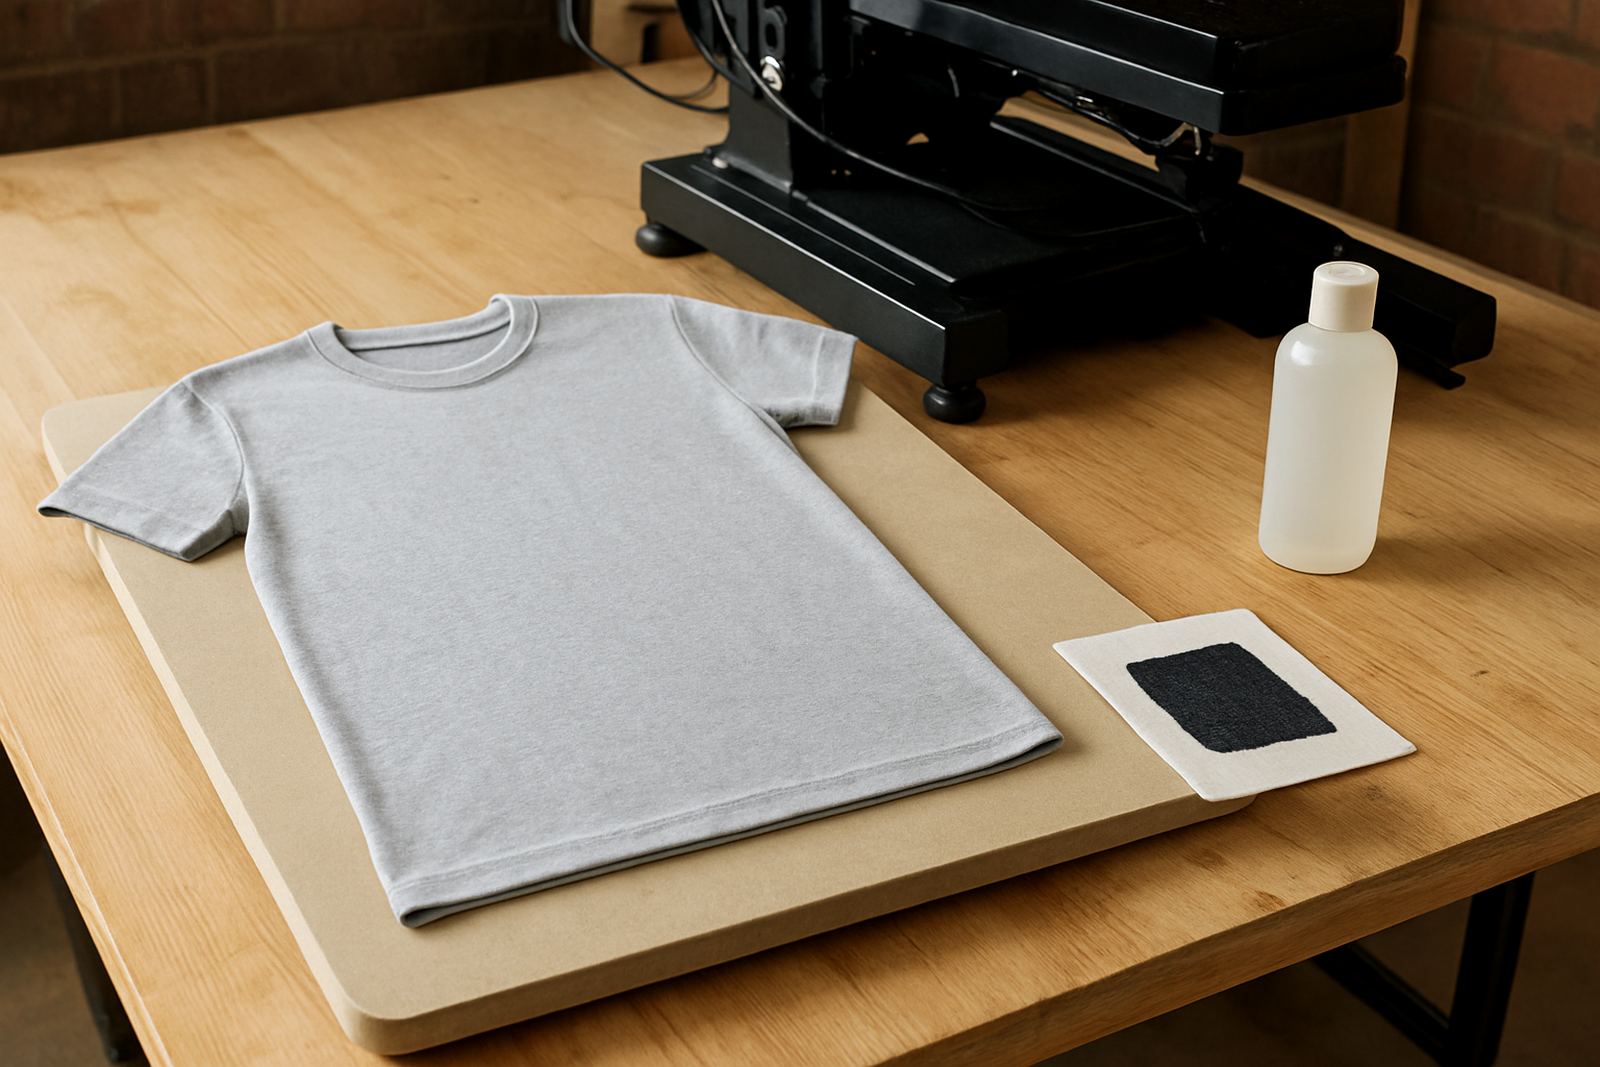

Set Up a Repeatable Pretreat Station
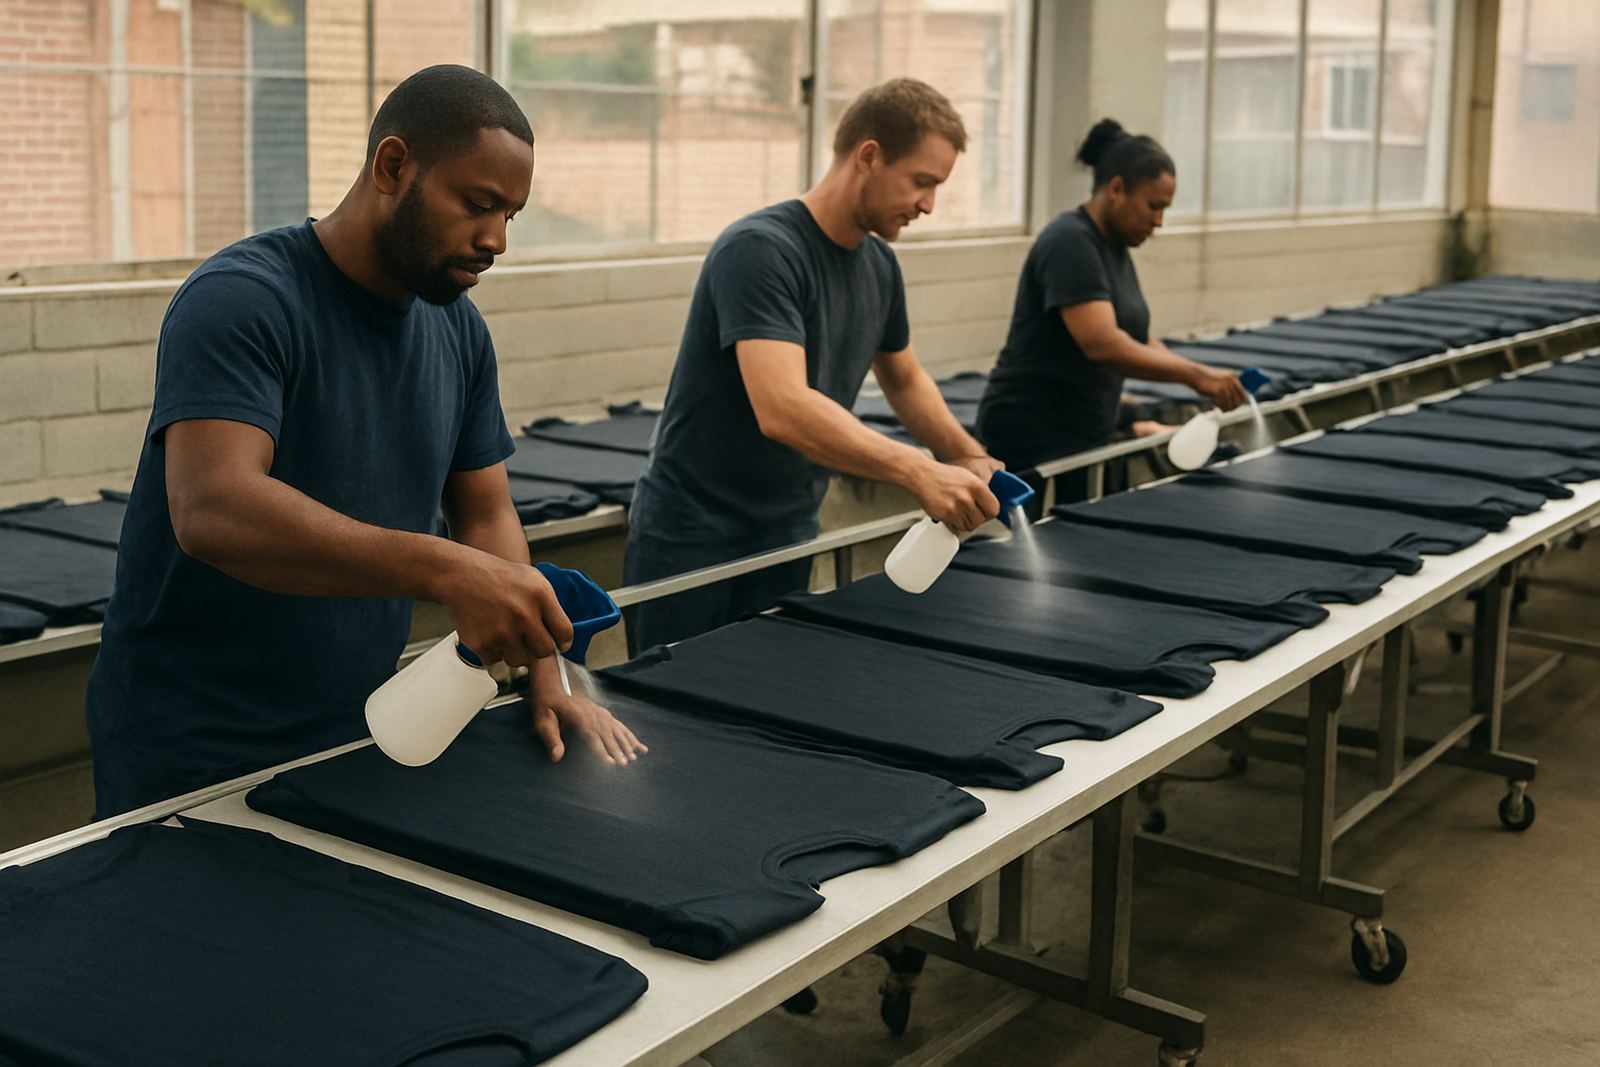
For high volume work, the pretreat area should be treated like a small production line, not a spare table at the back of the shop. Keep the machine, drying area, blank garments and finished stack in one direction so shirts do not double back through the room. In Crown Mines and around Johannesburg, many shops work with limited floor space, so the goal is to reduce walking, handling and waiting time.
Place the pretreat station away from open doors, dusty cutting areas and direct sun. In summer, heat can change how liquid sits on fabric, while coastal humidity can slow drying and make repeat jobs less consistent. If your shop sees load-shedding, keep a clear fallback plan for the spray, dryer and curing sequence so the batch does not stop halfway through.
- Mark one table for blank sorting and one for pretreating
- Keep a separate rack or trolley for wet and dry garments
- Store different shirt sizes in labelled stacks
- Use the same lighting every shift for visual checks
- Keep test shirts nearby for setup changes
Build a Standard Pretreat Mix and Spray Routine
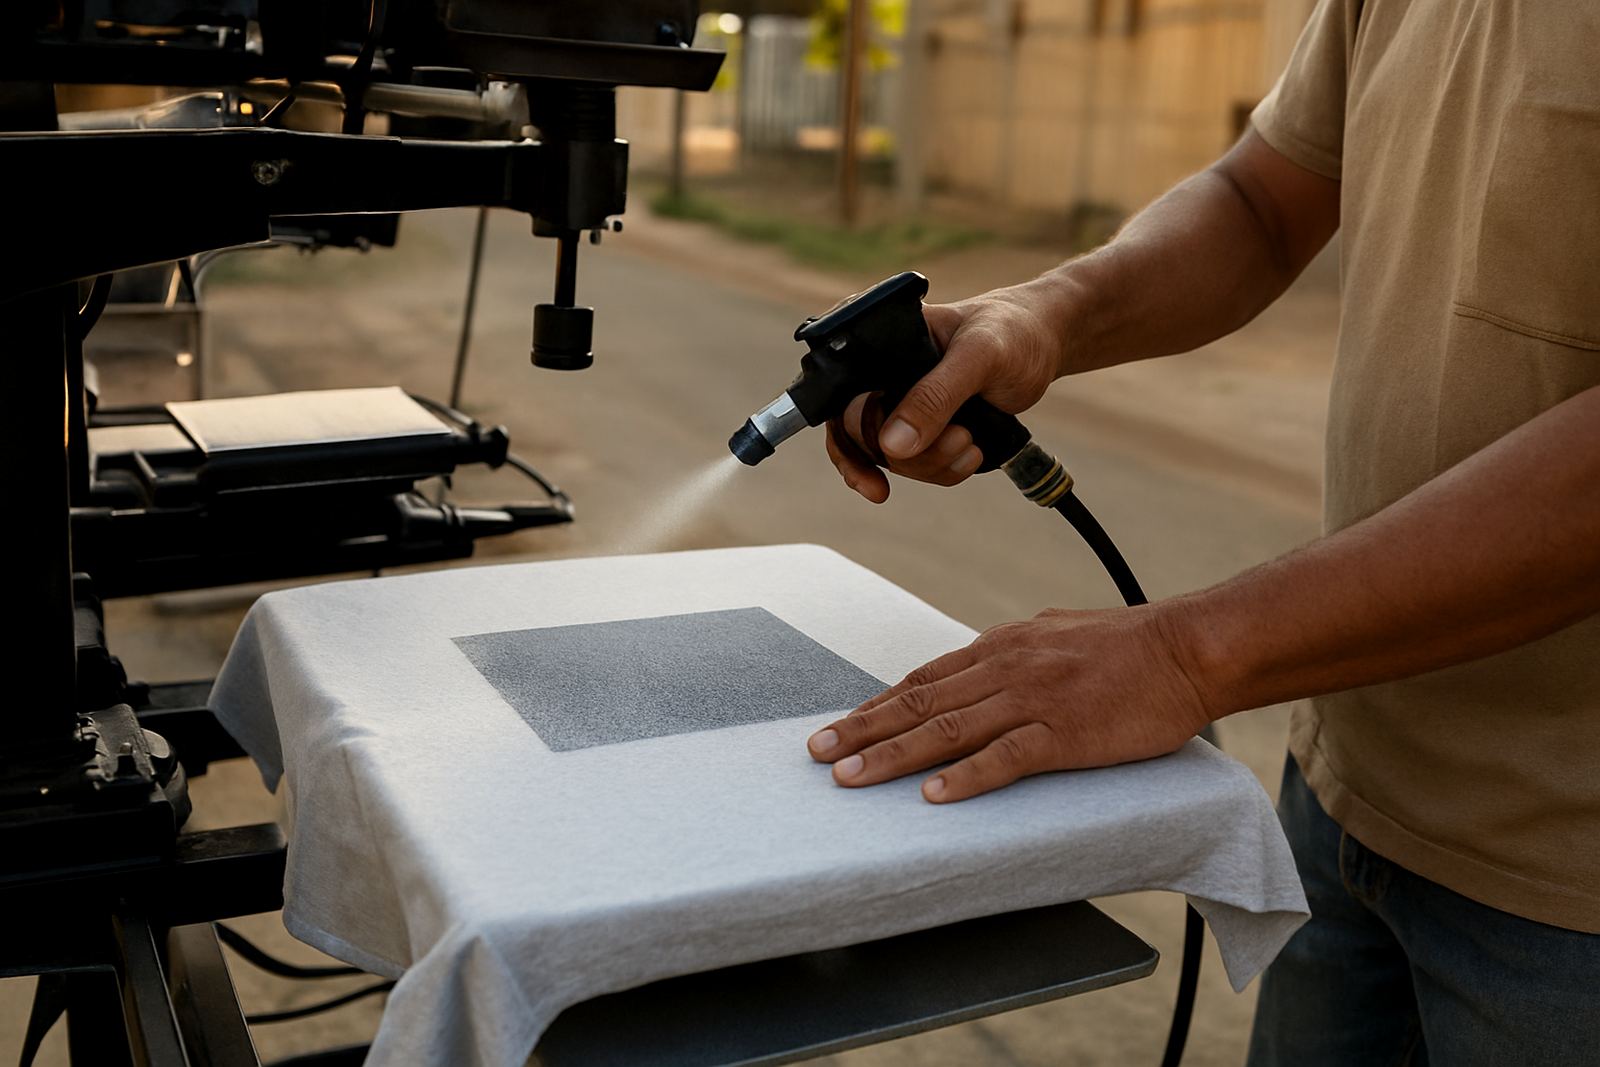
Repeat jobs need repeat measurements. If one operator sprays heavier than another, print results will vary even when the artwork is identical. Start by locking in one mix ratio for each garment type and then record the nozzle setting, spray distance and pass count. That way, the next shift can follow the same routine without guessing.
For cotton tees, work from a simple checklist: shake the bottle, confirm the nozzle is clear, spray in even passes, then check for pooling at the collar or side seams. Heavier hoodies and fleece items need more attention because the surface drinks product unevenly. If the shirt is dark or textured, review coverage in good light before it goes to the dryer. A small mistake in spray weight can show up only after printing, so the visual check matters more than many operators think.
- Use one container per pretreat formula
- Label each bottle with garment type and date mixed
- Record spray distance, usually in hand span or cm
- Keep a written note of humidity or weather changes
- Re-test after nozzle cleaning or formula changes
Drying Time, Heat Control and Queue Management
The drying stage is where many busy shops lose time. If garments leave the pretreat station too wet, the print can bleed or sit dull. If they are over-dried, the surface can become stiff and affect ink laydown. For repeat orders, decide on one drying window for each shirt type and keep it consistent across the full batch.
Use a simple queue system: pretreat first, dry second, print third. Keep jobs grouped by garment type and colour so the operator does not keep changing settings. This is especially helpful when small businesses in Sandton, Randburg or Midrand are running mixed orders for events, staff uniforms and retail drops in the same day.
- Sort darks, lights and speciality fabrics before pretreating
- Set a maximum wait time before the shirt goes to print
- Check for dry edges and damp centres before stacking
- Keep a backup drying slot for rush work
- Review output after the first 10 pieces, not after 50
Control for Repeat Jobs and Reorders
When the same artwork returns next week or next month, the shop should not have to start from zero. Save a basic job note for each repeat order: garment type, fabric blend, pretreat amount, drying time and print placement. This becomes very useful when the customer asks for an extra 40 shirts and wants them to match the first run exactly.
Keep one sample shirt from the original batch if possible. That sample becomes the reference for colour, placement and feel. If you also keep a note of the operator, dryer setting and any unusual conditions, you can spot where a job drifted. This kind of record keeping is not fancy, but it saves time and money when volumes rise.
- File one sample per core repeat client
- Write down press or dryer changes made during the run
- Record any shirt defects before production starts
- Note which batches needed rework and why
Quality Checks Before Shirts Leave the Table
At higher volume, quality control must be quick but consistent. Do not wait until the end of the day to find a wet patch or uneven print area. Inspect shirts in small groups, ideally every 10 to 20 pieces, so problems are caught early. That gives the team time to correct the process instead of scrapping a full run.
Look for three things: even pretreat coverage, dry consistency and correct print position. If you are printing on mixed fabrics, check that the surface feels uniform from shirt to shirt. A quick hand check is often enough, but a visual pass under bright light is just as important. In busy shops, one missed shirt can slow packing and customer handover.
- Check collar, shoulder and side seams for spray buildup
- Feel for cool or damp spots before printing
- Confirm placement against the approved sample
- Separate rejects immediately so they do not re-enter the stack
Troubleshooting Common High Volume Problems
Most pretreat problems in busy shops come from the same few causes: rushed spraying, inconsistent drying, old settings and poor storage. If prints look dull on some shirts and sharp on others, start by checking the spray pattern and humidity. If the print sits patchy on dark garments, the issue may be under-coverage or uneven drying. The fix is usually process control, not more product.
For shops in Pretoria East, Centurion, the East Rand or Durban, the weather can change how the fabric behaves from week to week. Keep your setup flexible enough to handle seasonal changes, but strict enough that the core steps stay the same. If the team is stretched, a short workflow review or onsite support visit can help identify where time is being lost. Sometimes one small adjustment, like changing the order of drying and sorting, makes the whole line move better.
- If prints vary, recheck spray volume first
- If shirts feel stiff, reduce dwell time or heat
- If garments stick together, improve cooling before stacking
- If the batch slows down, split the workflow into smaller groups
A Simple Daily Checklist for Busy Print Teams
Use this checklist at the start of each shift so the team begins with the same standard. It helps new operators, and it also keeps experienced staff from drifting into habits that cost time. For shops doing long runs, the checklist should be short enough to use every day, not only when things go wrong.
- Confirm pretreat formula and garment type for the day
- Test the spray pattern on one sample shirt
- Check dryer heat and available power backup
- Prepare labelled stacks for each order
- Set aside one sample for approval and comparison
- Review the first batch before full production continues
If your shop wants steadier repeat results, the main goal is simple: keep the same steps, in the same order, with the same checks. That is what gives you faster turnaround, fewer reworks and better shirts leaving the floor.