

Start With the Fabric, Not the Spray
Light cotton can look forgiving, but it shows mistakes quickly. Before you mix a pretreat batch, check the garment weight, weave, seam type, and whether it has been stored in a damp storeroom or near open loading bays. In Johannesburg and coastal towns alike, humidity can change how the fabric takes liquid and how fast it dries, so do a quick touch test first.
For best results, keep the garment flat and free of lint. A quick pass with a lint roller helps, especially on fashion blanks that pick up dust in transport. If the garment has been washed or handled a lot, note that absorbency may vary from panel to panel, which can affect the final print area.
- Check for oil marks, loose fibres, and sewing dust
- Confirm the fabric is cotton or a cotton-rich blend
- Test one sample before running a full batch
- Keep the garment dry and flat before pretreating
Choose a Light Hand With Pretreatment
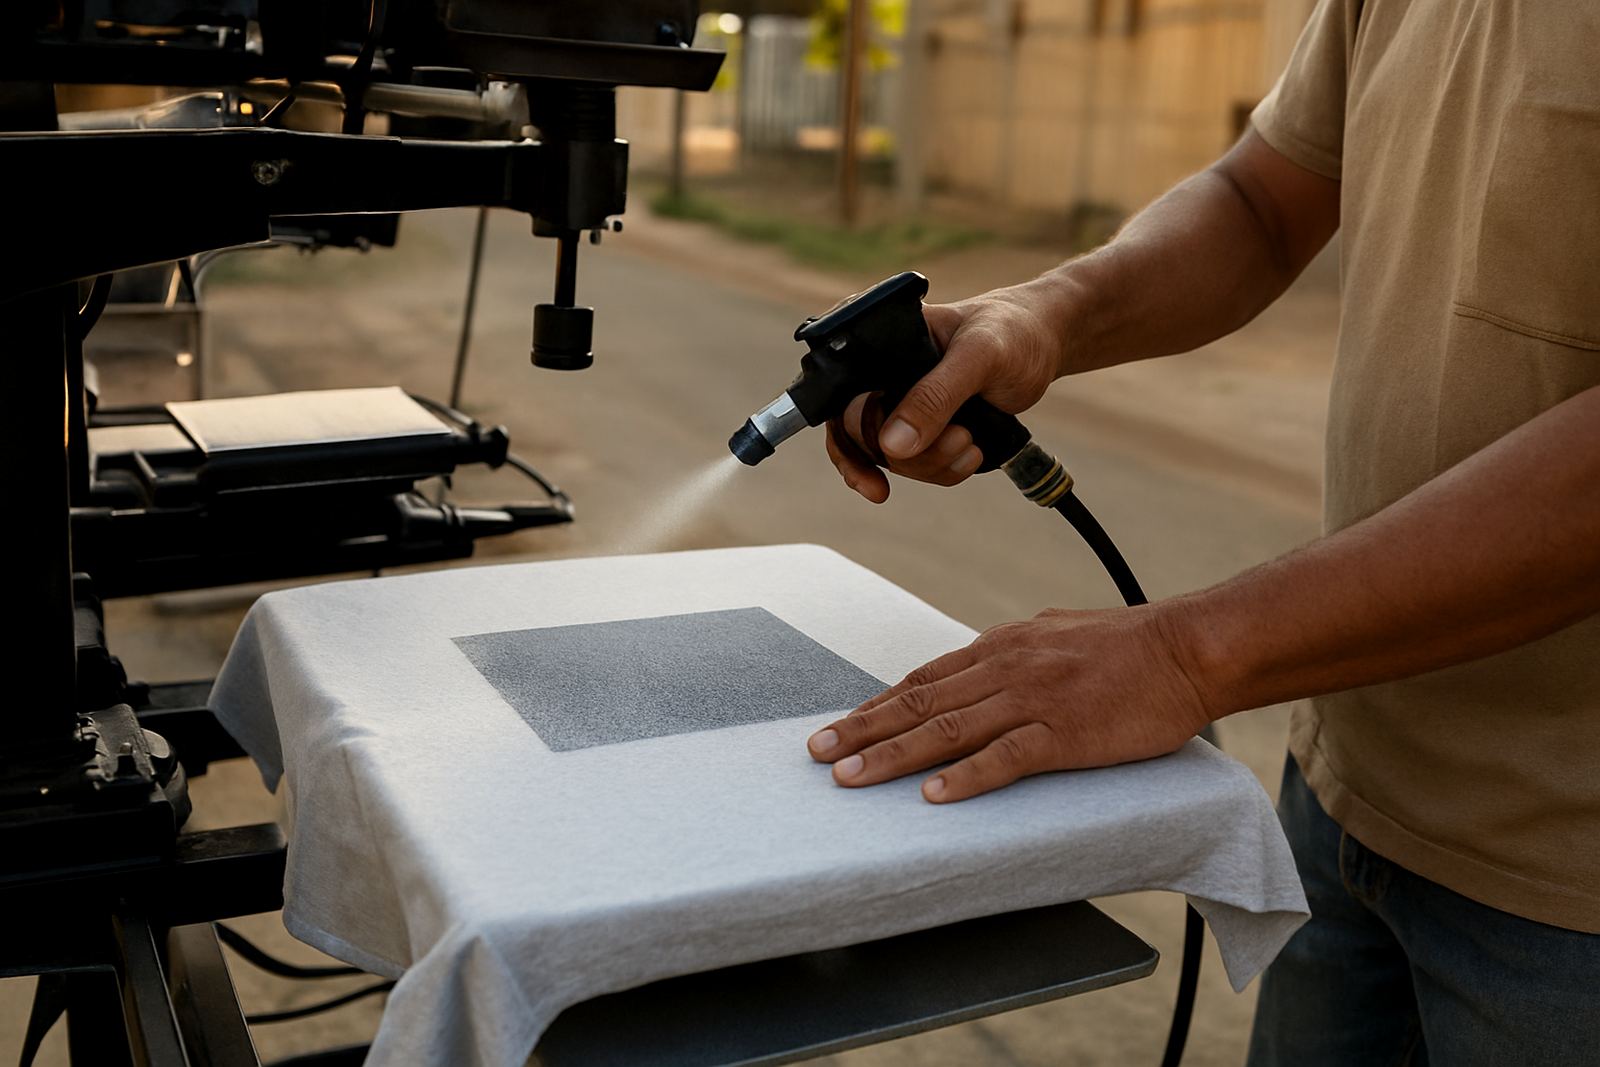
On light cotton, the goal is coverage without stiffness. Too much liquid can leave a hard patch that shows through the shirt after curing, while too little can make white ink sit dull or wash out early. Use a controlled spray pattern and aim for even overlap rather than soaking the fibres. A neat pass is better than trying to fix it later.
A small tabletop press or flat curing area helps you keep the fabric stable. If you work in a hot workshop in Crown Mines or Midrand, avoid leaving treated garments in a pile before curing, because the edges dry first and the centre can print unevenly. The window between spray and cure should be kept short for consistent handling.
- Use a fine, even spray pattern
- Keep the application area consistent from garment to garment
- Avoid wet corners and overspray on seams
- Move straight to drying or curing after application
Drying and Curing Without Hardening the Shirt
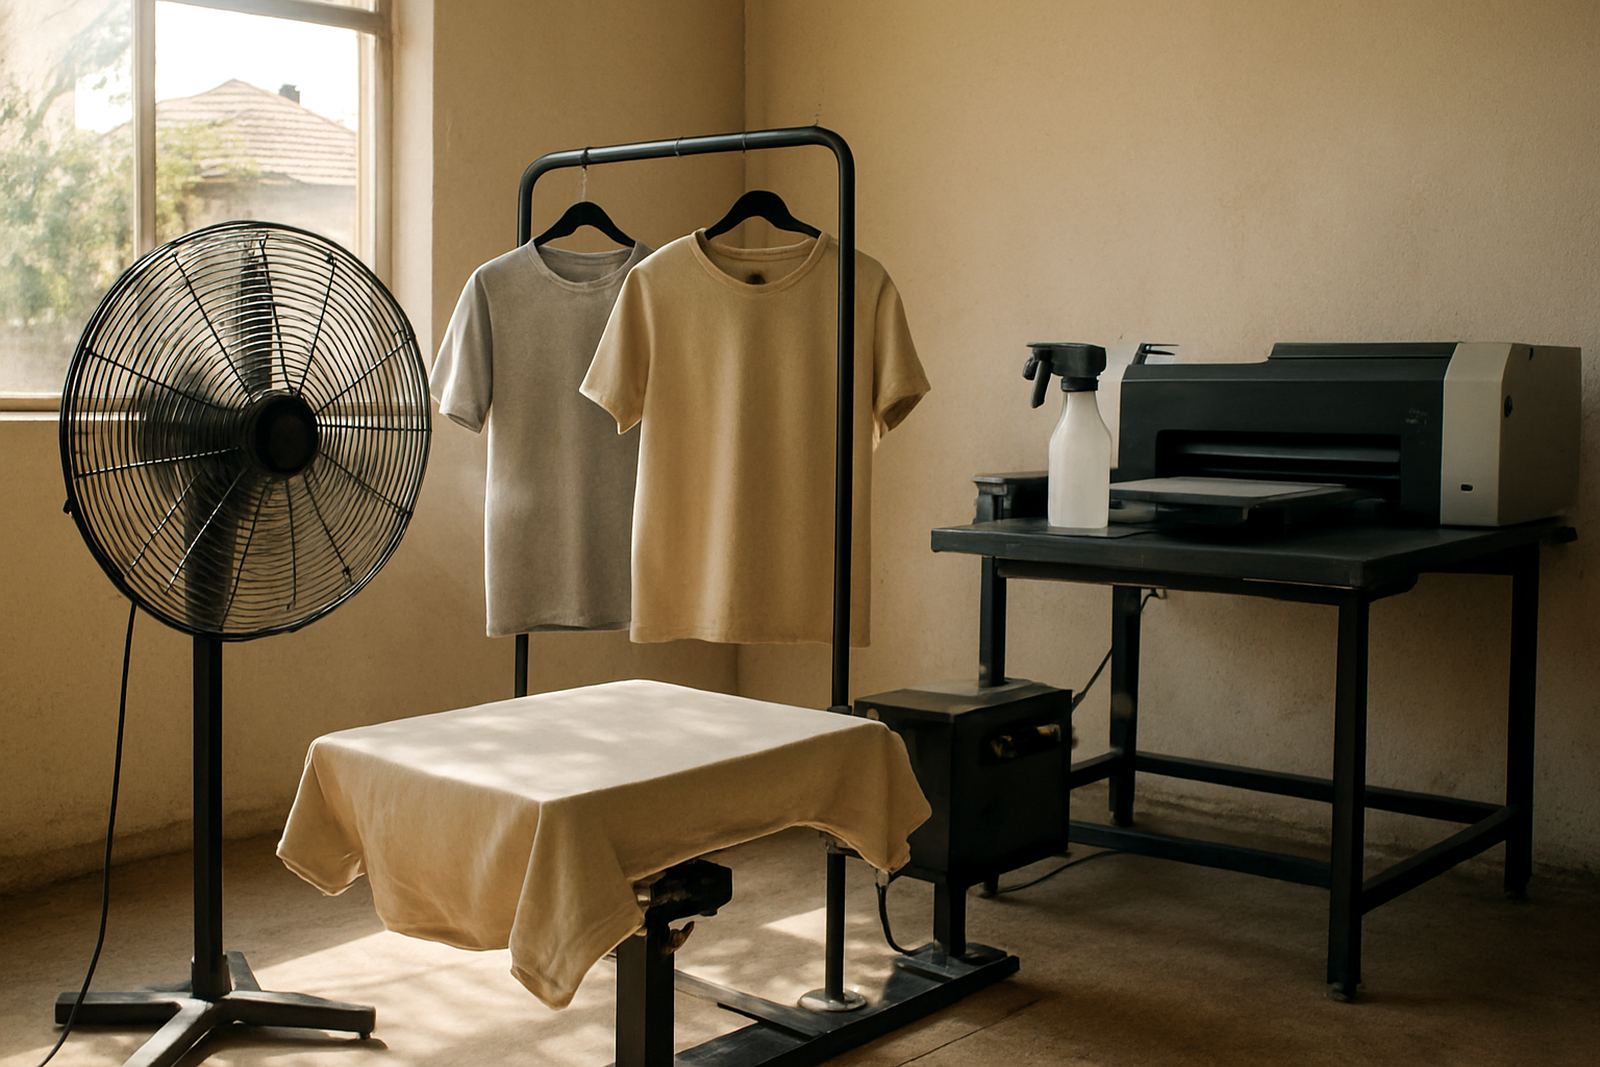
Light cotton wants enough heat to set the pretreat, but not so much that the garment feels boardy. The aim is a dry, even finish before printing, with no damp patch under the print area. If you under-dry, the ink can spread or dull. If you over-dry, the shirt can feel stiff and the printed area may lose softness after wash cycles.
Keep the garment flat under the heater and watch the edges. A simple check is to lift one corner after the cycle and feel for cool spots. If the print area still feels damp, give it a little more time rather than rushing it through to print. Small adjustments here save a lot of rework later, which matters when orders are due for next-day courier from Johannesburg to print shops around the country.
- Dry until the fabric feels fully even, not just warm on top
- Watch seams, hems, and double layers for trapped moisture
- Do not stack treated garments while warm
- Keep a log of time and heat settings for repeat orders
Practical Step-by-Step Workflow
A simple repeatable workflow helps your team keep pace on busy weeks, especially when you are handling promo tees, small fashion runs, or reorders for events. Start with garment prep, then spray, dry, check, and print. Keep each station tidy so there is no mix-up between untreated and treated stock. When the flow is clean, there is less waste and fewer returns.
For shops that move between light cotton, dark cotton, and blends, label the pretreat station clearly and keep sample garments nearby for testing. Sipho Dlamini often reminds operators that the best workflow is the one your team can repeat on a Monday morning after load-shedding or on a Friday rush before dispatch. That consistency matters more than chasing fancy settings.
- Flatten the garment and remove lint
- Apply pretreatment in one even pass
- Dry or cure fully before printing
- Do a quick visual check under bright light
- Print, cure, then inspect the finish
Checklist for Cleaner Output on Light Cotton
Use this checklist before every run. It keeps the process quick and helps your team catch issues before they become costly. A few seconds of checking can save a whole batch when the order is due for a client in Sandton, Randburg, or Pretoria East.
- Garment free of dust, oil, and creases
- Pretreat applied evenly across the print zone
- No heavy build-up at the edges
- Fully dry before ink is loaded
- Heat settings recorded for future runs
- Sample printed and checked for hand-feel
If the print feels heavy or the white looks patchy, step back and check the pretreat stage first. The issue is often there, not at the printing stage. A quick sample test on the same fabric type gives you a much better read than guessing from a previous job.
When to Ask for Support or Reconfigure the Line
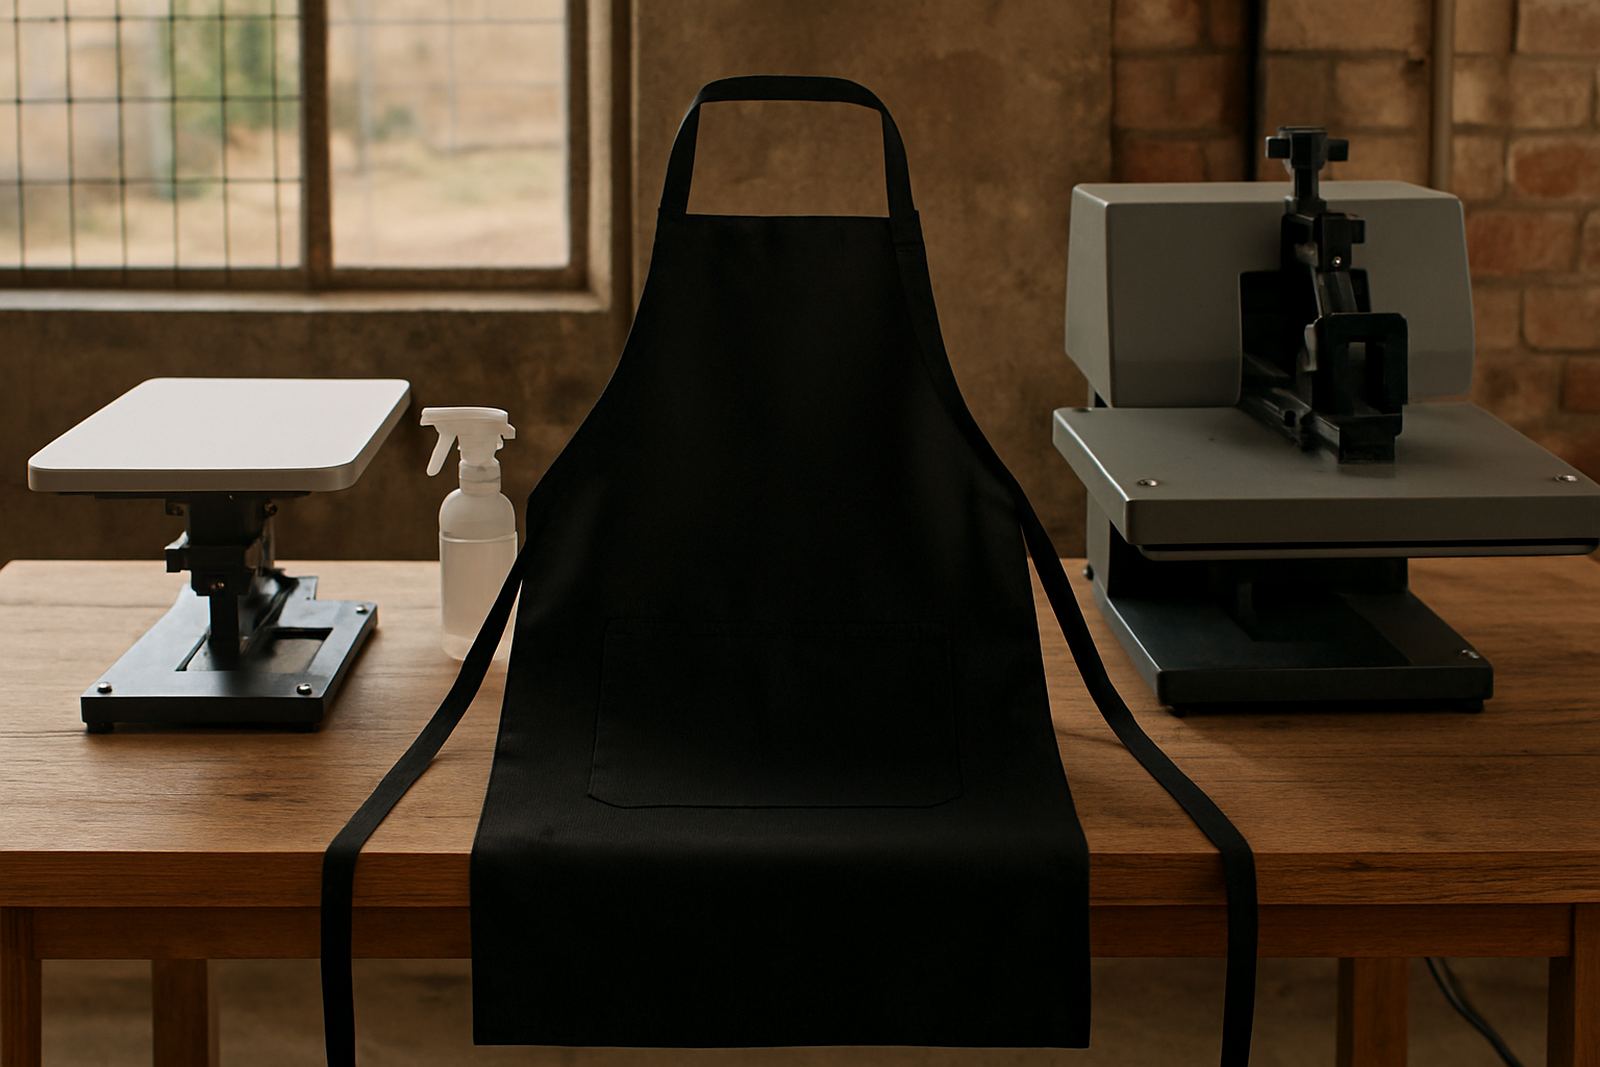
Some light cotton work is straightforward, but new garment shapes, bulk orders, and mixed fabric runs can change the process fast. If you are scaling up, reconfiguring for seasonal stock, or training a new operator, it helps to review platen fit, hoop use, and pretreat handling together. That keeps the whole line moving without bottlenecks.
DTGrip works from Crown Mines, Johannesburg and supports print shops nationwide through next-day courier, with onsite support visits available where needed. The team can help with workflow reviews, sample testing, operator training, and production scaling so your light cotton jobs stay neat, fast, and repeatable. A short review now can prevent a week of scrapped garments later, especialy when you are pushing turnaround on tighter municipal and retail deadlines.