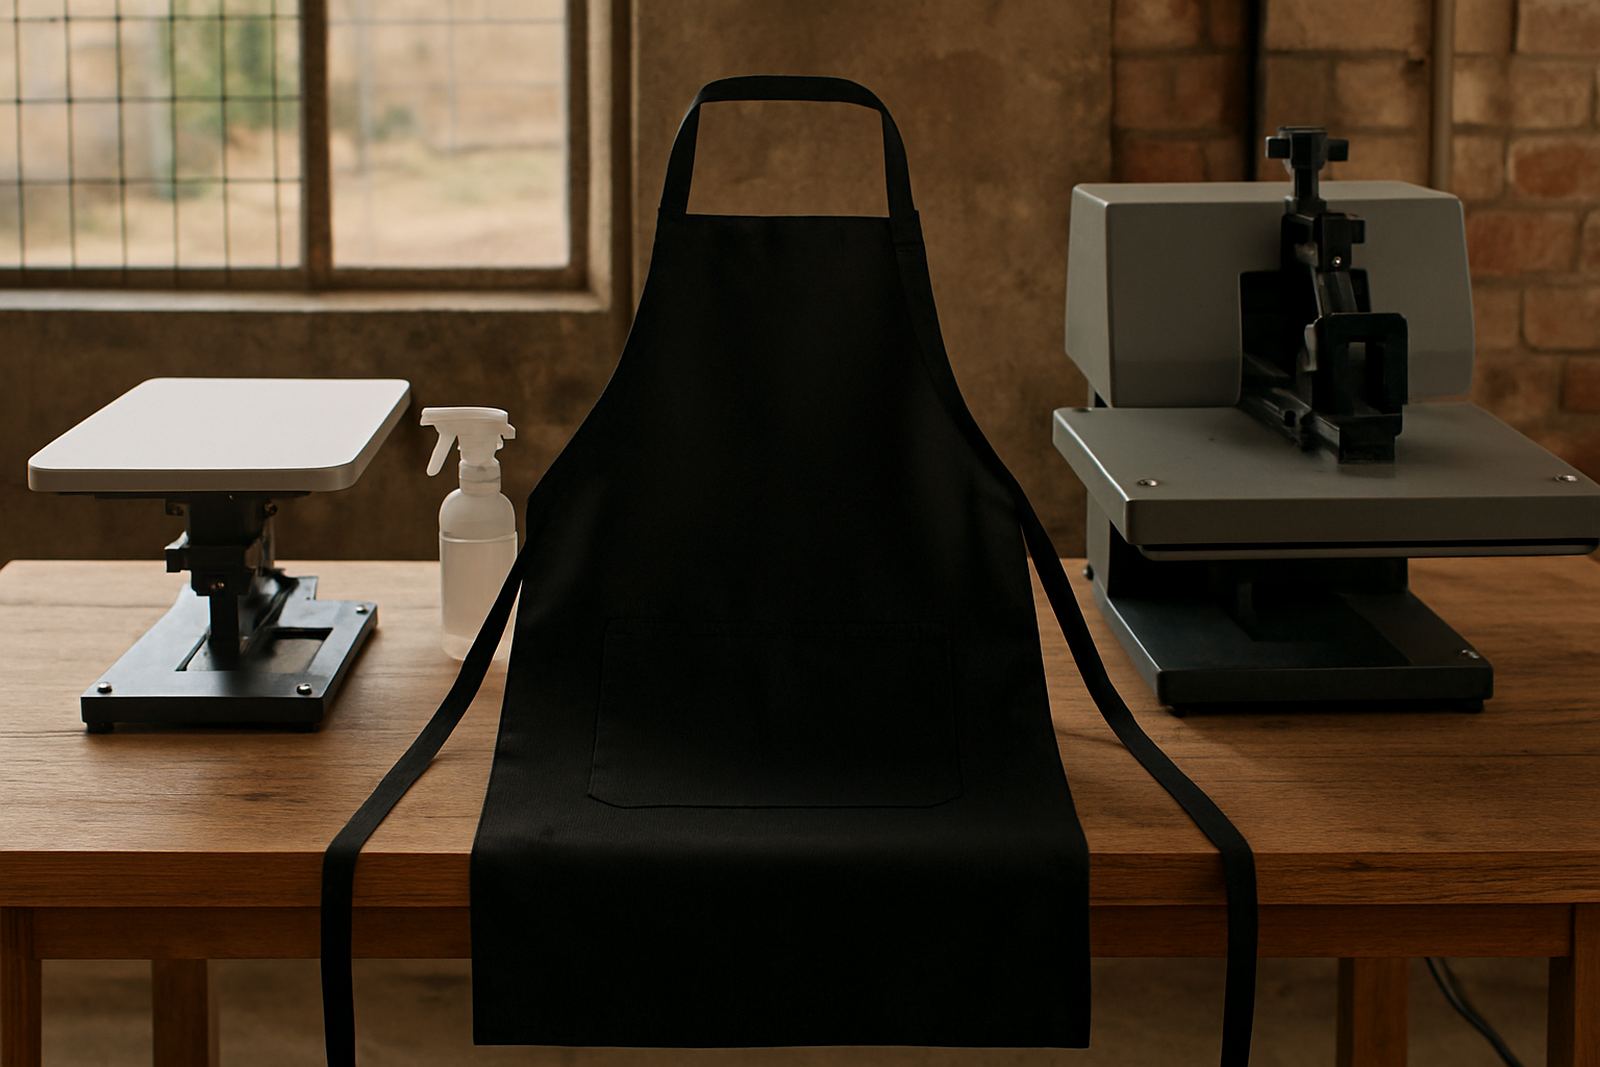
Start With the Apron Build Before You Touch the Sprayer
Before you mix pretreat or load the heat press, check the apron build properly. Cotton twill, polycotton, canvas and coated work aprons all take liquid differently. A front panel may print well, while the ties and binding react badly if they get oversaturated. In Johannesburg or Durban, where humidity and room conditions change through the day, that difference shows up quickly in the final print.
Lay the apron flat and check the weight, weave and seam placement. If the front panel is 180 gsm but the ties are a thinner tape finish, treat them as separate zones. That is the easiest way to avoid staining around the neck loop or getting uneven press marks across the chest. For apron runs, one size does not suit every garment and that is usually where waste starts.
- Confirm fabric content from the supplier label or sample swatch.
- Check for coatings, water resistance or heavy dye on dark fabrics.
- Mark the print zone and keep it clear of pockets, seams and top stitching.
- Test one sample apron before setting the full batch.
Choose the Right Pretreat Amount for Front Panels and Light Areas
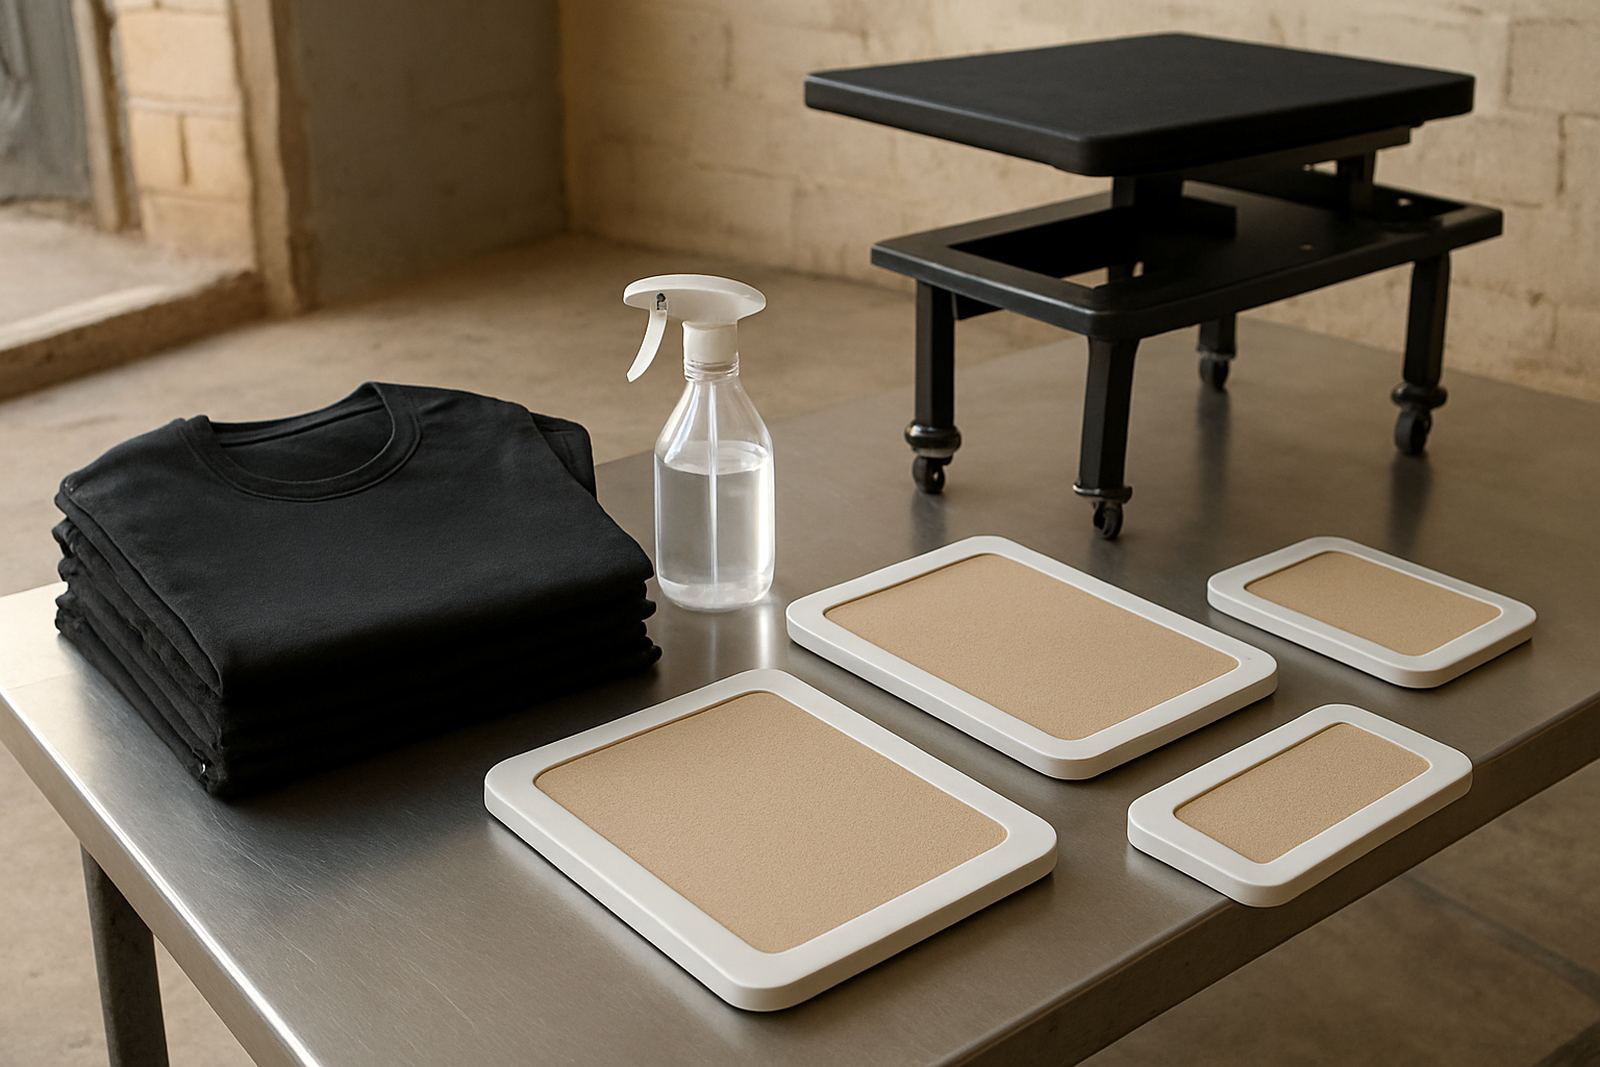
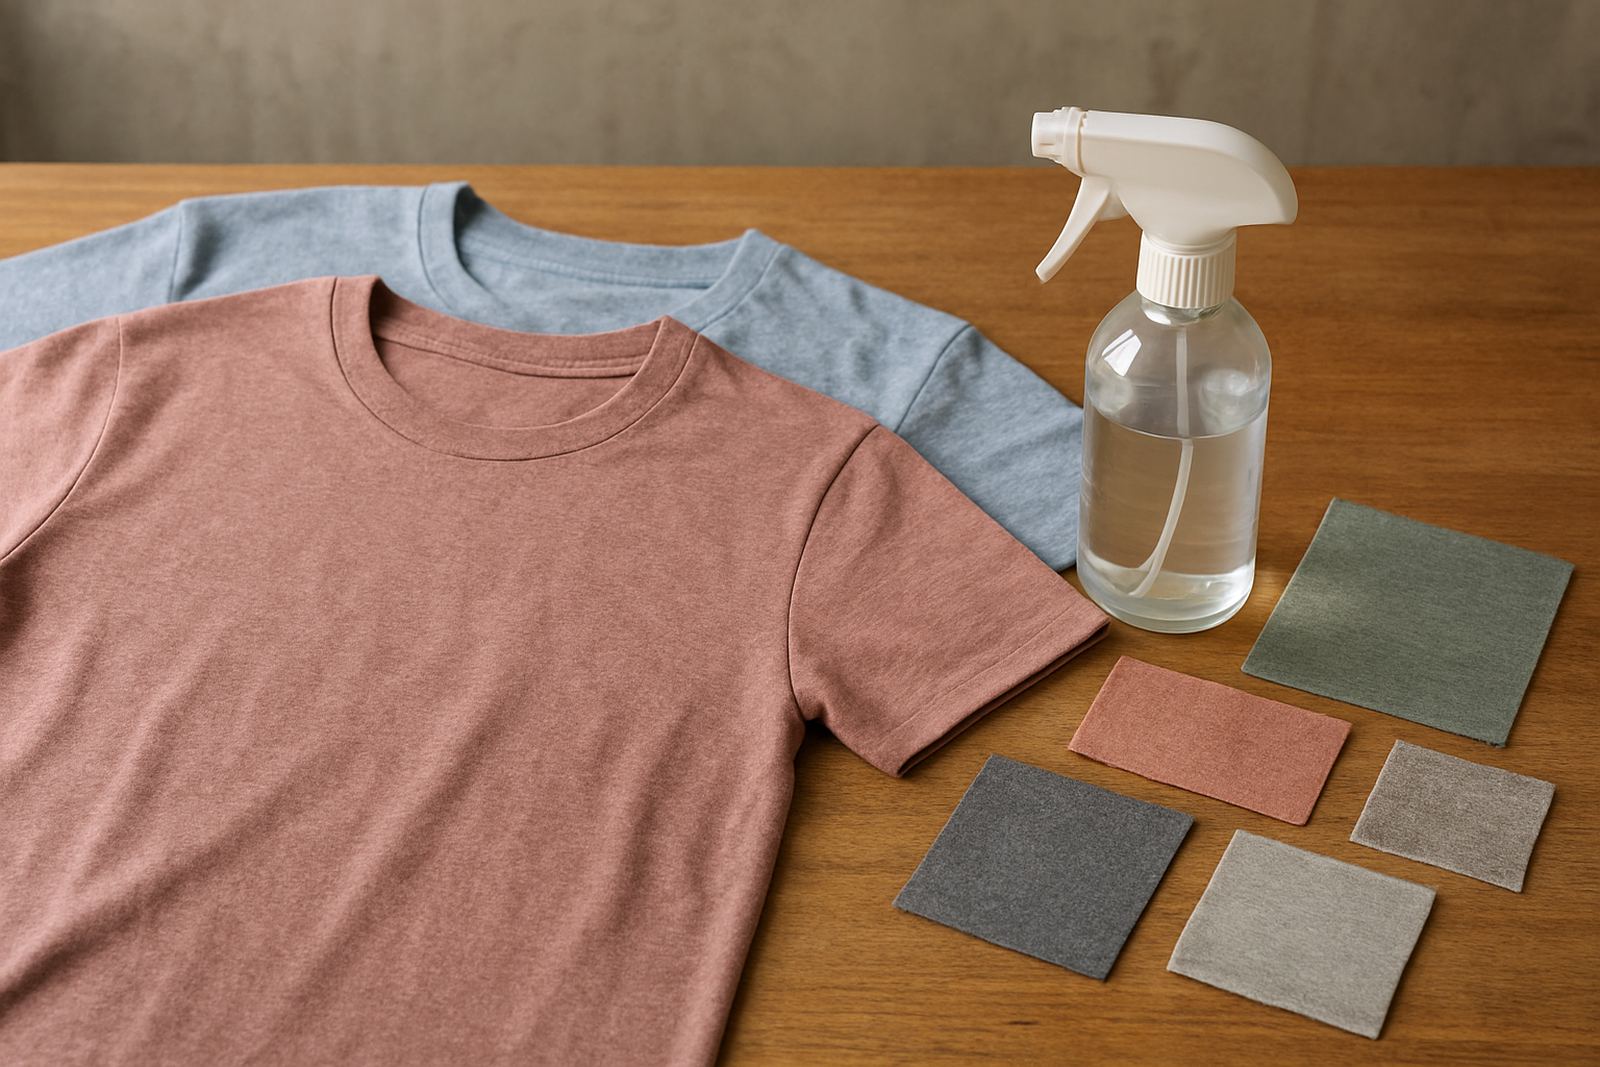
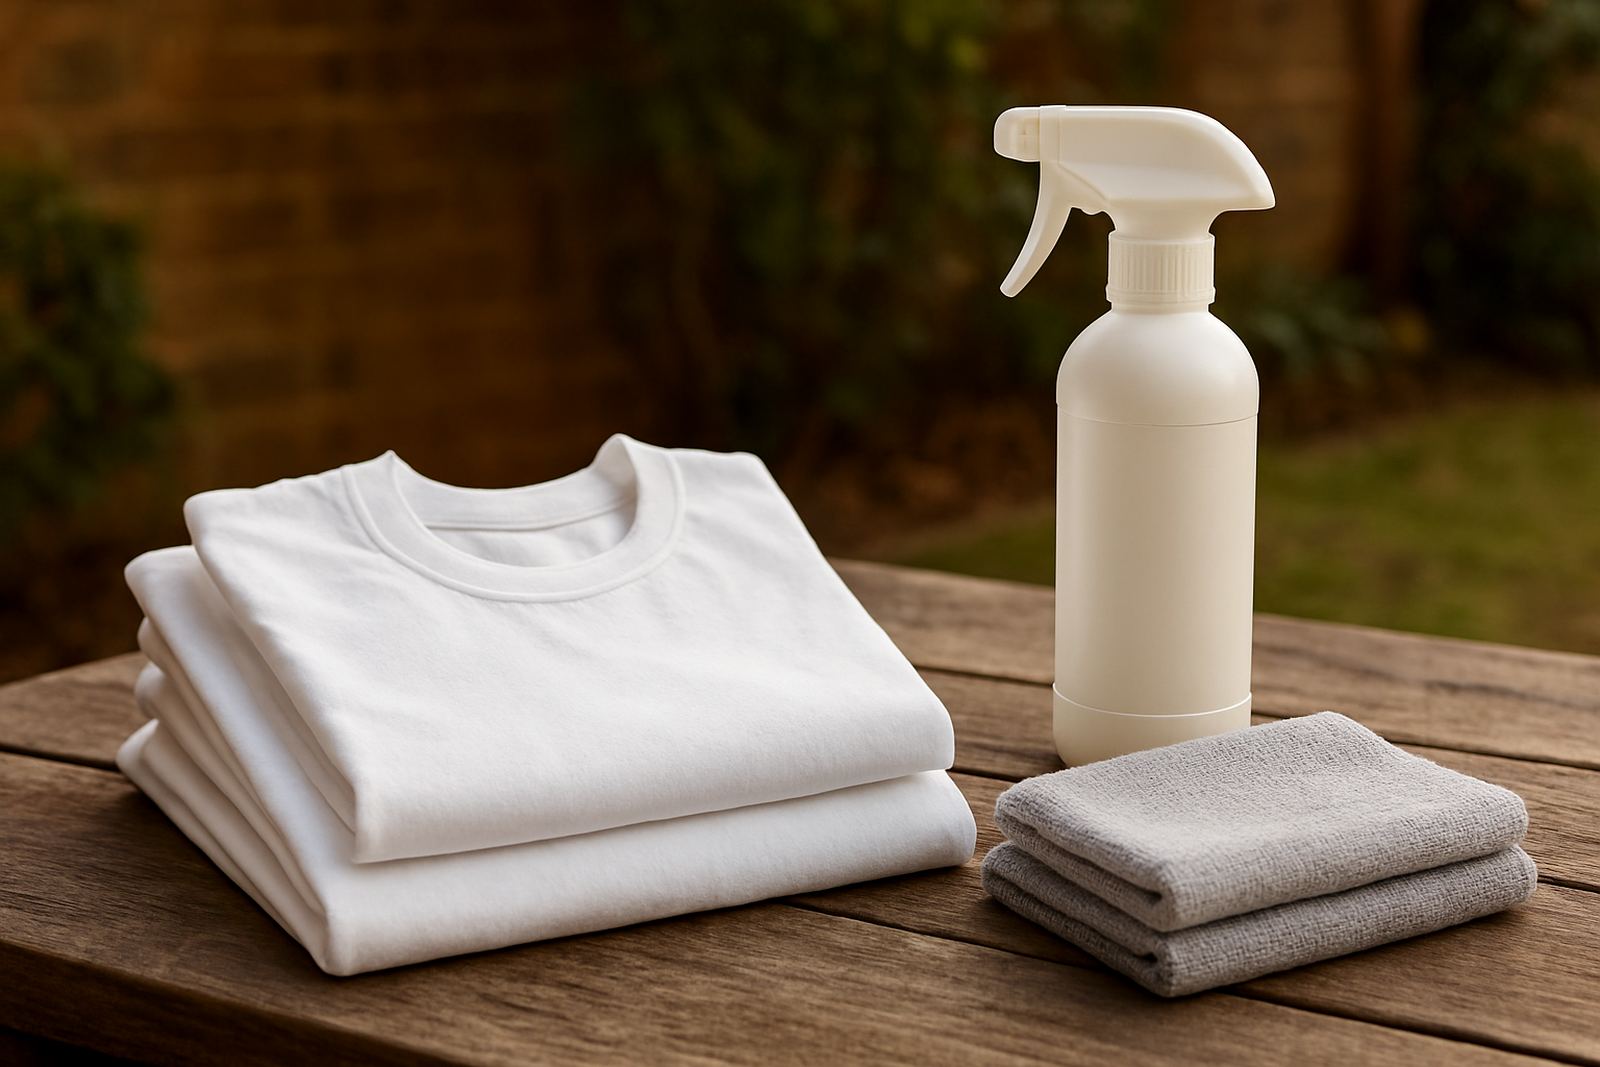
Pretreat is there to help the ink bond properly, not to soak the whole apron. Front panels on cotton aprons usually need a more even application than polycotton versions, while light-coloured aprons may show any overspray immediately. Keep the spray pattern controlled and work in light passes. If you are using a platen that matches the apron size better, the panel sits flatter and the coating goes on more evenly.
For small run jobs in Pretoria East or Midrand, use a repeatable method. Measure your spray, record the number of passes, and keep the drying routine the same from order to order. A wet edge on one apron and a drier edge on the next will cause print variation. If the fabric feels stiff after pretreat, you have likely overdone it.
- Use light, even passes rather than one heavy soak.
- Keep the spray area slightly wider than the print area, but not by much.
- Dry fully before press loading, especially in cooler winter mornings.
- For dark aprons, check for residue before printing the final batch.
Handle Apron Ties, Neck Loops and Trim Without Marking the Print
Ties and loops are the trouble spots on most apron jobs. They twist, fold under the platen and can create marks where the heat press touches them. If a tie is made from a thinner tape or a different fibre, it may shrink at a different rate from the front panel. That can pull the garment off centre during pressing.
Keep all loose sections outside the print field and secure them before loading the platen. On apron styles with long ties, fold the ends neatly away from the chest area. If the apron has a neck loop that sits close to the print zone, use a clean separator sheet so the fabric does not shift. It is a small step but it saves a lot of reprints, especially on orders for hospitality groups and event staff.
- Fold ties flat and keep them clear of the heat area.
- Use a separator sheet between overlapping layers.
- Check that the neck loop does not pull the front panel off centre.
- Remove lint, thread bits and surface dust before pretreating.
Match Platen Size to the Apron Shape
Aprons are awkward on a standard shirt platen because the fabric often hangs loose at the sides. That loose area can trap moisture and make the front panel print unevenly. A better platen match gives you a flatter surface and less movement during the press cycle. For wider chef aprons, workshop aprons and promotional half aprons, the right platen helps the pretreat sit where you actually need it.
In a busy shop, platen choice affects turnaround as much as ink choice does. If your team is doing mixed garments in one shift, keep an apron platen or insert ready so you do not improvise with folded towels and edge packing. That keeps production neater and helps with repeat jobs across Sandton, Randburg and the East Rand where clients often want the same finish every time.
- Use a platen that supports most of the front panel.
- Avoid excess pressure on seams and thick edge bindings.
- Keep the garment centred before pressing begins.
- Recheck alignment after the first test print, not after the whole batch.
Drying and Pressing for Mixed Fabric Weights
Aprons made from mixed fabric weights need a careful dry and press sequence. A thicker front panel may need a little more heat, but the straps and trims can react faster. If you press too long, the panel may flatten too much and the surrounding fabric can show heat gloss. If you press too little, the ink will not sit properly and the print can wash out early.
A practical routine is to dry the pretreat fully, let the apron cool for a short moment, then press on a clean surface with even pressure. If you work in coastal areas like Durban, allow for extra drying time because damp air slows the prep stage. In winter, load-shedding can also interrupt your workflow, so it helps to keep the sequence simple and repeatable so nothing gets mixed up once power returns.
For heavier canvas aprons, test the finish on a sample first. Some fabrics hold moisture under the surface even when they look dry on top. If the first print looks fuzzy or dull, check the pretreat amount before changing the artwork settings.
A Shop Checklist Before You Release the Batch
Before an apron order leaves the workshop, do one final check. That is the point where small faults still get caught. A short checklist works better than relying on memory, especially when the shop is busy and you are switching between aprons, tees and tote bags in the same morning.
- Front panel is centred and free of fold marks.
- Ties, loop and trims are clear of the print area.
- Pretreat is dry and even, with no visible stains.
- Print edges are sharp and the garment is cooled before packing.
- Sample apron matches the main batch before dispatch.
For shops planning higher volume work, it also helps to keep a separate apron setup sheet. Record the fabric weight, platen used, pretreat amount and press time. That way the next order is easier to repeat, whether it goes to Crown Mines, Centurion or a print shop up in Pretoria East. It saves time and keeps the finish consistent without guesswork.