Start With the Garment, Not the Machine
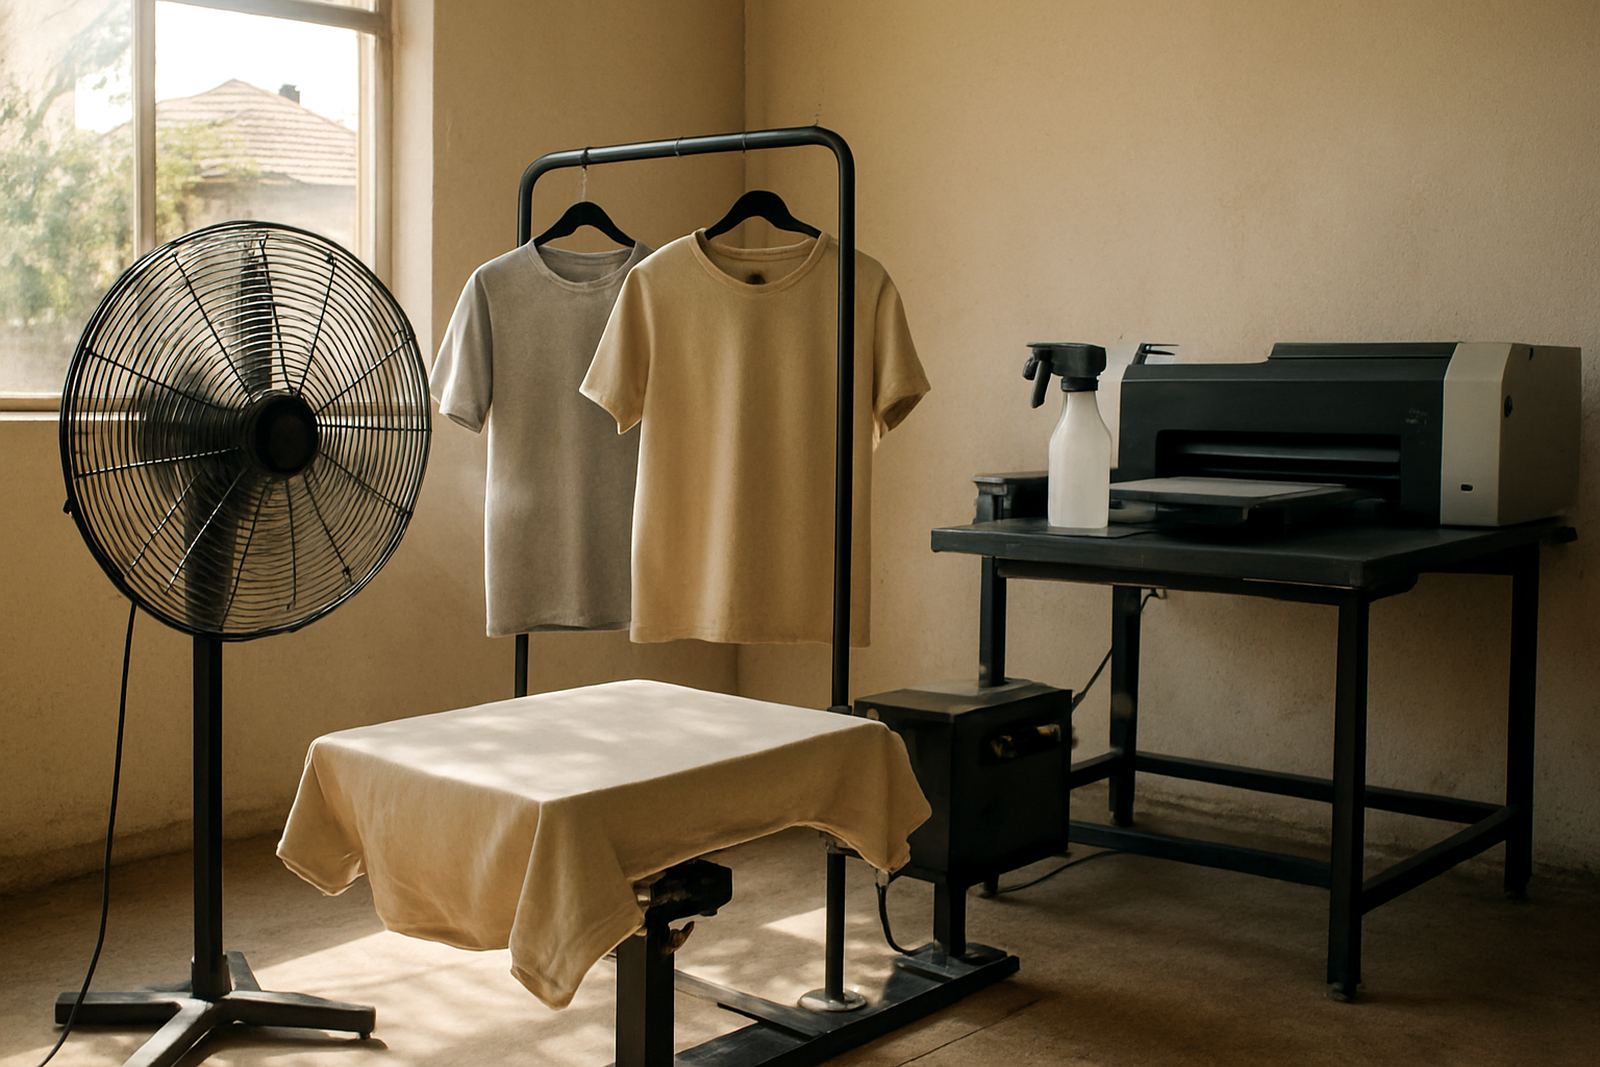
Before you mix pretreatment or switch on the press, confirm what you are printing on. Cotton usually gives the easiest result, while blends, dark fabrics and some synthetic items need a steadier hand. Check the label, feel the fabric weight, and look for seams, zips, collars, and logos that can catch under the platen. A quick look now saves wasted ink later.
For one-off orders, the garment condition matters as much as the print file. New items should be free of dust, loose fibres and packing creases. If the item has been washed already, make sure it is fully dry. Damp garments can cause patchy curing, small dots in the print, and bad adhesion around the edges.
- Confirm fabric type and colour
- Check for seams, thick hems and labels
- Remove lint, dust and visible marks
- Keep the garment dry and flat
Set Up a Clean Pretreatment Area
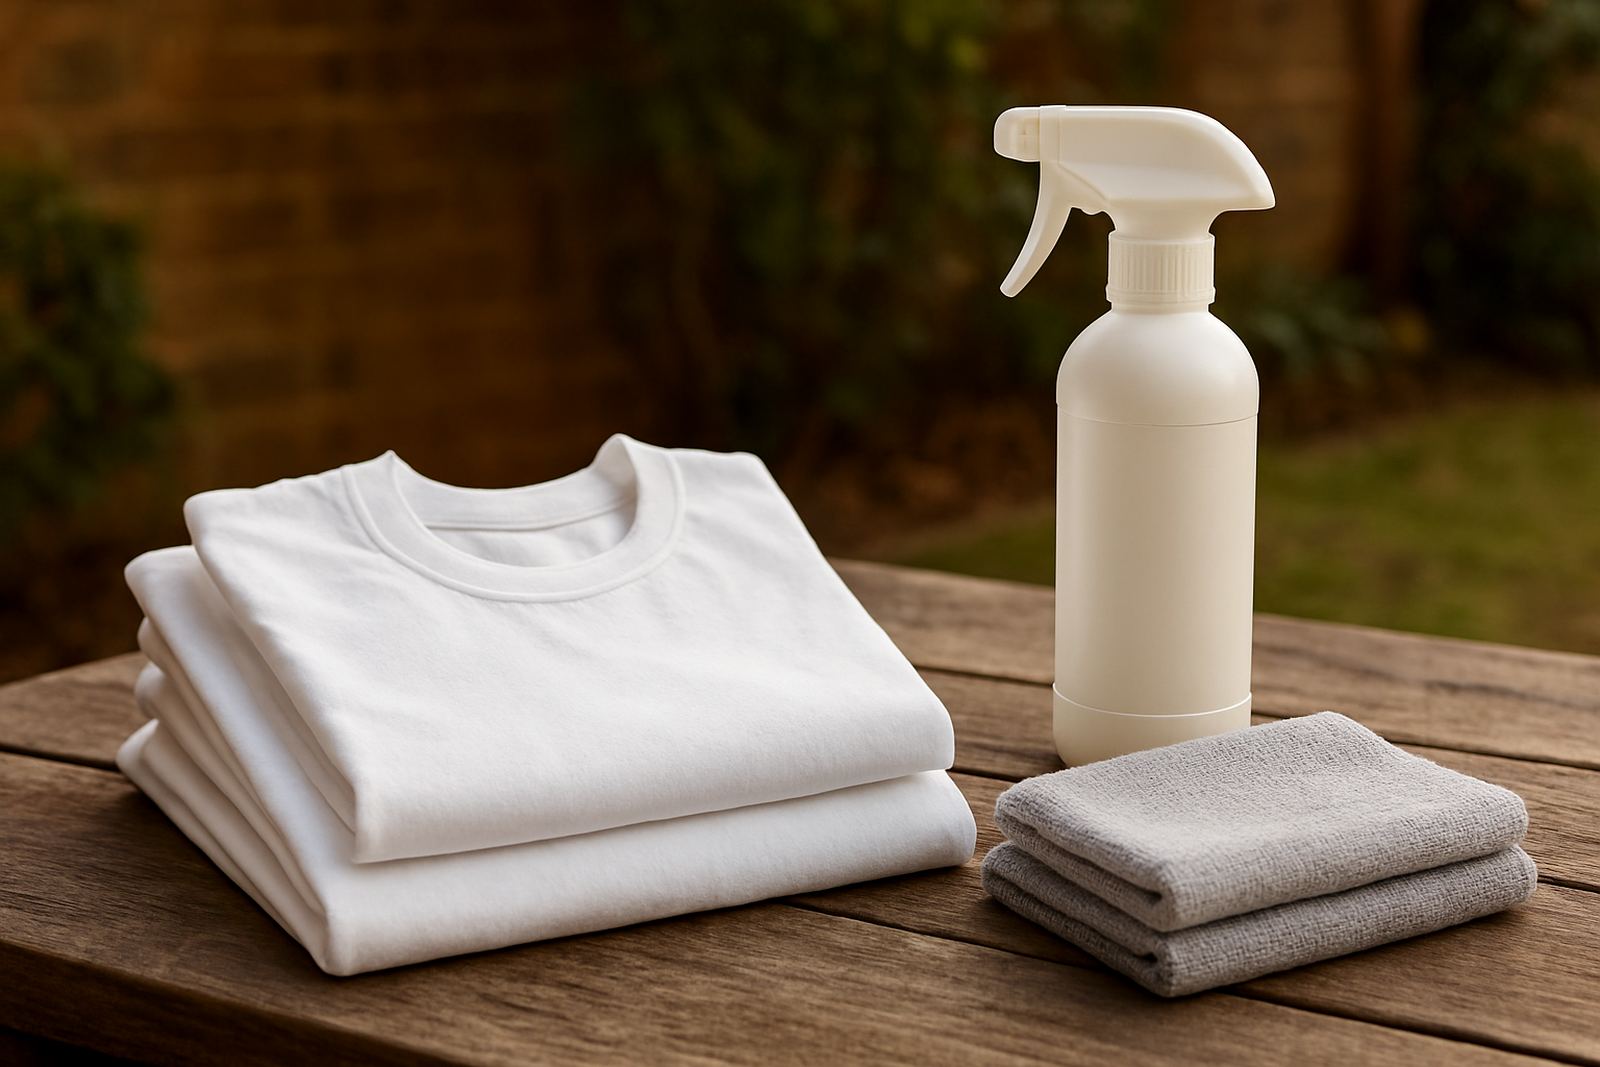
For short runs, your pretreatment area should be simple and easy to repeat. Keep the surface clean, mark out where each garment will sit, and make sure the spray pattern is even. In Johannesburg winters, static can pull fibres and dust onto the garment, while coastal humidity in Durban can affect drying time. A tidy area and a steady routine help both cases.
Use a controlled amount of pretreatment. Too little can leave the print dull, while too much can create a hard patch or show through on lighter fabrics. Shake the liquid as directed, fill the bottle or applicator carefully, and test the fan pattern on scrap fabric if you have changed nozzles or mix. If your shop handles a mix of dark T-shirts, tote bags and kidswear, keep each setup labelled so operators do not guess.
- Wipe down the table before starting
- Check spray pattern and bottle condition
- Label mixes for dark and light garments
- Keep a scrap cloth nearby for test sprays
Apply Pretreatment Evenly and Keep the Edges Controlled
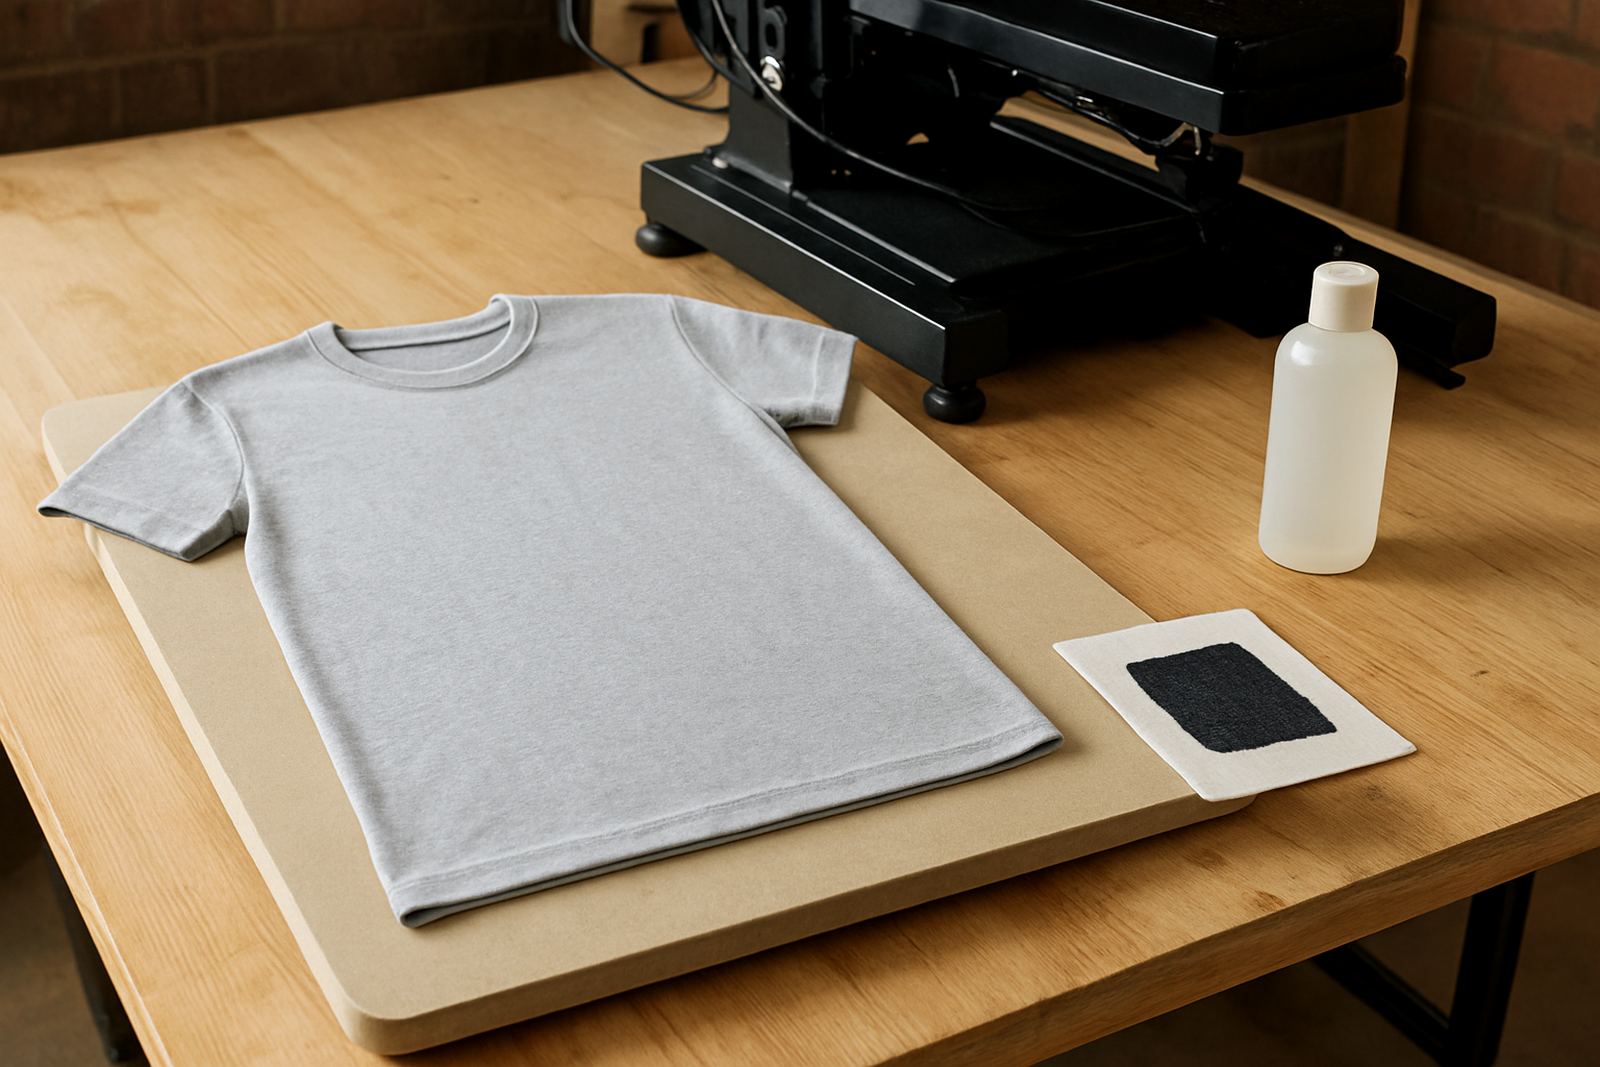
Place the garment on a firm surface and smooth it without stretching the fabric. Spray in even passes, then work the liquid in lightly if your process requires it. The aim is full coverage in the print zone only, not soaking the whole garment. If you are printing a small left-chest logo, do not treat a full front panel unless the artwork demands it. That saves time and keeps the finished feel softer.
Watch the edges. Heavy spray can bleed outside the print area and leave a frame mark after pressing. For hoodies and thick garments, lift the fabric slightly to avoid missing texture in the weave. On short-run work, repeat the same hand movement each time so the first shirt and the tenth shirt match. Small changes in angle can create visible differences, and customers will spot it fast.
When you are unsure, under-apply first and do a sample. It is easier to add a little more on the next garment than to recover from an over-wet front panel.
Drying and Pressing for a Stable Print Surface
Pretreatment must be dry before printing. If the surface feels cool or damp, give it more time under the heat press or use your approved drying method. A garment that is only partly dry can cause uneven ink laydown, fuzzy edges, or a patchy finish after curing. In winter, or during load-shedding when workflows are interrupted, it helps to keep a clear drying queue so nothing gets rushed when power returns.
Pressing should flatten the fibres without scorching the fabric. Use enough pressure to create a smooth print zone, but not so much that the weave goes shiny or compressed. If you are working on a coated or delicate item, test first. Some garments need a protective sheet between the press and the fabric. That keeps residue off the platen and prevents unwanted texture marks.
- Make sure the pretreatment is dry before printing
- Use steady pressure, not extreme force
- Protect delicate fabrics with a cover sheet if needed
- Keep a clean platen surface between orders
Quick Checks Before the Garment Goes to Print
Before the print starts, do a last check on placement, platen size, and garment alignment. If the shirt is sitting skew, the print will sit skew too. For one-off orders, this step is worth slowing down for because there is no second piece to average out a mistake. A simple visual check from chest to hem is often enough, but on promotional items and premium custom work, use your mark points every time.
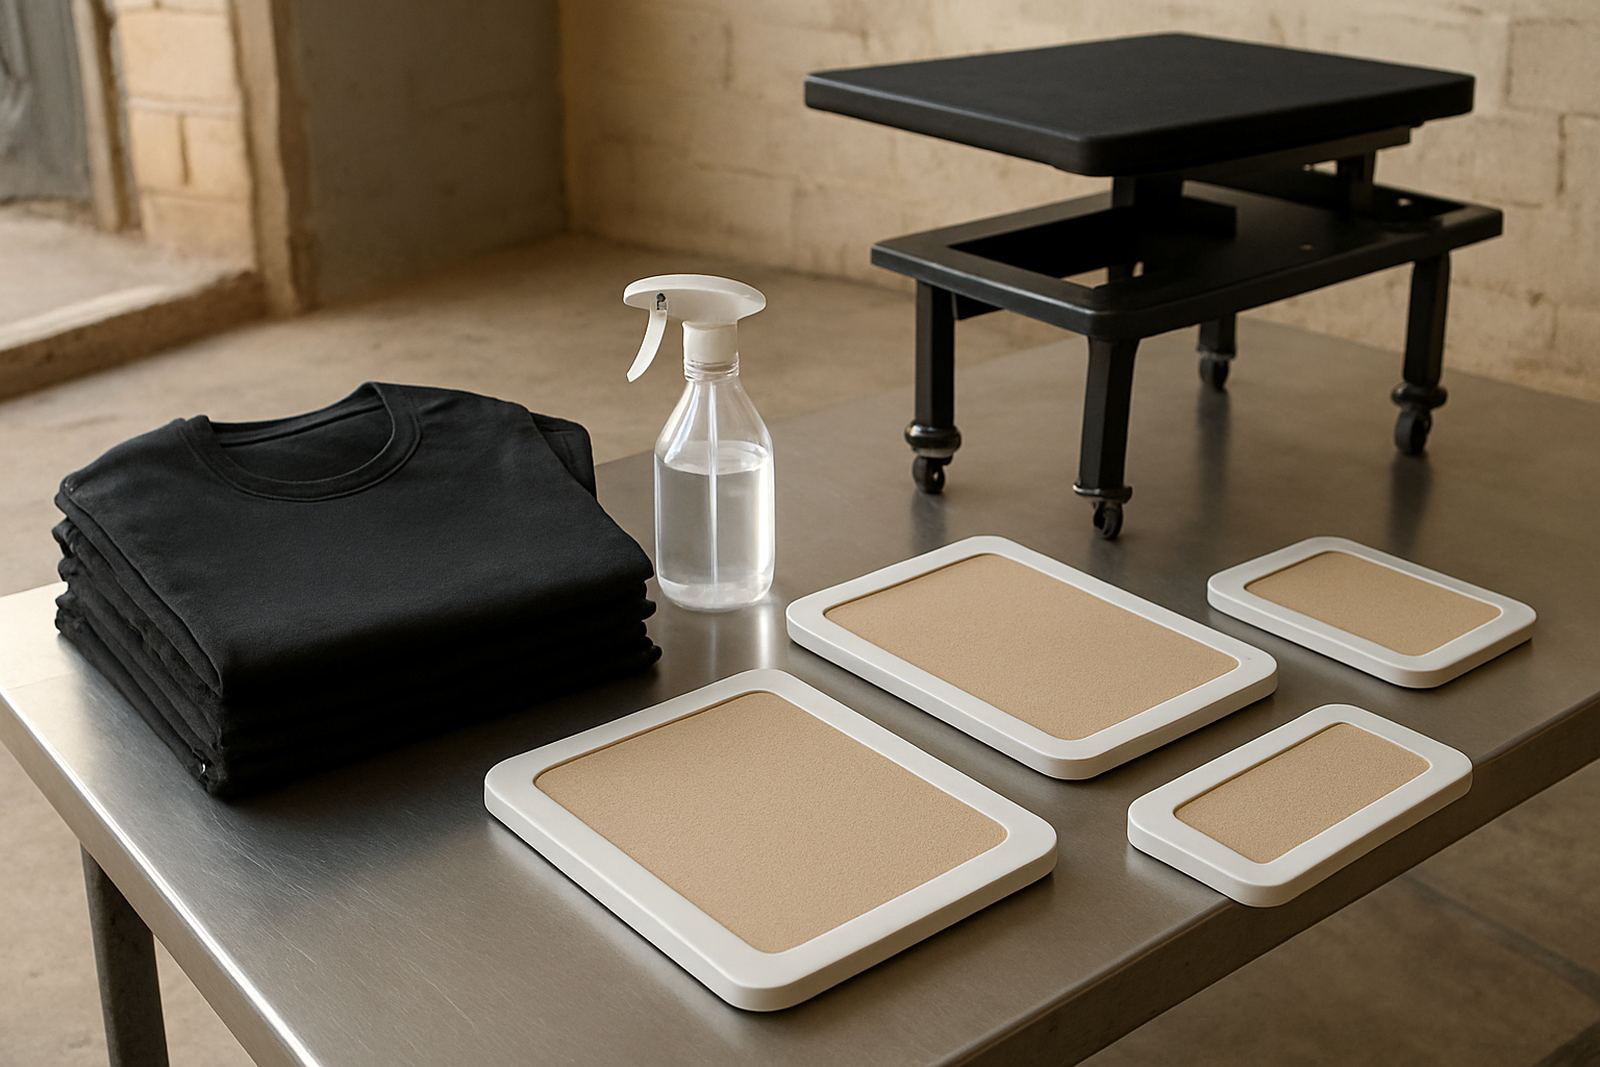
Check that the garment sits flat, the collar is centred, and the print area is free of lint. If you changed from a small platen to a larger one for a seasonal reconfiguration, confirm the new setup before the job starts. For shops in Sandton, Midrand, Pretoria East or Randburg, where the workload can change quickly through the week, consistent setup saves a lot of back-and-forth.
- Confirm print placement against the artwork
- Check for lint, folds and lifted seams
- Match the platen size to the garment
- Run a sample if the fabric or setup is new
Keep a Short-Run Routine That Staff Can Repeat
The best one-off workflow is the one your team can repeat under pressure. Write down the mix ratio, spray amount, drying time and press settings for the garments you print most often. That helps new operators and also supports training when stock changes or the shop picks up a rush order from Centurion, the East Rand, or a small fashion label in Crown Mines. The fewer guesses in the process, the fewer reprints you will carry.
When orders are small, the temptation is to improvise. That is where errors creep in. A clear routine, one operator at a time, and a quick note after every unusual job will improve your next run. If a garment needs special handling, record it. If a fabric responded badly to heat or moisture, record that too. Over time, your pretreatment process becomes easier to control and your waste drops.
DTGrip supports local print shops with platen installation, hoop setup, pretreat workflow, operator training, print alignment help and remote troubleshooting. If you need help refining a one-off order routine or checking your current setup, use the enquiry form on our contact page and we will take it from there.