
Start With the Garment, Not the Machine
Before you mix pretreat or warm the platen, check the hoodie itself. Thick fleece, brushed cotton and poly blends all behave differently under heat and pressure. A garment that feels fine on the table can still trap moisture in the seams, hood lining and ribbing, which then causes dull prints or patchy curing. For shops in Johannesburg, Pretoria and along the coast, this matters even more because humidity changes through the week and stock stored near open roller doors can absorb damp air.
Look for loose lint, folded seams, pocket edges and any shine marks from previous handling. If the hoodie has a large front pouch, make sure the print area is flat enough to accept the platen without lifting. Pre press the garment for a few seconds to remove surface moisture, then let it cool slightly before applying pretreat. If you rush this step, the spray can sit on the surface and dry unevenly.
- Check fabric type and weight before selecting your pretreat amount.
- Inspect for moisture around cuffs, hood lining and side seams.
- Clear lint and fibres from the print zone.
- Pre press briefly to remove trapped dampness, then allow a short cool down.
Choose the Right Platen Size and Position
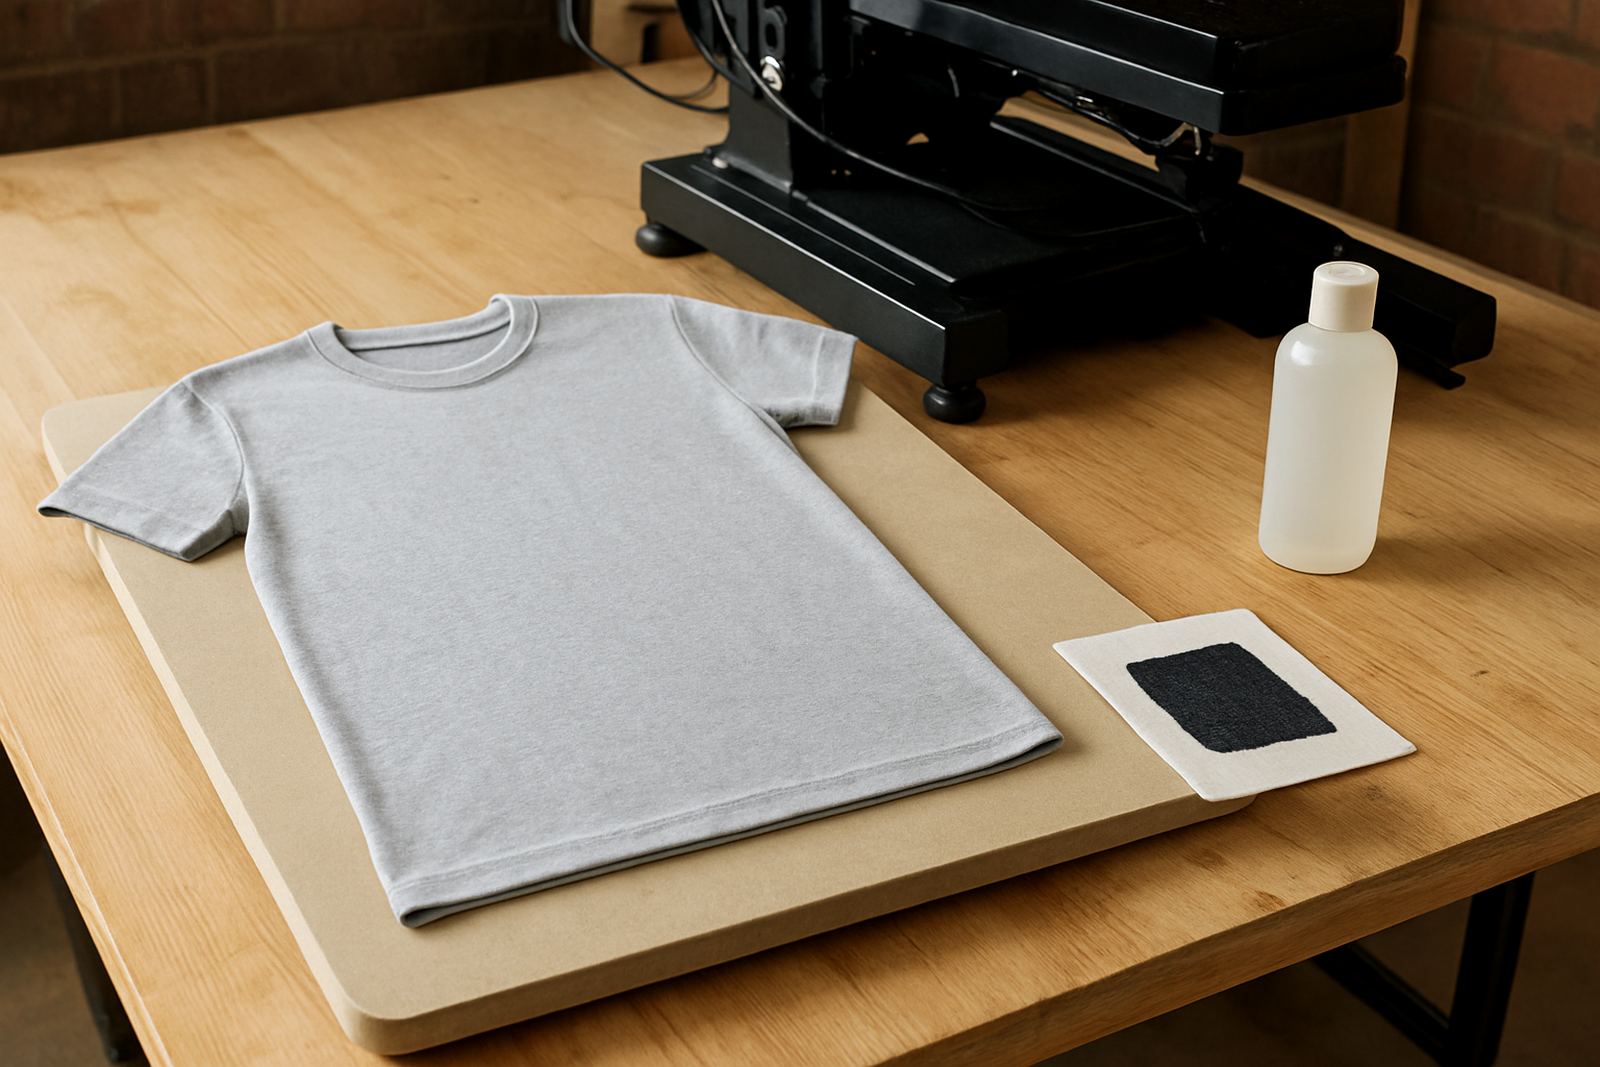
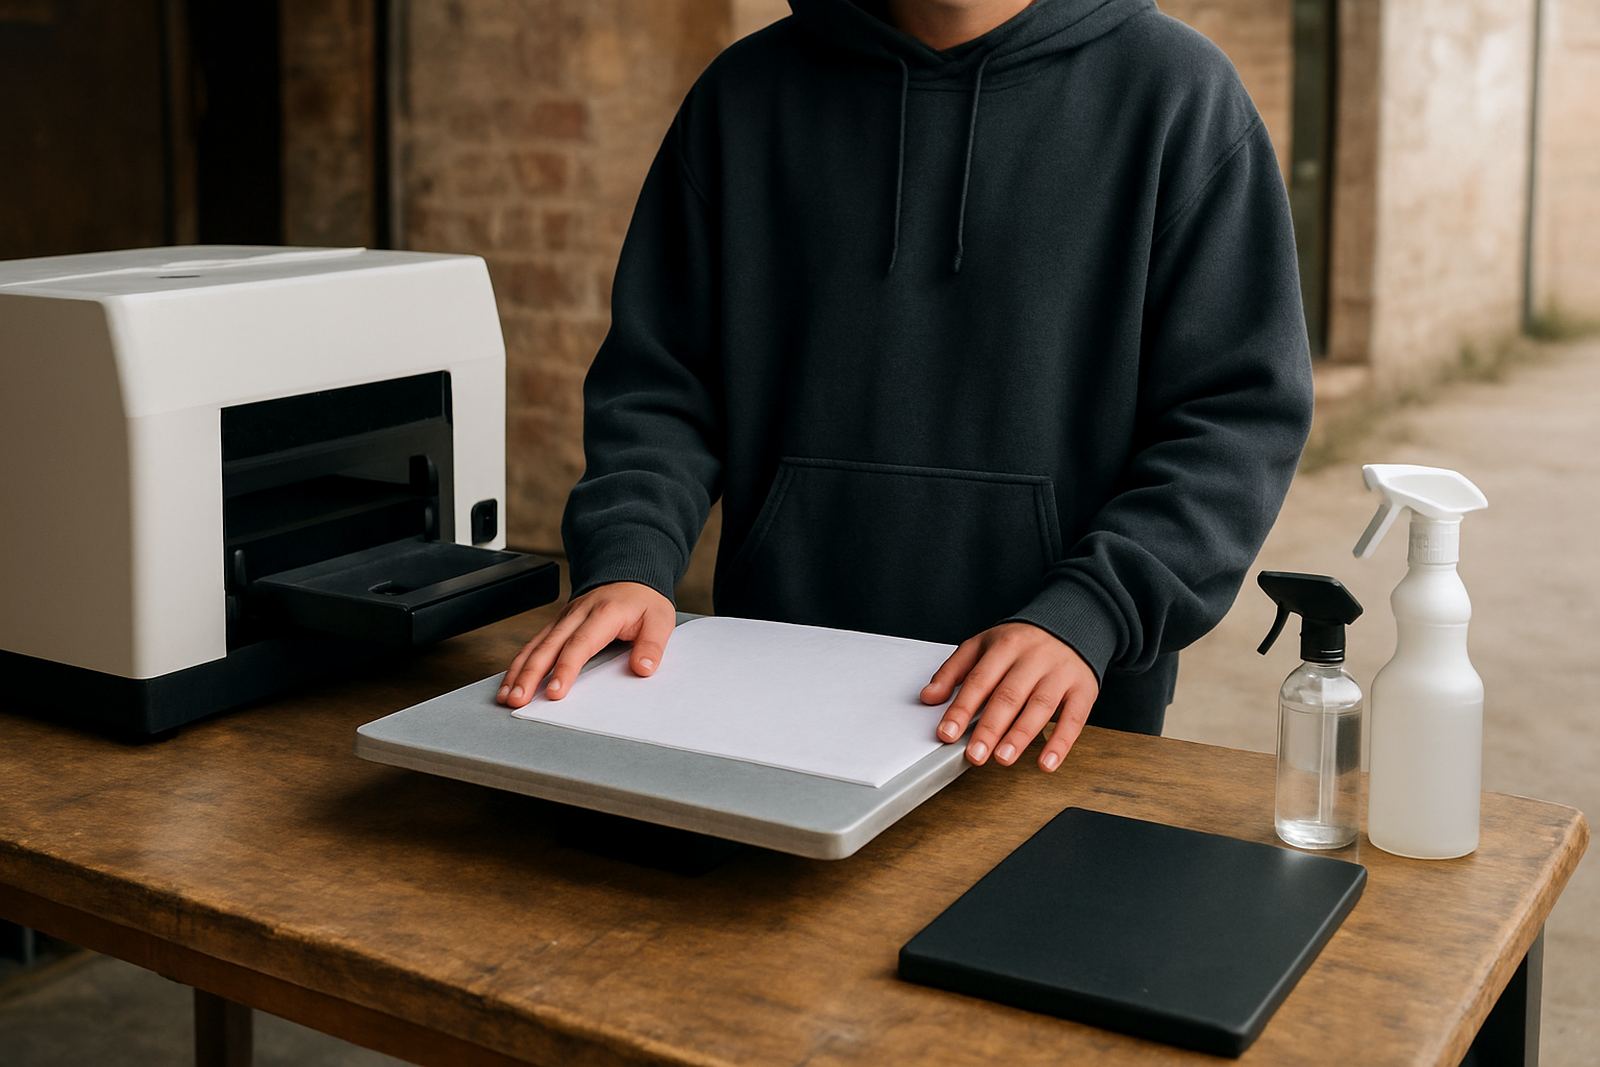
A hoodie is rarely as flat as a standard shirt, so platen choice matters. If the platen is too large, it can press into bulky seams and create pressure marks. If it is too small, the print area may sit unevenly and the pretreat can pool at the edges. For chest prints, use a platen that supports the body of the hoodie without forcing the ribbing or pocket seams into the print zone. On thicker winter hoodies, a slightly smaller print field often gives cleaner results because the surrounding bulk is kept out of the press area.
Position the garment so the neckline and hood are square before you start. The print should sit clear of the centre zipper if you are working on zip hoodies, and clear of the pocket seam on pullover styles. Many production issues come from a hood resting under the platen fold or a drawstring lifting one side of the fabric. Straightening the garment first saves time later in curing and inspection.
- Match the platen to the print area, not just the garment size.
- Keep seams, hood cords and pocket edges out of the press zone.
- Use a flat insert or support board where needed for stability.
- Check that the hoodie sits centred before spraying pretreat.
Apply Pretreat Evenly on Thick Fleece
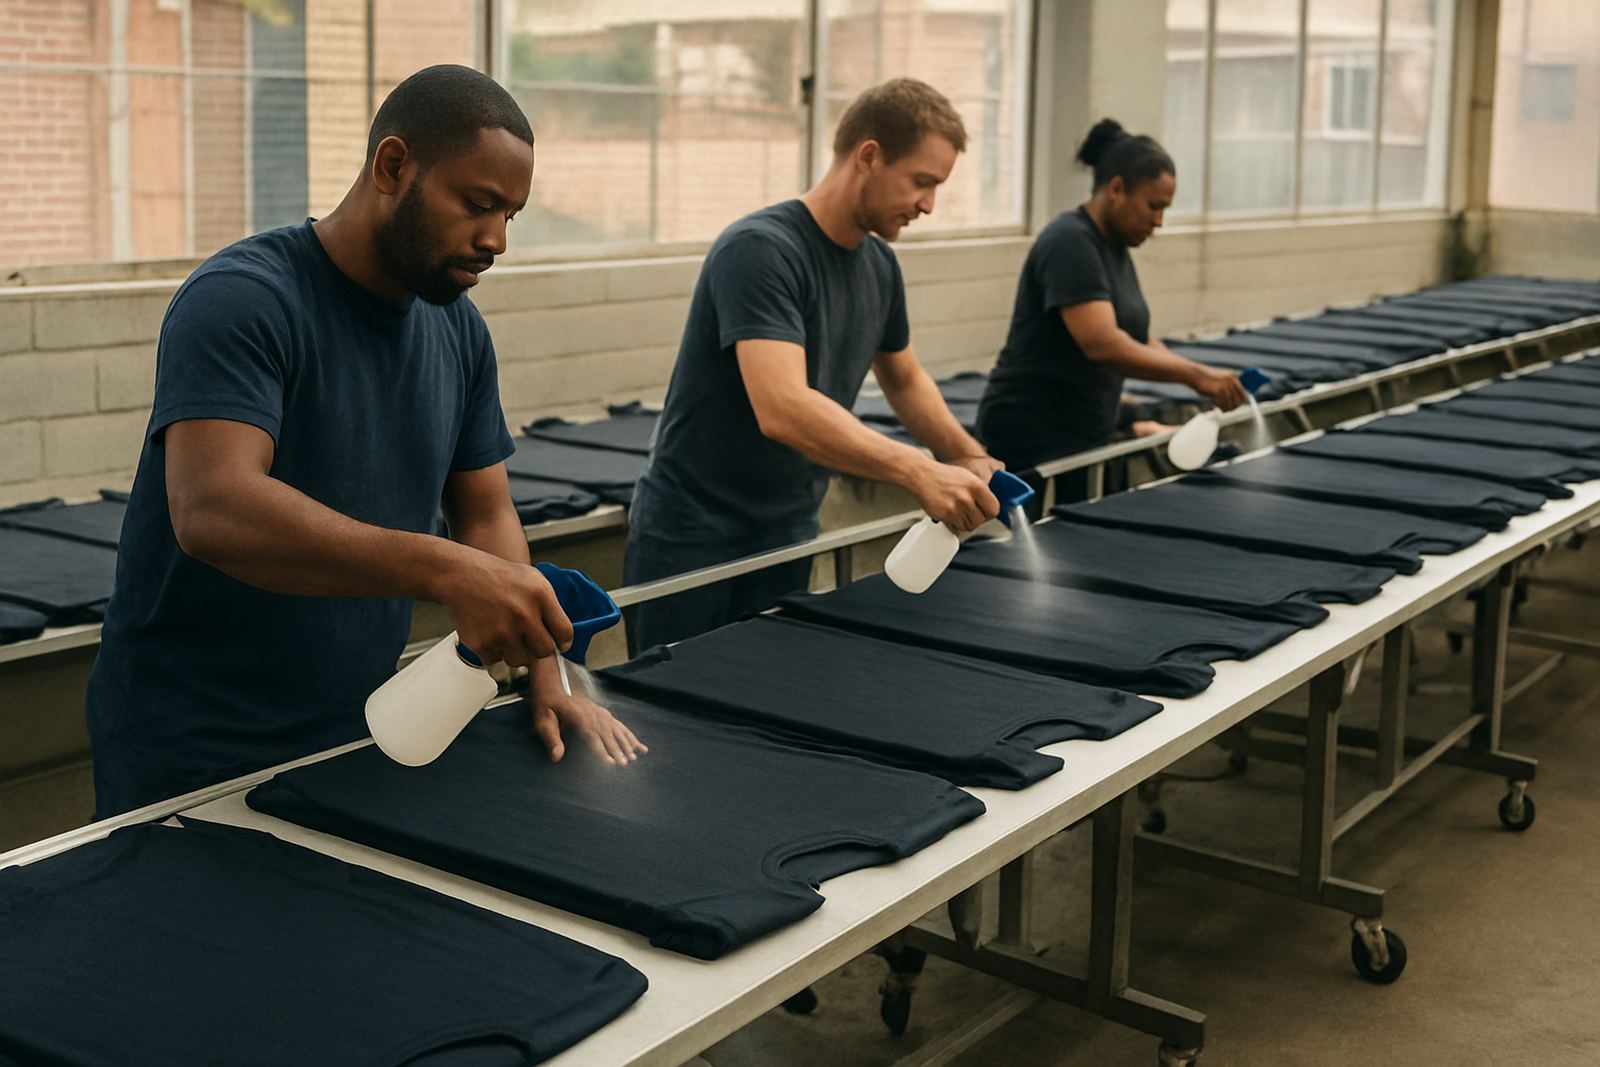
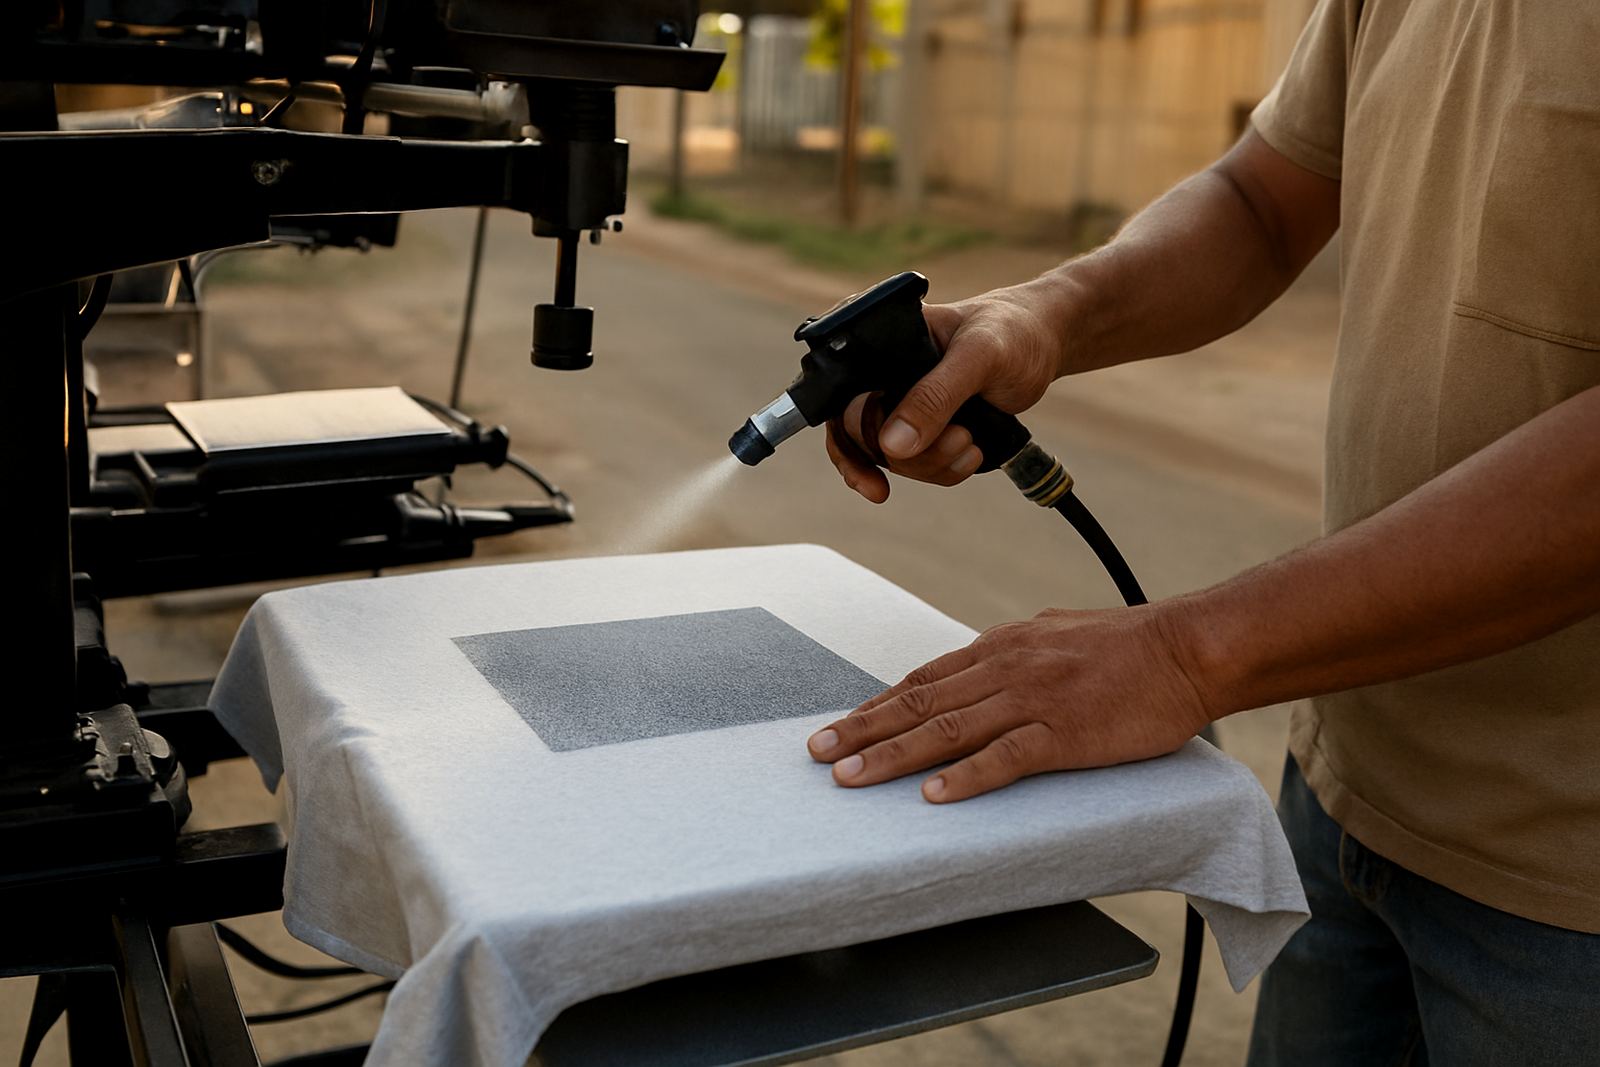
Thicker hoodie fabric needs a controlled pretreat pass. A heavy soak can sit on the surface and create a blotchy print, while too little pretreat can leave the ink dull and weak after washing. Work in light, even passes and keep the spray pattern consistent from edge to edge. If the garment has a deep pile fleece, the liquid should settle into the fibres rather than bead on top. That balance is what gives solid whites and clean colour on dark hoodies.
When printing mixed orders in places like Crown Mines, Sandton or Midrand, keep a simple pretreat routine so every operator uses the same amount. Consistency helps when you are scaling production or training a new staff member. Shake the garment gently after spraying if needed, then lay it flat before pressing. Do not over handle the fabric, because that can push liquid into seams and cause hard spots once cured.
- Use light, even spray passes across the full print area.
- Avoid oversaturating fleece, ribbing and seams.
- Keep one operator standard for spray distance and coverage.
- Let the pretreat settle before the press cycle starts.
Press Settings for Hoodies and Uneven Panels
Hoodies often need a little more heat control than lighter garments, but the aim is not to cook the fabric. Too much heat can flatten the fleece, leave press marks or harden the print area. Too little heat can leave moisture behind and affect wash fastness. Use a controlled press cycle with enough pressure to activate the pretreat across the fibres, while still allowing the garment to keep its shape. If the hoodie has raised seams or panel stitching, test a sample first so you can see how the fabric reacts.
For garment shops running through load shedding or using back up power, keep an eye on temperature recovery between cycles. A press that drops too far can give inconsistent drying, especially on busy days with larger volumes. If you notice the hoodie surface becoming shiny, reduce dwell time or pressure. If the print area still feels damp after pressing, increase cure time slightly and recheck before printing.
Quick Workflow Checklist Before the Print Pass
A short checklist saves waste and helps prevent reprints. Use the same order every time so your team can catch problems before they go into production. This is useful for small shops in Randburg as well as larger operations handling promotional hoodie runs for schools, clubs or event work.
- Garment inspected for moisture, lint and loose threads.
- Pretreat applied evenly and allowed to settle.
- Platen size confirmed for the print area.
- Hood, cords and seams positioned clear of pressure points.
- Press test done to check surface flatness and dryness.
- Sample print reviewed for alignment before the full run.
If something looks off after the test print, stop and correct it. A small shift in placement or an extra dry cycle is far cheaper than replacing a full batch of hoodies.
Common Hoodie Problems and How to Fix Them
Patchy colour, ghosting and rough hand feel usually come from the same few causes. Uneven pretreat on thick fleece can create light spots. Too much pressure can flatten the pile and leave a hard rectangle around the print. Residual dampness near seams can also cause white ink to sit unevenly, especially on dark garments. In humid weather, the garment may need a slightly longer dry time before printing. If the hoodie was stored in a cold storeroom or packed in a sealed bag, give it time to acclimatise before running production.
When problems repeat, review the full workflow rather than only the press stage. Check storage conditions, spray technique, platen fit and operator timing. In many Johannesburg and Pretoria shops, the fix is not one big change but a few small adjustments that make the whole line more predictable.
Keep Your Hoodie Runs Consistent Across the Week
Consistency is what keeps hoodie orders profitable. Record the pretreat amount, press settings and garment type for each order so your team can repeat the same result next time. This is especially useful during winter when thicker stock moves through the shop, or during seasonal rushes when staff members rotate between stations. If you are opening a new range of hoodie colours or shifting into larger promotional runs, test one sample before changing the full setup.
DTGrip works with print shops across Crown Mines, Sandton, Randburg, Midrand, Pretoria East, Centurion, the East Rand and Durban, with next day courier to print shops nationwide. For assistance with platen setup, pretreat workflow, sample testing or production scaling, clients can reach us through the enquiry form on our contact page.