
Start With the Garment Surface, Not the Printer
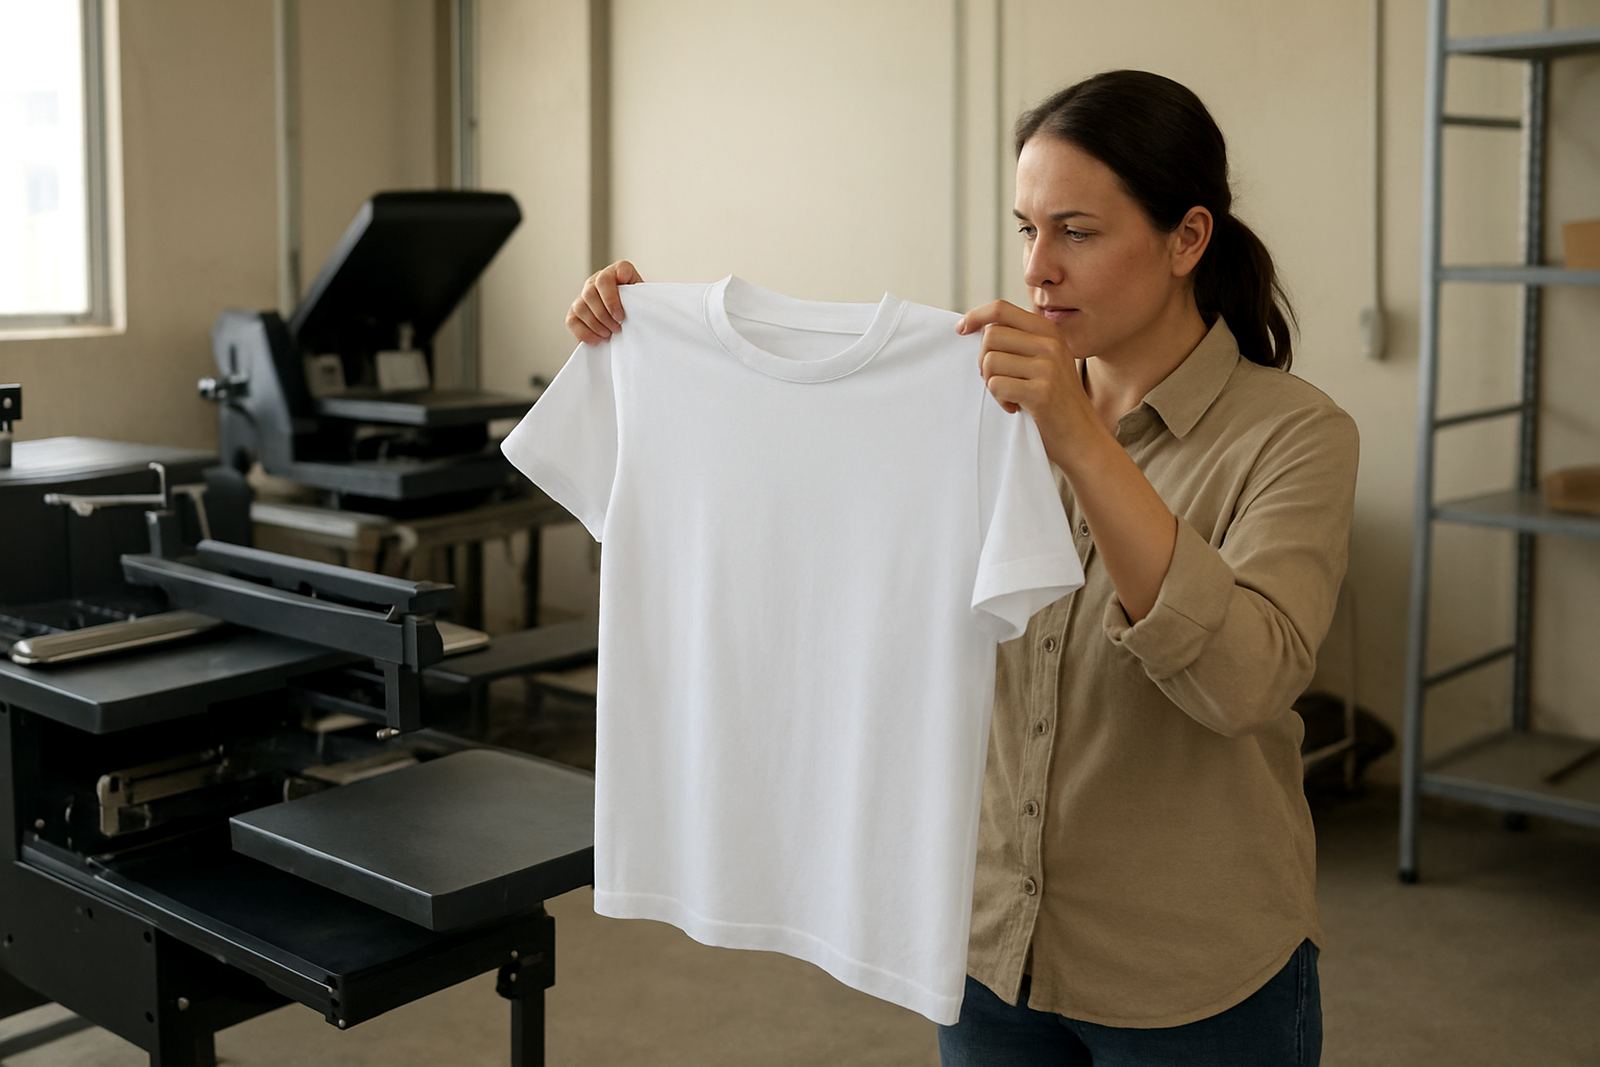
The first check happens before the print is even touched. Look at the garment under good light and scan for lint, loose fibres, oil marks, thread snags, shade variation, and stitching faults around the collar, seams and side panels. A shirt can print well and still be rejected later if there is a mark on the shoulder or a pulled thread near the chest area.
In Crown Mines and other busy production areas, operators often work fast to keep up with courier cut-offs. That speed is useful, but it should never replace a proper surface check. If the fabric has dust from storage or a slight oily patch from handling, the print may still transfer, yet the finish will not look clean enough for packing.
- Check front, back, sleeves and hem for stains or damage
- Lay the garment flat and confirm the surface is smooth
- Reject items with visible shade differences across a batch
- Watch for loose labels, broken stitching and fabric pulls
Read the Print Area Before You Fold or Bag It
Once the garment is printed and cured, operators should inspect the actual print zone before any folding starts. Look for partial coverage, ghosting, smeared edges, ink overspray, pinholes, undercured sections and colour inconsistency. On dark garments, a small fault can show immediately under direct light, while on light garments the issue may only appear when the shirt is stretched slightly.
It helps to work through a fixed routine. Hold the item at arm’s length, then closer to eye level, then stretch the printed section gently. That makes it easier to spot problems that might be missed when the garment lies flat on the table. A quick visual scan tht takes 10 seconds is often enough to catch a problem before the order reaches packing.
- Confirm the print is centred and straight
- Check edges for blur, breaks or dry spots
- Look for colour shifts between samples and the live run
- Inspect chest prints, pocket areas and sleeve placements separately
Spot Press Marks, Heat Shine and Pretreatment Residue
Many packing issues come from finishing, not from the print itself. Press marks, heat shine, dark rectangles from the platen or hoop, and pretreatment residue can all make a garment look unfinished. This is especially important on high-value fashion runs where the customer expects a neat feel as well as a neat picture.
South African shops that print through winter in Gauteng or through humid coastal months in Durban know that fabric behaves differently from season to season. A garment can look perfect when it leaves the press but show a shiny patch after cooling, or a white residue line where pretreatment pooled slightly. Let each item cool enough to inspect properly, because a hot shirt can hide what is really happening.
- Check for square press marks around the print area
- Look for shine on synthetic or blended fabrics
- Inspect for white residue around seams and hems
- Make sure no powdery feel remains on the printed zone
Use a Batch Check for Colour, Placement and Repeatability
When the order includes many garments, the visual check should go beyond the single shirt in hand. Compare the first print, a middle sample and the last item in the batch. Colour changes can happen if settings drift, pretreatment coverage varies, or the operator changes platen size and does not reset the garment position properly.
This matters for corporate wear, school events and promo runs where one off-colour shirt stands out immediately. A batch with mixed shades may still be usable, but it often creates extra sorting, complaints and unnecessary courier delays. If the batch is large, keep a simple internal standard so everyone knows what is acceptable and what must be reworked.
- Compare print tone across the same order
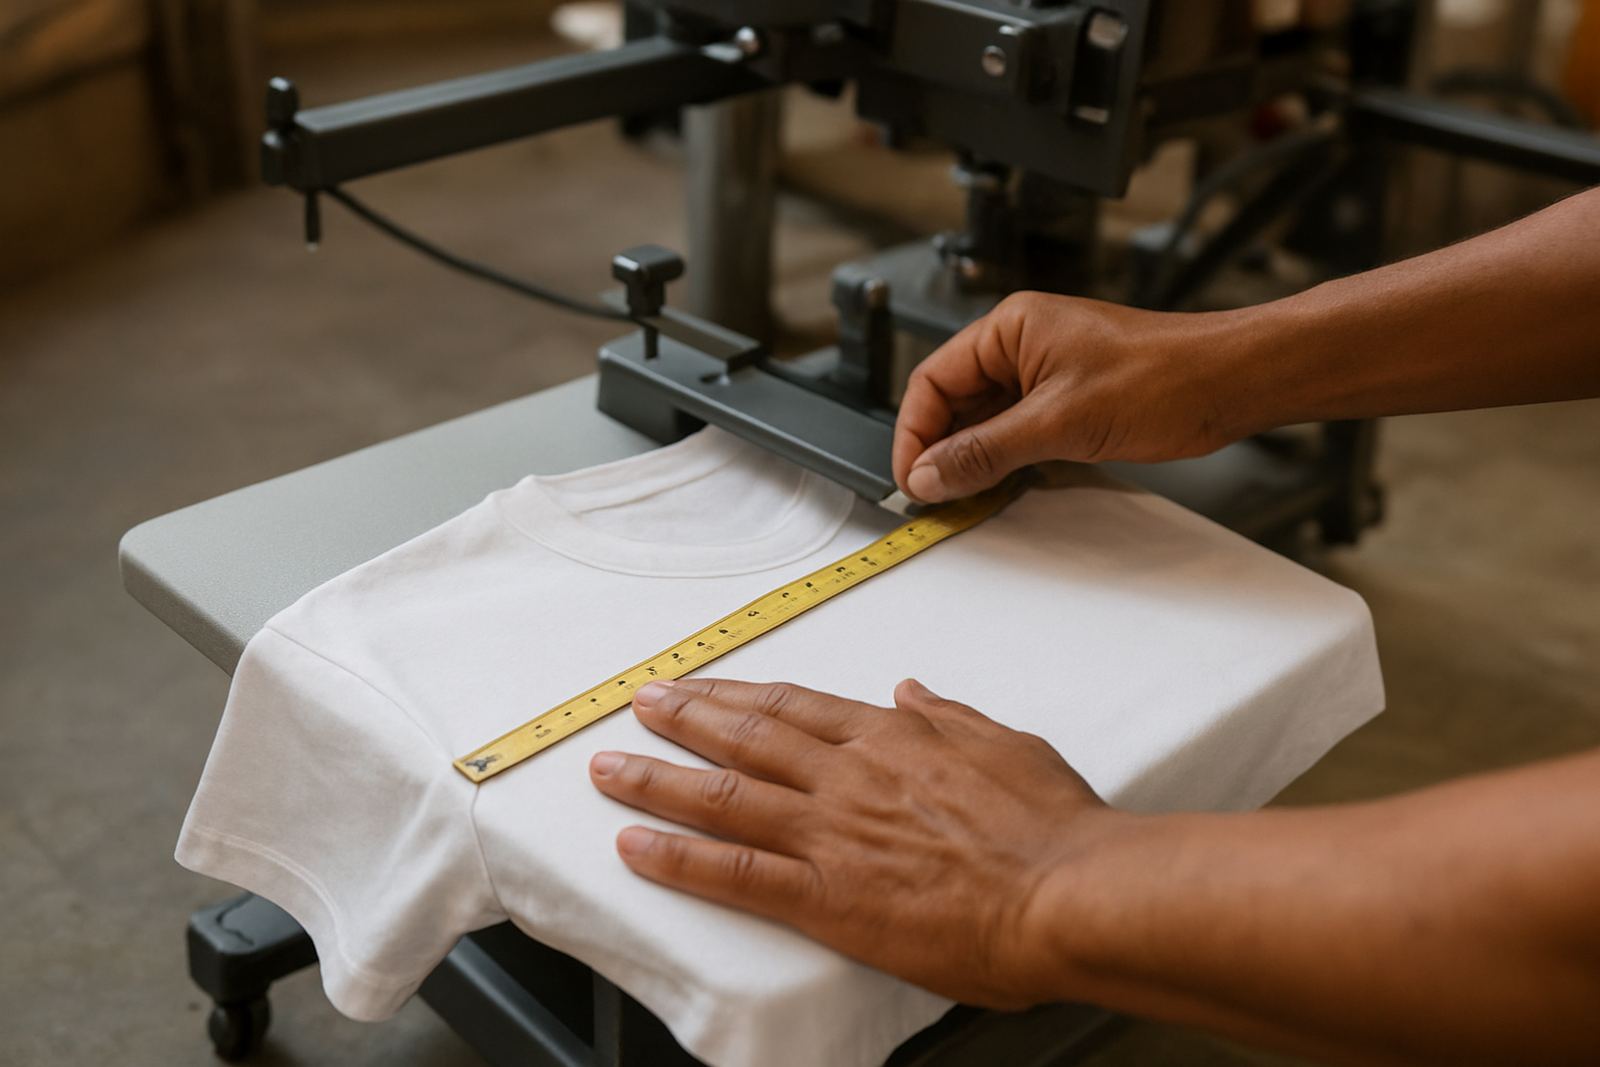
- Measure placement against a fixed point on the garment
- Check left-right symmetry where the design requires it
- Separate any item that looks different from the rest
Build a Packing Decision That Everyone Can Follow
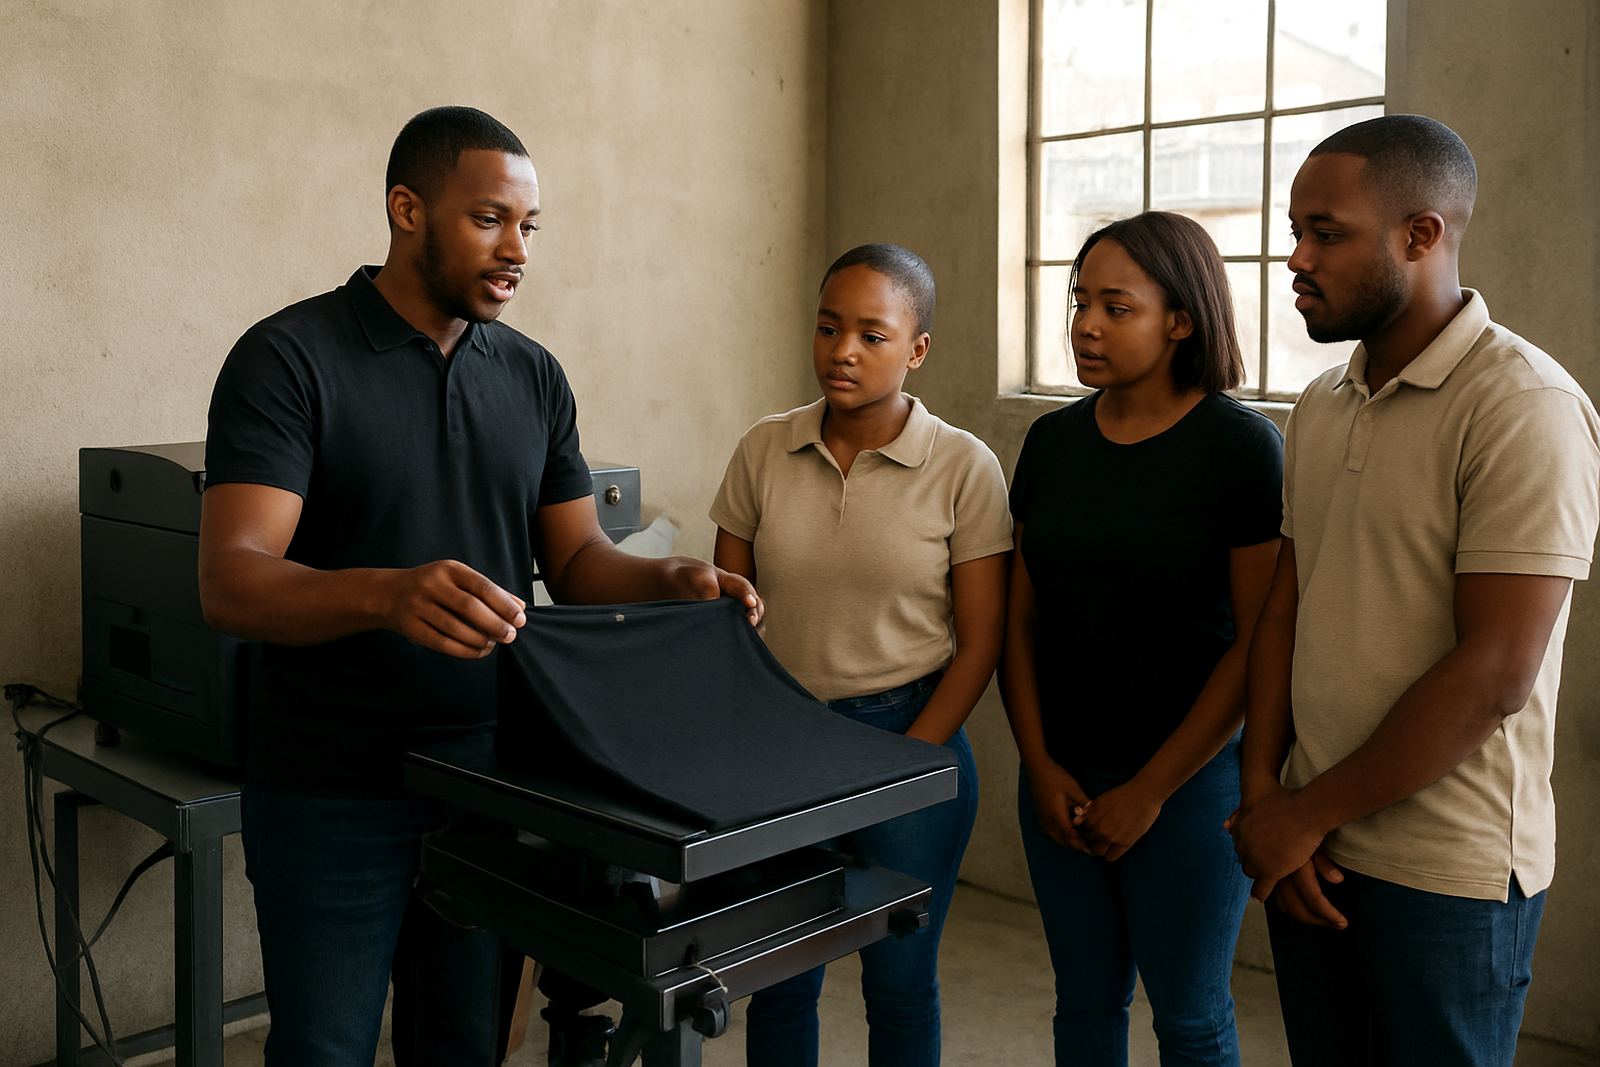
The best visual quality checks are simple enough for every operator to use the same way. A shop in Sandton, Randrand and East Rand should not rely on one experienced person noticing a fault while another lets it pass. The packing rule should be clear: if the garment has a visible fault from normal viewing distance, it does not go out without a decision.
That decision might be a reprint, a wash test, a second inspection, or a note to the customer if the fault is minor and agreed. The important part is consistency. When the team knows exactly what to look for, production becomes easier to manage and fewer garments get returned after delivery.
- Use one viewing distance for the final scan
- Keep a reject tray separate from finished stock
- Record repeat faults so the same issue does not keep coming back
- Make the packer do one last look before sealing the order
What Good Shops in Johannesburg Do Before Courier Cut-Off
A well-run print room in Johannesburg does not wait until the end of the day to notice a problem. Operators check early, compare often, and pack only after the garment passes both a technical and visual review. That habit matters when the courier is due the same afternoon and replacement stock would only arrive tomorrow.
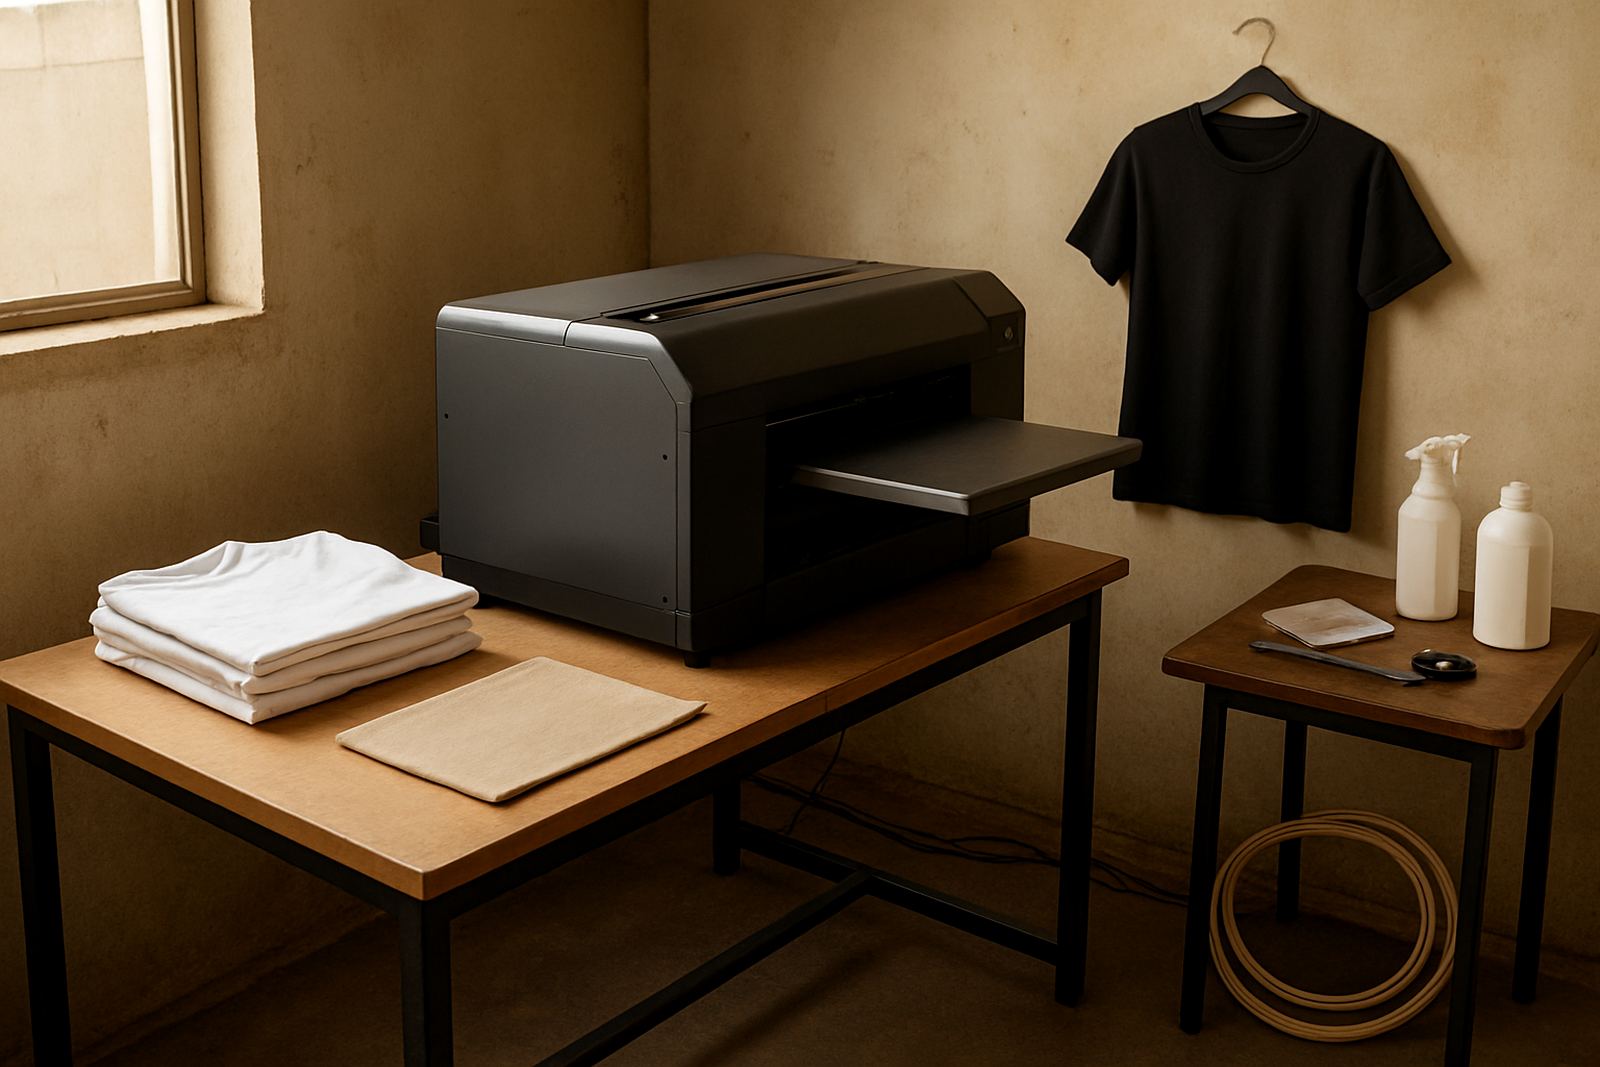
At DTGrip in Crown Mines, we often see that the shops with the cleanest final output are not the ones that print the fastest. They are the ones that keep a small routine, use the right platens and hoops for the garment type, and train their team to spot problems before the order leaves the table. That discipline saves time, cloth and Rand, which is what matters when the machine room is busy and the load-shedding plan changes at short notice.
For shops that want steadier output, the last scan before packing is not a small step. It is where quality becomes visible, and where a printed garment either earns its place in the box or goes back for correction.