
Why centring matters before the first print drops
When artwork sits too high, too low or a little off to one side, the print may still look sharp but the garment does not feel right. Customers notice that straight away, especially on promotional tees, school wear, retail ranges and work shirts where the print needs to sit cleanly on the chest.
In many shops, the centring problem starts before the printer even begins. The shirt is loaded slightly skew, the collar is stretched unevenly, or the operator trusts eye alone on a busy run. A small error can be repeated across 40 or 400 shirts. That means more waste, more strain on the team and more time lost reworking stock.
For print shops in Johannesburg, Durban or Pretoria, centring also affects how well you keep pace during load-shedding, hot afternoons, or a rush order that must leave the same day. A simple routine helps you keep output steady even when the day is not. as planned.
Start with the shirt, not the artwork
The cleanest centring method begins with loading the garment the same way every time. Lay the shirt flat, pull the side seams even and make sure the collar sits square on the platen. If the shirt is twisted before printing, the artwork will follow that twist no matter how carefully you place the file.
Use the collar as a reference point, but do not assume the collar itself is perfectly centred on every garment. Some blanks sit a little differently after washing or handling in humid coastal conditions. That is why many operators in Durban and East Rand shops check the shoulder seams and side seams together instead of relying on one point only.
- Align the side seams before smoothing the front panel
- Check that the collar sits flat and is not stretched to one side
- Press out folds near the print area before loading the shirt
- Use the same loading position for every size in the same run
Mark reference points you can see at a glance
Visible reference points make centring easier, especially for newer operators or mixed teams on a busy shift. Some shops mark the platen or use a simple visual guide to show where the middle line sits and where the print should land relative to the collar. The aim is not to overcomplicate the process, but to give the eye a clear target.
A good habit is to decide on one standard print position for each garment type. A small front logo on a medium tee will not sit in the same place as a large chest graphic on a 2XL hoodie. Once that standard is set, the operator can load the shirt to the same marks and keep the artwork consistent across sizes.
- Set one centre line for each platen size
- Agree on print height targets for small, medium and large garments
- Keep a sample shirt nearby for quick visual comparison
- Review the mark after any platen change or seasonal reconfiguration
Measure once, then repeat the same hand movement
Many centring errors happen because operators use a different hand position on each shirt. One garment is nudged with two fingers, the next is pulled with a palm, and the third is lifted by the hem. That slight variation changes the final placement. A steadier method is to use the same touch points each time so the shirt lands in the same place on the platen.
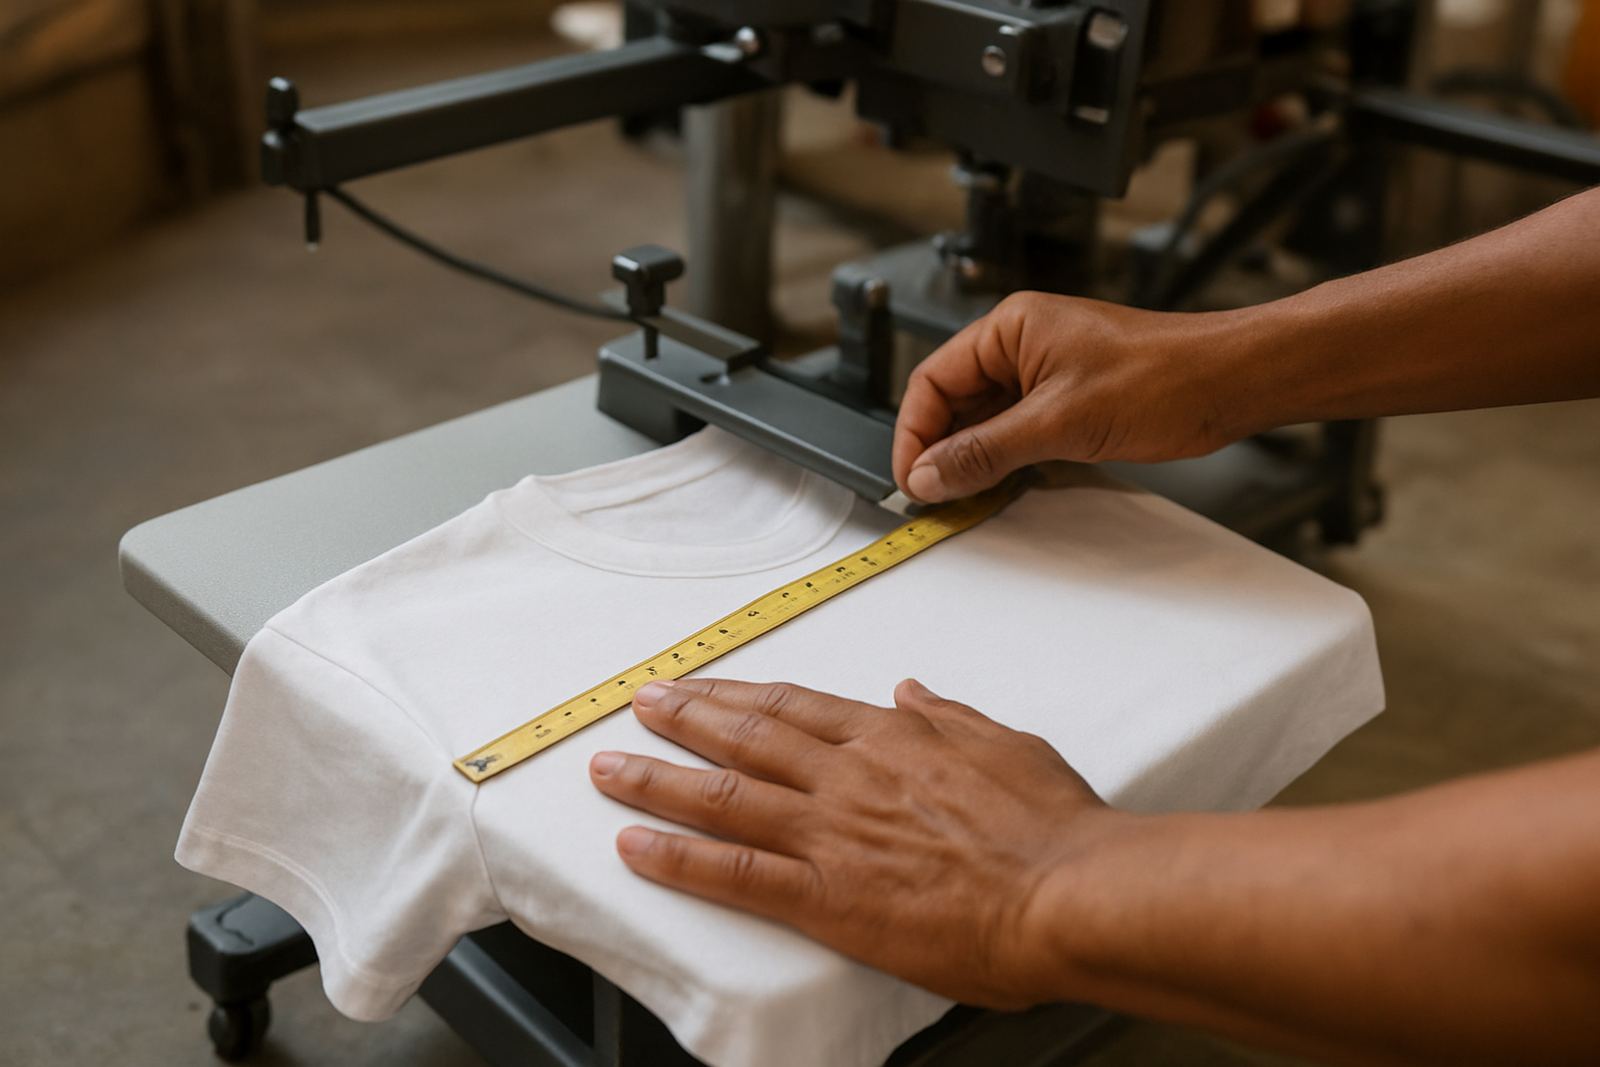
Some print rooms check from the collar to the top of the artwork, then from the centre seam to the left and right edges. Others use a simple ruler or tape measure during setup, then rely on the same loading routine for the rest of the run. Both methods work if they are used consistently and recorded properly.
For larger jobs in Sandton or Randburg, consistency is what saves time. If one operator has to keep adjusting placement shirt by shirt, the run slows down and tempers rise. A repeatable hand movement keeps the rhythm of the line intact, even when the workshop is stretched and everyone is multitasking.
Use pretreatment and press flow to protect your placement
Pretreatment can change how a garment sits on the platen, especially on softer cottons and blends. If the shirt shrinks or shifts after pretreating, centring can move by a few millimetres. That may not sound like much, but on a front chest print it is enough to make the job look off.
The best approach is to build pretreatment into the same workflow every time. Let the shirt cool if needed, then load it back using the same reference points. If you are working with dark garments, white ink, or heavier moisture levels in summer, take a moment to check that the fabric has settled before printing. A rushed reload can undo an otherwise good setup.
- Keep pretreatment amounts and spray pattern consistent
- Allow the garment to settle before final placement
- Recheck the centre line after heat or moisture changes
- Use sample testing when changing fabric type or garment supplier
Train operators to spot small errors early
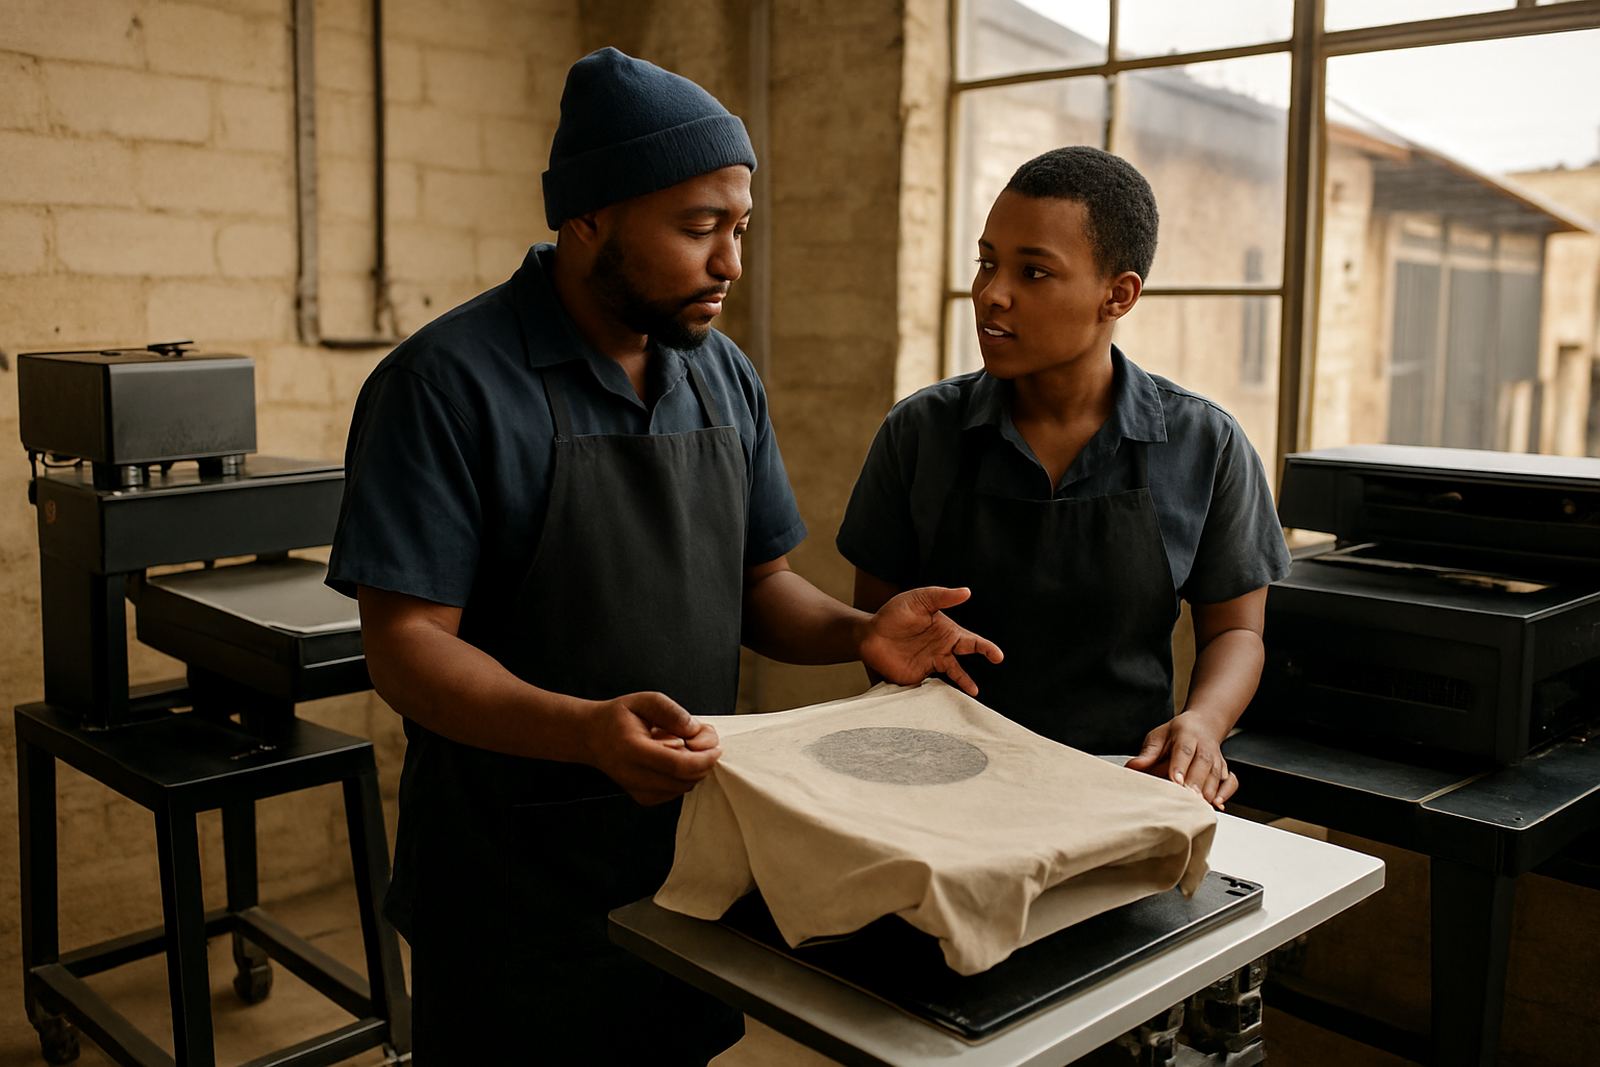
Good centring is easier when the whole team knows what right looks like. One operator may notice that a collar is drifting left, while another may pick up that the print is a little high for the shirt size. Training helps the team use the same judgement, so quality does not depend on one experienced person being present.
At DTGrip in Crown Mines, many local shops ask for operator training or print alignment help when they want fewer reprints and quicker setup on the floor. That support matters when a shop is growing, taking on a new range, or planning production scaling for a season with more demand. A short workflow review can often reveal where centring is slipping, whether the issue is loading, marking or final check.
For a shop in Midrand handling corporate orders, or a printer in Pretoria East managing retail stock, small corrections can save a lot of time. One clean routine beats many fixes after the fact.
A simple Johannesburg example that shows the difference
A Crown Mines print shop taking on a run of 120 promotional tees had a familiar problem: the artwork looked fine on the screen, but some shirts sat slightly left on the chest. The team had the right file, but each operator loaded the garment a bit differently. After a workflow review, they standardised the collar position, marked the platen centre more clearly and checked one sample shirt before the main run.
The result was not dramatic in theory, but it made a real difference on the floor. Reprints dropped, the team moved faster, and the client’s order looked more even across the batch. That is the point of centring habits. They do not need fancy equipment or complicated steps, just a repeatable method that works under real workshop pressure.
If your shop prints for fashion labels, clubs, schools or branded giveaways, the same idea applies. Clean centring protects your margins and helps every shirt leave the press looking deliberate rather than corrected.