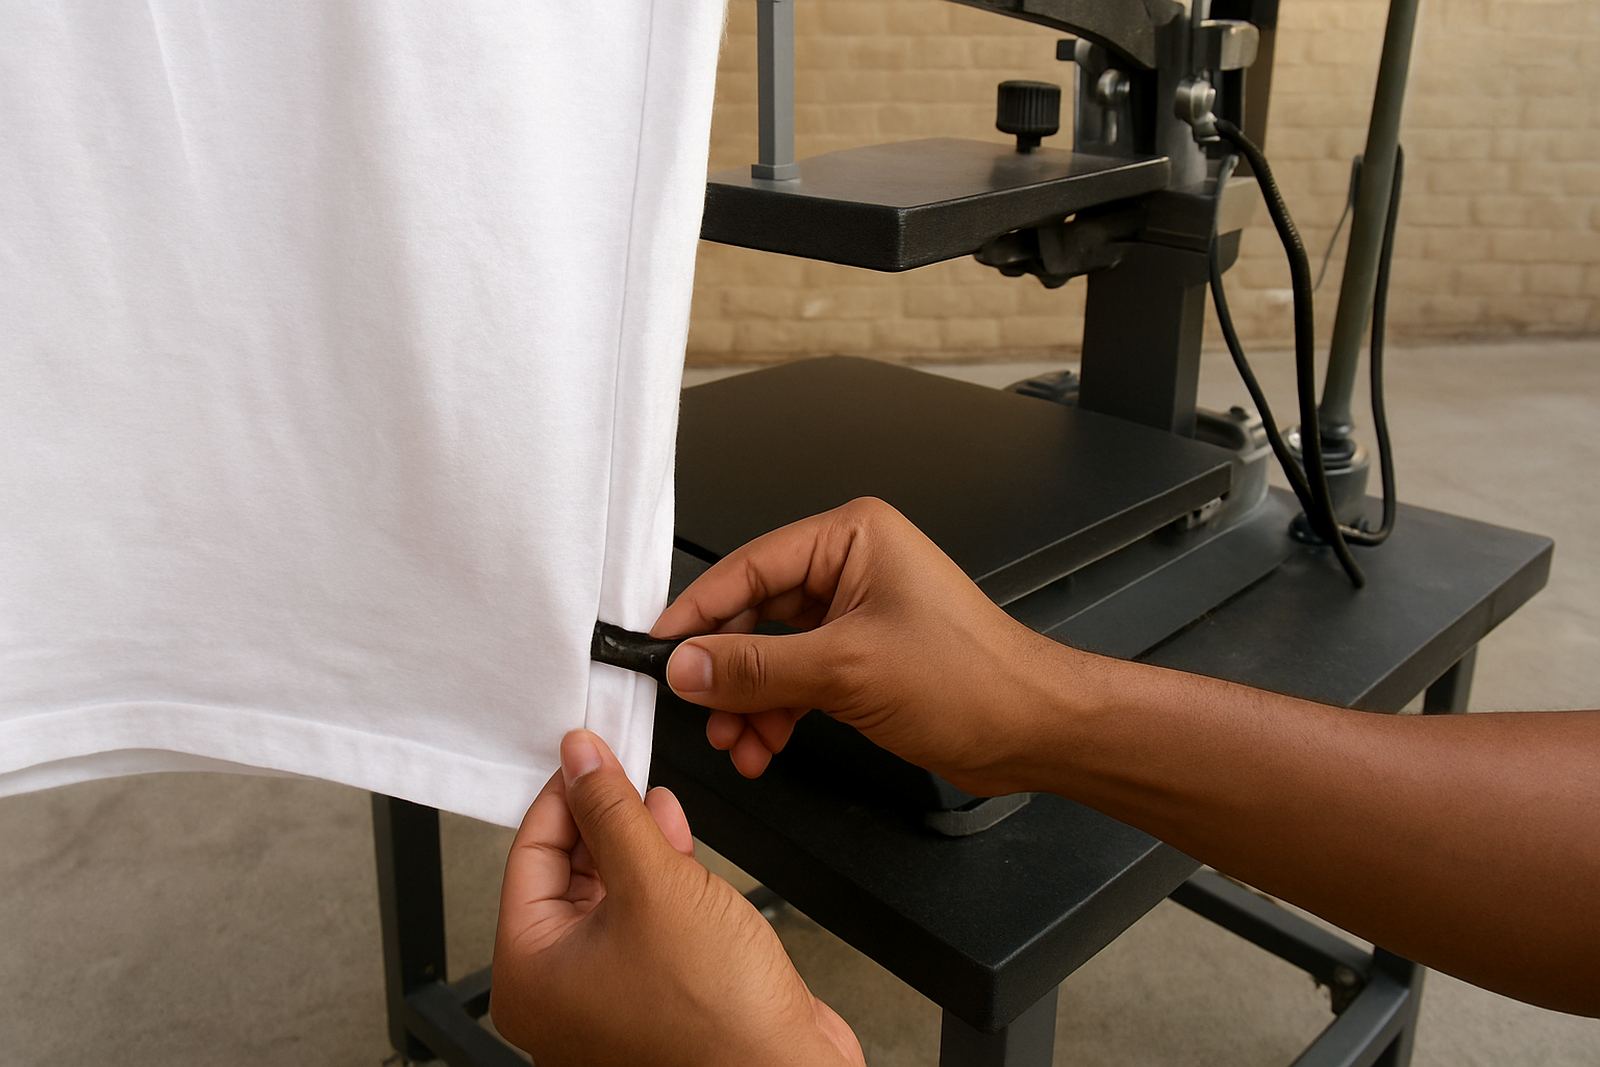
Start With the Garment, Not the Artwork
The quickest way to avoid seam trouble is to inspect the garment before you think about print position. Lay the item flat, feel for side seams, shoulder seams, armhole joins and any thick topstitching, then decide where the print can sit without distortion. A chest logo that looks perfect on the screen can shift badly once the shirt is on a platen and the fabric pulls over a seam.
For local print shops in Johannesburg and Pretoria East, this step matters even more when jobs are mixed across cotton tees, poly blends and fashion cuts. One batch may sit cleanly, the next may have a curved side seam or a narrow body width that steals 10 to 15 mm from your safe print area. If you plan the placement from the garment inward, you avoid wasted blanks and rushed reprints.
Use Platen Size to Keep the Seam Out of the Way
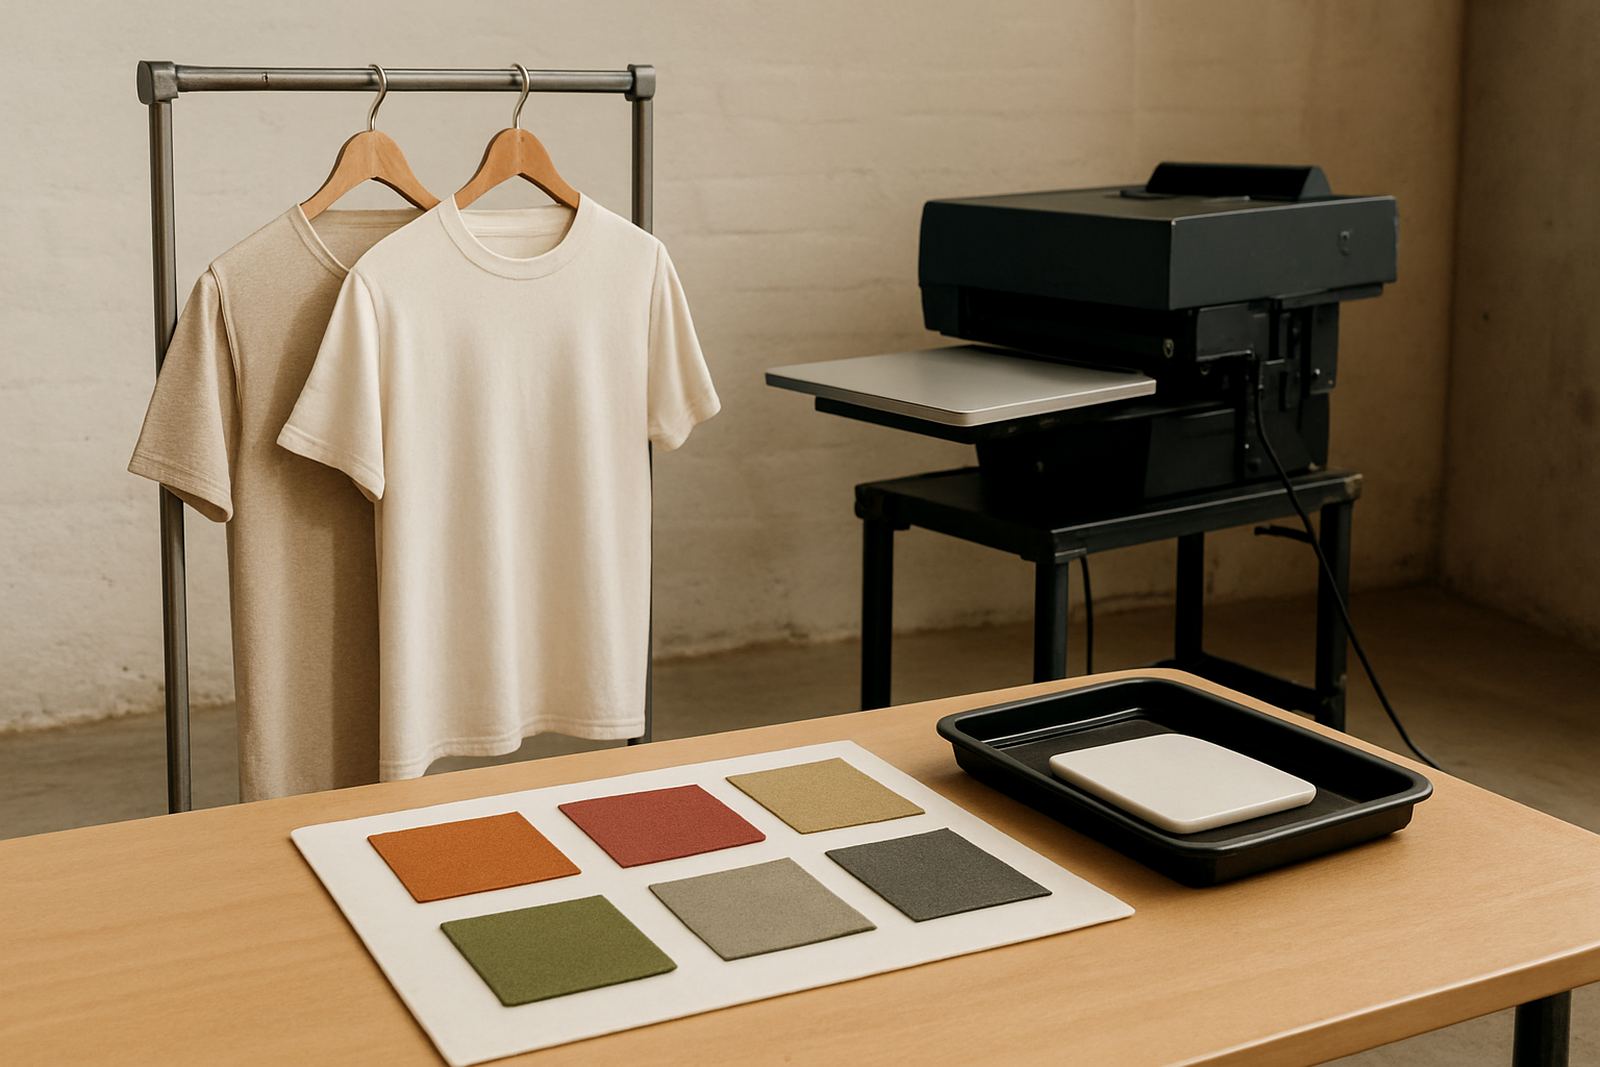
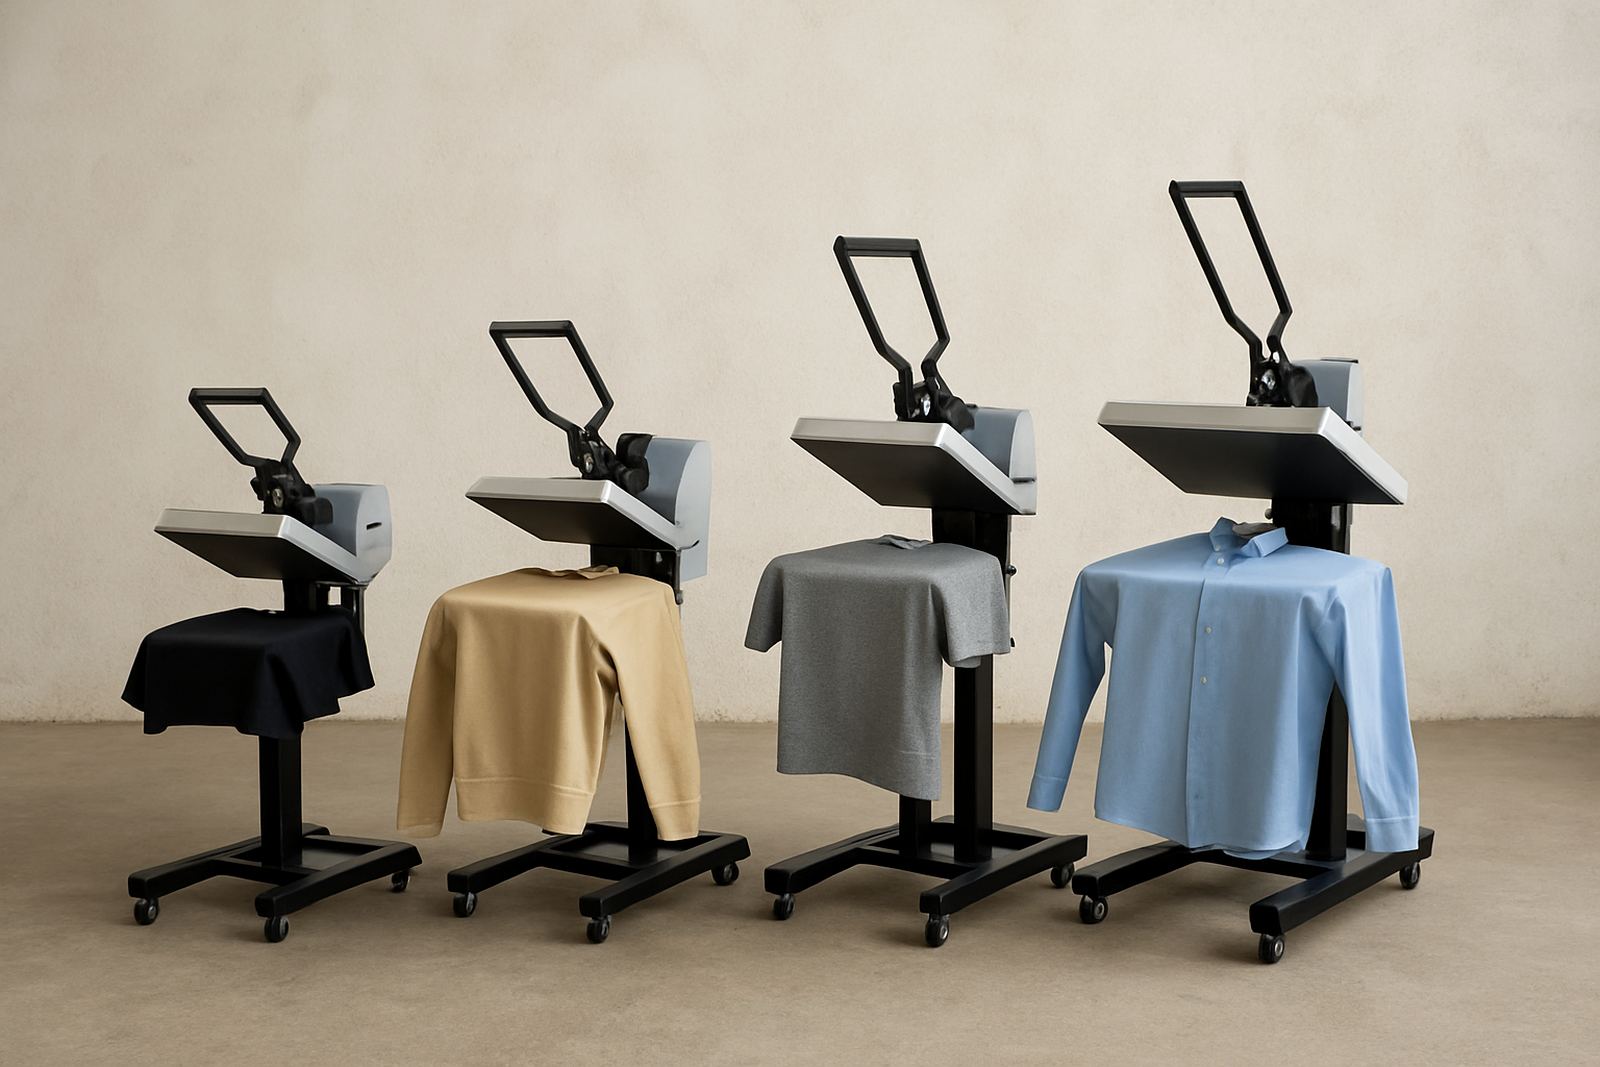
The platen should match the print zone, not just the size of the garment. A larger platen gives better support for broad prints, but a smaller or speciality platen can hold the fabric flatter around a pocket, sleeve or narrow body panel. When the platen is too big for the garment, seams can sit inside the print path and create pressure points that show through the final print.
In a busy shop, it helps to keep a simple platen map near the press so operators know which board suits which job. For example, a youth tee, ladies cut and standard unisex shirt should not all be forced onto the same setup. Using the right support reduces movement during loading and helps your print align where you planned it, not where the fabric decides to fold.
- Match the platen width to the garment panel you want to print.
- Keep thick seams outside the inked area where possible.
- Use test garments when trying a new cut or supplier.
- Mark common placement points for left chest, full front and sleeve prints.
Flatten the Fabric Before You Pretreat
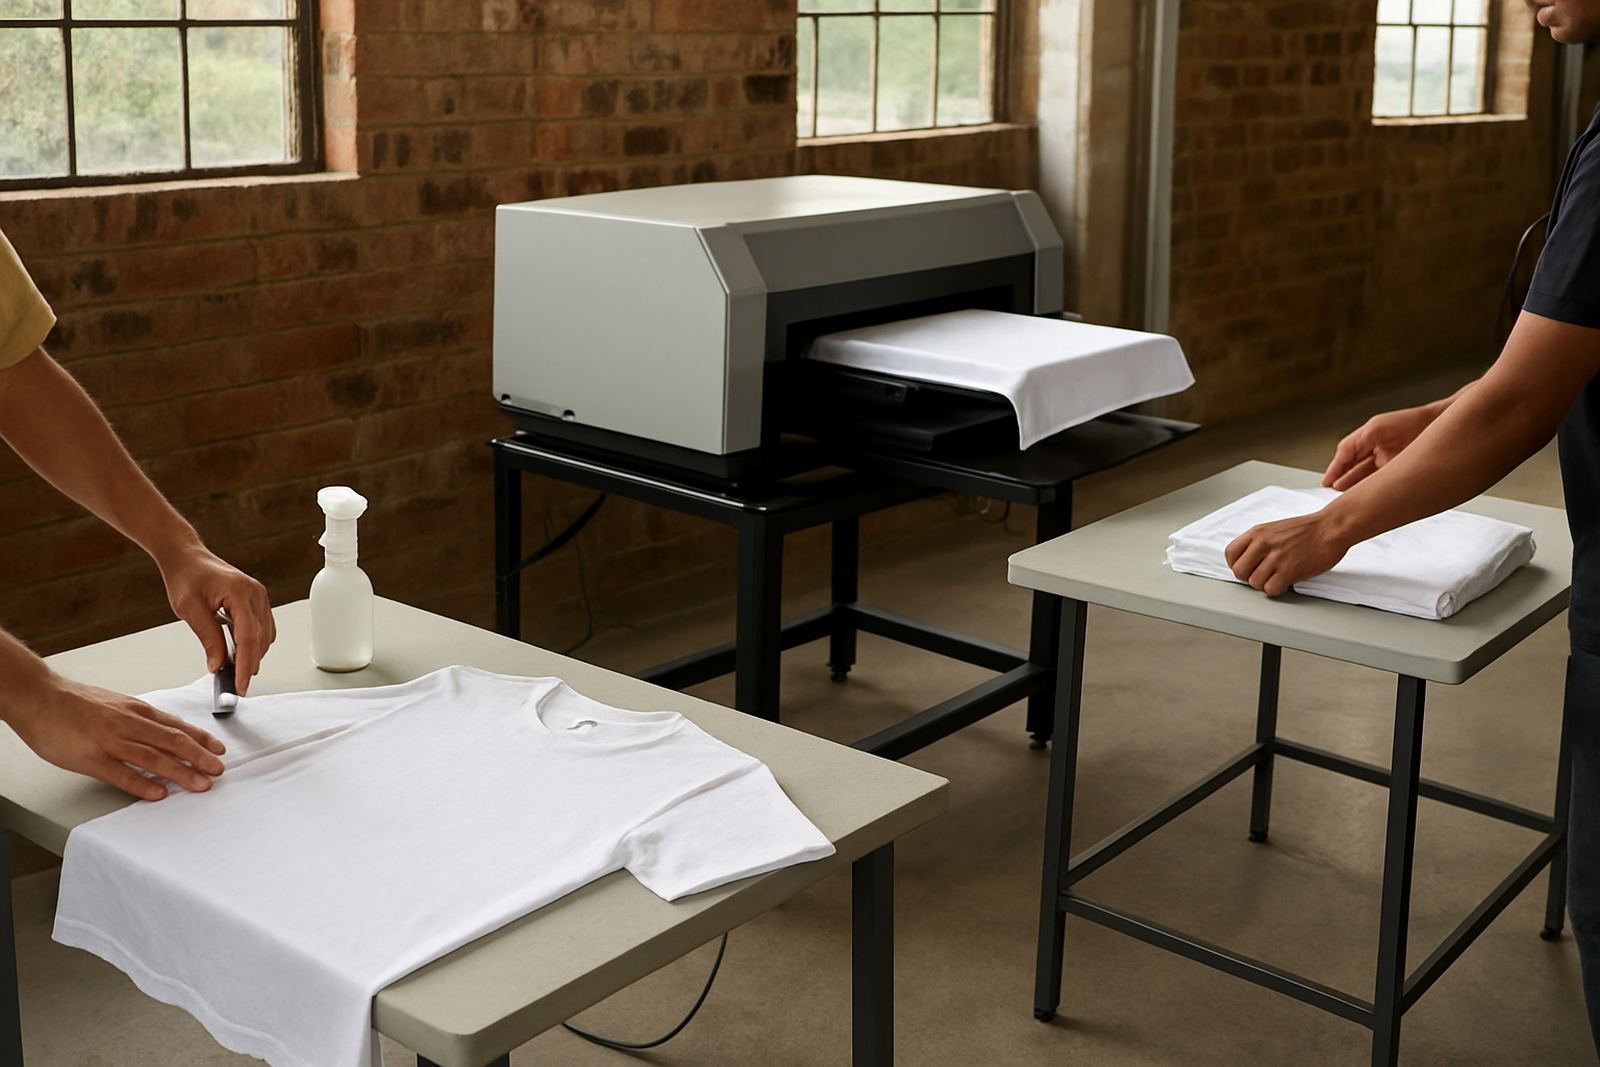
Pretreatment can make seam issues worse if the garment is already twisted or bunched. Before spraying, brushing or loading a pretreat workflow, smooth the fabric so the seam sits naturally and the print zone stays even. If one side is riding higher than the other, the pretreat may pool at the edge of the seam and dry unevenly, which can affect wash durability and colour hold.
For shops dealing with promotional wear in Sandton or Randburg, it pays to build a repeatable loading routine. Fold lines, neck stretch and shoulder pull all change how the seam behaves under heat. A steady pretreat process keeps the print area consistent and cuts down on surprises when the garment goes under the heat press or into curing. It may sound small, but it saves time at the back end.
Training the Operator to Spot Problem Seams Fast
Good seam management comes down to operator judgement. A trained eye can spot when a collar seam, raglan join or side panel will interfere with the artwork before the job reaches production. That means fewer stop-start moments, less reloading and better use of labour when orders are stacked up for month-end or a seasonal rush.
Short training sessions work well because the lesson is practical, not theoretical. Show the team how to check seam height, where to feel for bulk and when to shift the print position slightly left or right. In Crown Mines, where shops often run mixed jobs from school wear to event tees, this kind of routine helps keep the workflow stable even when the workload changes quickly.
- Feel the garment inside and outside before loading.
- Check if the seam sits inside the intended print zone.
- Shift artwork a few millimetres rather than forcing a bad position.
- Keep a sample record of difficult garment styles.
When a Seam Must Stay in the Zone
Sometimes the design simply has to cross a seam, especially on fashion garments or centre-front artwork that sits close to a joined panel. In those cases, the answer is not to guess. Test the garment, check how the seam affects pressure and confirm whether the print can still hold detail without cracking or missing the low spots. A little sample testing can save a full production run.
If the seam cannot be moved out of the way, adjust the artwork or the setup rather than pushing through with the same settings. A print that looks sharp on the platen may still fail once the shirt is worn and stretched. For high-volume shops, seasonal reconfiguration helps too because winter garments, track tops and heavier blends often need different support than summer tees.
A Johannesburg Example: Better Results on a Mixed Order
A print shop in Crown Mines recently handled a mixed order of promotional tees and fitted ladies shirts for a corporate event in Midrand. The first samples showed that the side seams on the fitted shirts were pulling the logo just enough to make the left edge look uneven. The solution was not a bigger print, but a tighter loading routine, a smaller support board for the ladies cuts and a slight shift in placement.
After that adjustment, the print sat cleaner and the team cut their rework almost immediately. The shop also kept a sample of the problem garment for future reference, which helped when the same cut came back later in the season. That kind of simple, practical process is what keeps production moving when courier time is tight and the next batch is already on the bench.
- Test one garment from each new supplier before full production.
- Record the best placement for difficult seam positions.
- Use sample pieces to compare pressure and print clarity.
- Review the setup again if the garment changes shape after heat.
Build a Seam-Friendly Workflow That Holds Up Under Pressure
Seam management is part garment handling, part setup discipline and part operator experience. If your shop gets these three things right, you waste fewer blanks, keep print zones clear and deliver more consistent results across different cuts and fabric types. It also helps when power interruptions or end-of-day pressure force the team to move quickly, because a clear system is easier to follow than memory alone.
For garment decorators working across Johannesburg, Centurion, East Rand and beyond, the practical goal is simple: make sure the seam does not control the print. Use the right platen, prep the fabric properly, train the operator to read the garment and test anything unusual before it goes to production. That approach gives you cleaner prints and fewer complaints from customers who expect the logo to sit exactly where it should.