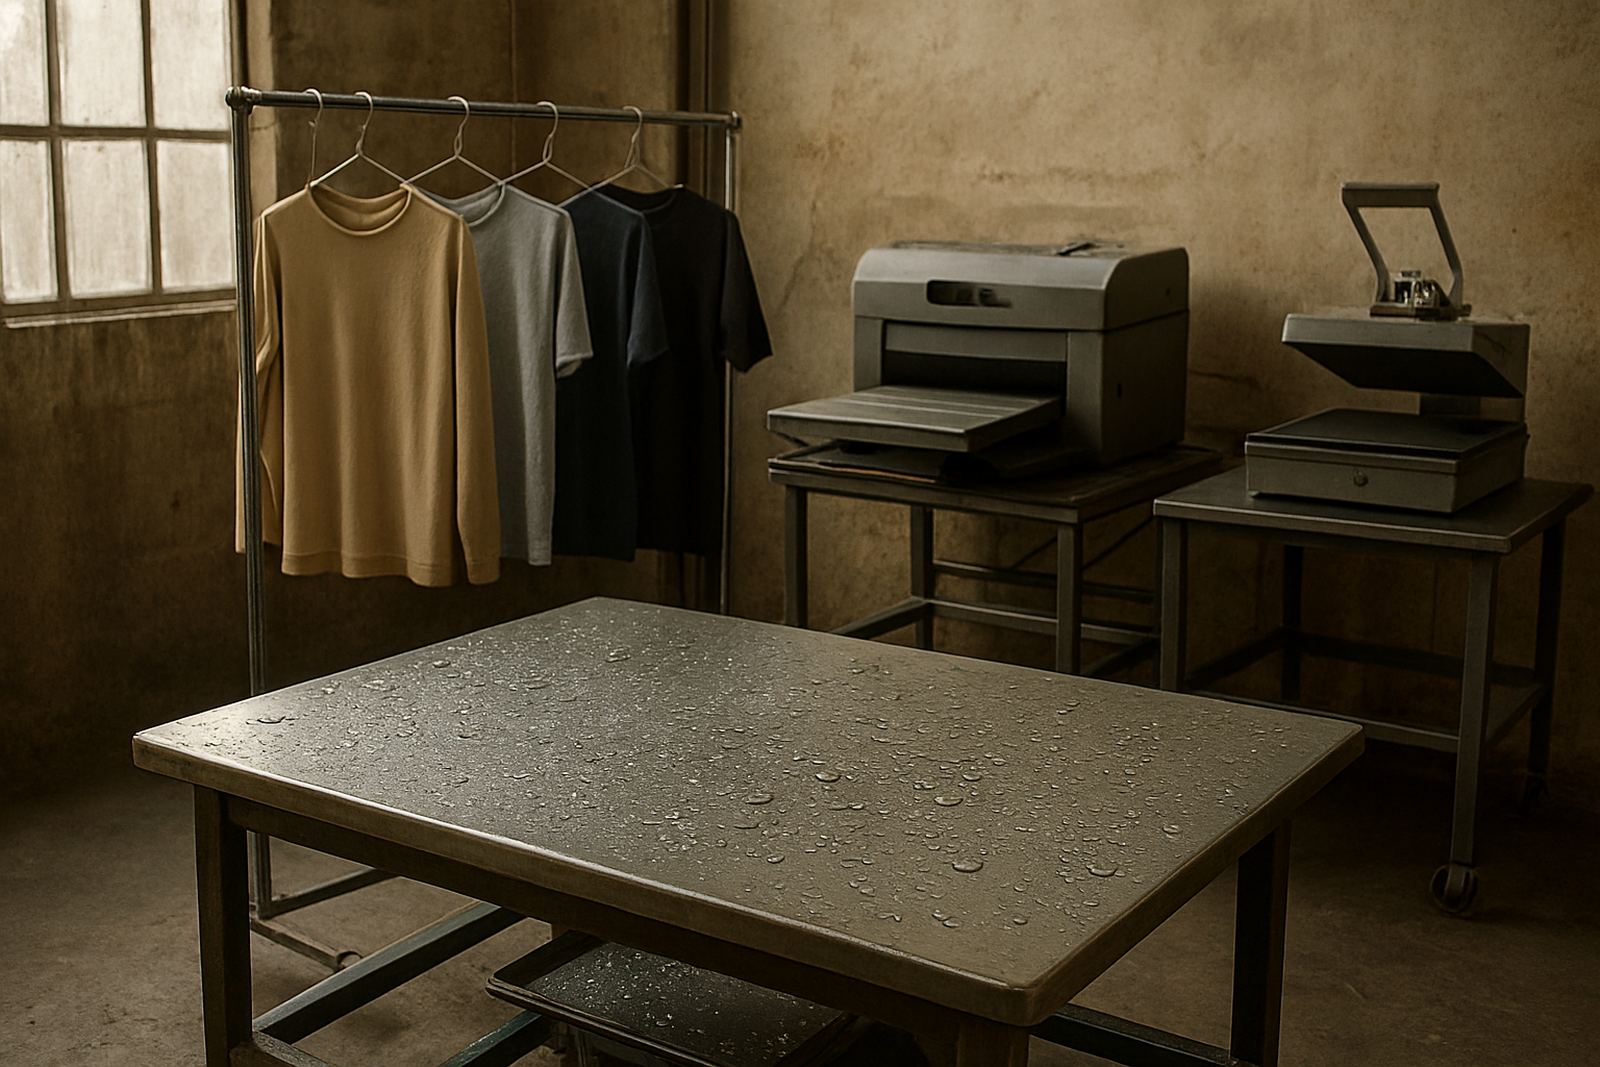

What underapplication looks like on the press
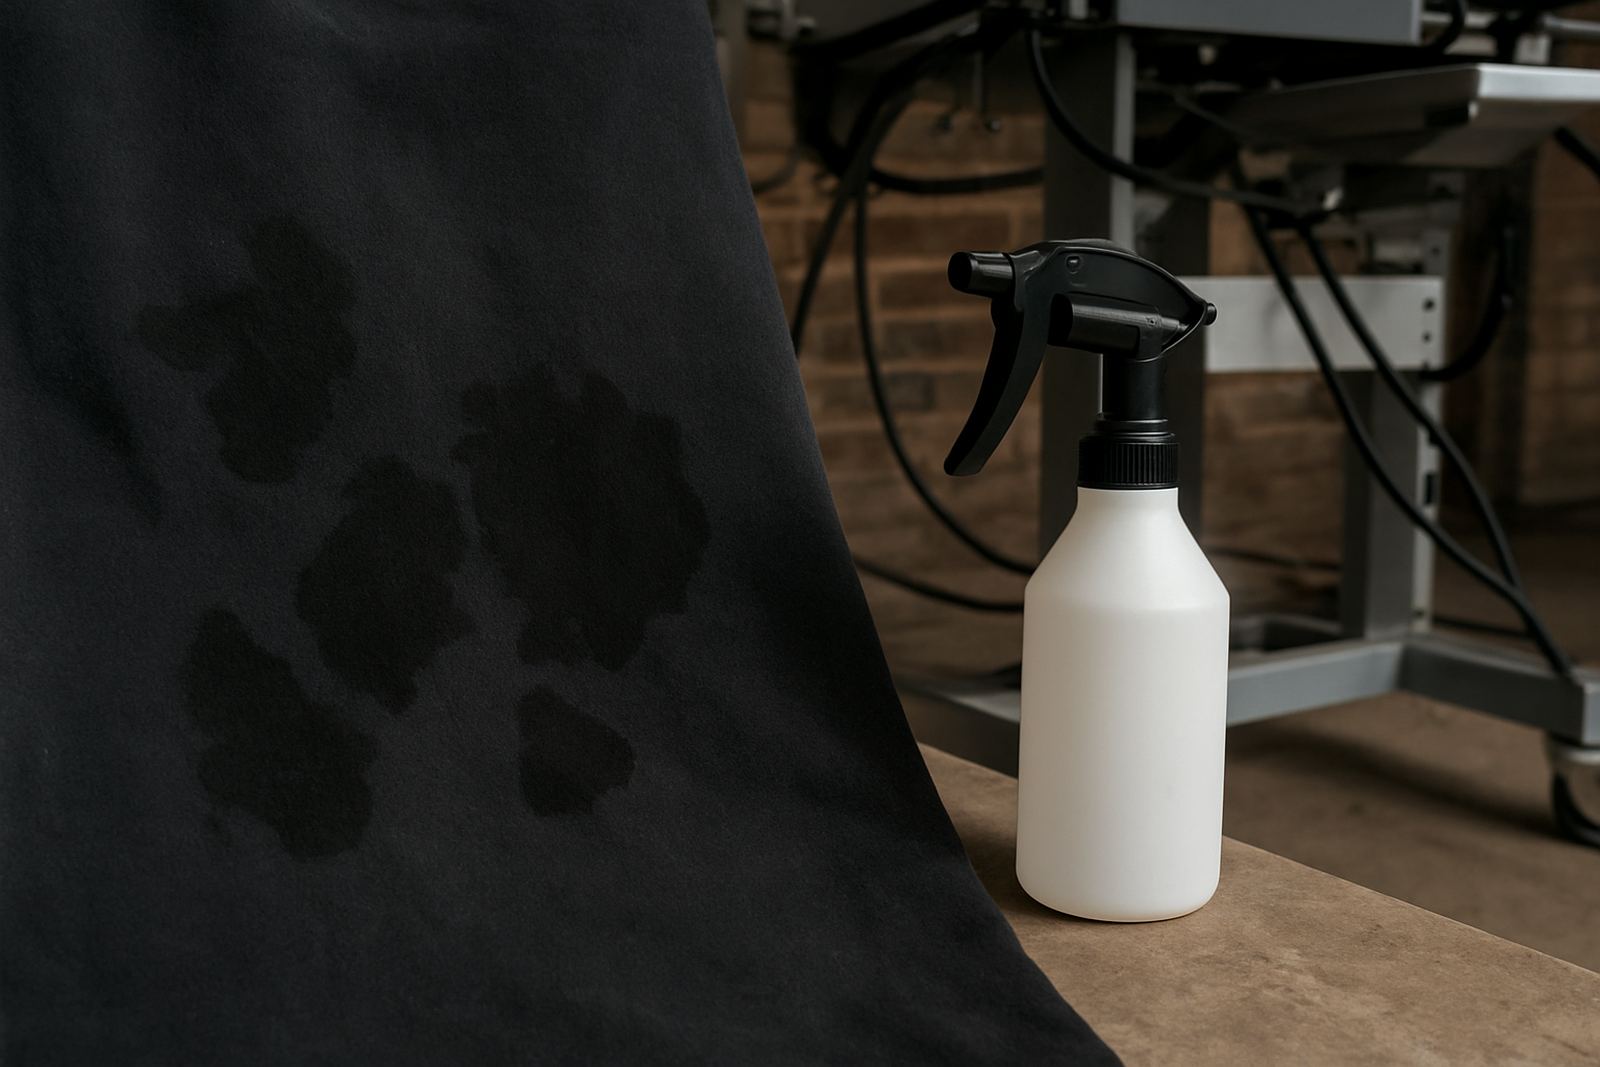
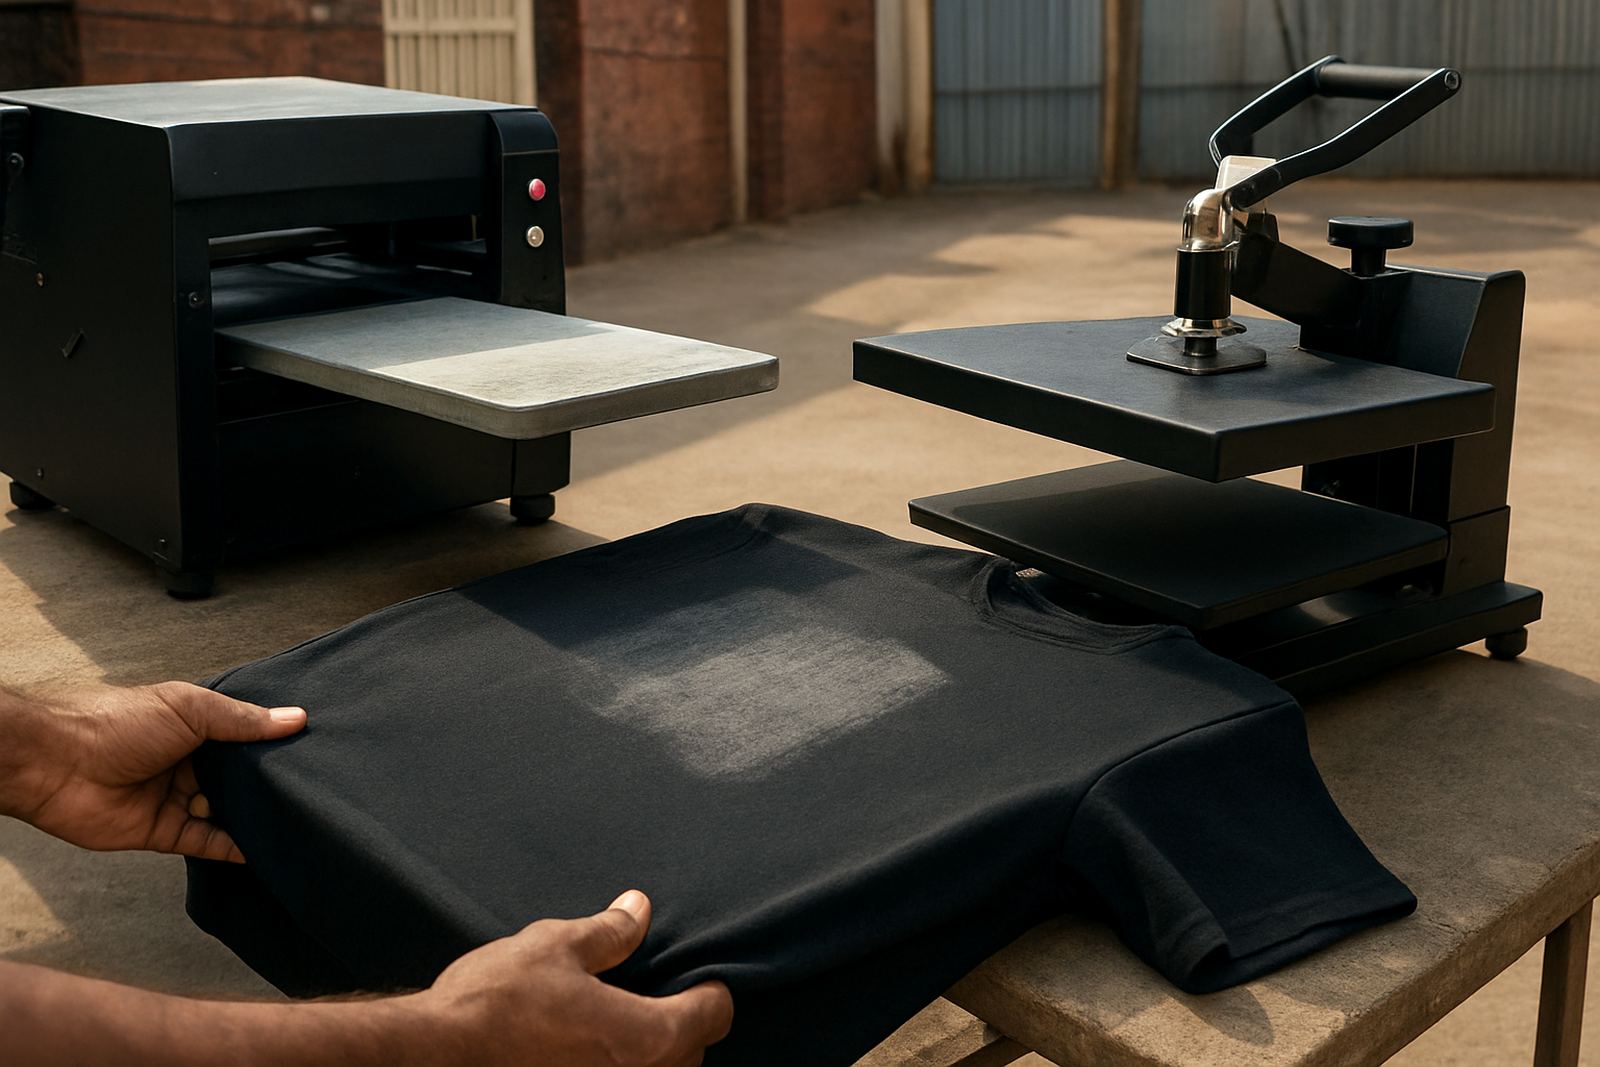
Pretreat underapplication is usually easy to spot once you know what to look for. On dark cotton, the print may look greyed out instead of bright, the white underbase can appear speckled, and some areas of the garment may take the ink better than others. If the chest print is sharp in one corner but weak in the centre, the problem is often coverage rather than the artwork.
In many local print shops, the first sign is not the final garment but the heat press test. The fabric may still feel dry in patches after pretreating, or you may see a slight staining pattern from the spray direction. That means the garment did not receive an even layer and the result will vary from shirt to shirt.
- Washed out colour on black tees
- White underbase that looks thin or patchy
- Sticky or over-wet areas next to dry spots
- Prints that crack or dull after a few washes
Why dark garments show the problem first
Dark garments expose pretreat faults quickly because the print relies on a strong white base. If the pretreat is too light, the white ink sits on top of loose fibres and the garment can drink up the ink unevenly. If it is too heavy in one area, the print may sit glossy, wash out slowly, or leave a hard patch around the design.
Blends and heavier fabrics can make this even more obvious. A 100 percent cotton black hoodie may still need a different approach from a poly cotton T shirt, and a seam or fold can block the spray pattern. In humid coastal weather, pretreat can also behave differently from a dry winter morning in Johannesburg, so the same setting does not always give the same result.
- Cotton usually shows underapplication through weak brightness
- Blends can show it through uneven bonding and dye migration
- Thick garments need careful coverage around seams and hems
- Humidity can change how quickly the garment dries before pressing
Check your spray pattern before you blame the printer
Before adjusting the printer, check the pretreat stage. Many problems blamed on the machine are really caused by a narrow spray band, blocked nozzle, wrong garment placement or inconsistent loading on the platen. If the shirt sits too far forward, the lower chest may get more liquid than the upper area. If the operator is rushing, the second shirt often gets less attention than the first.
A simple test is to pretreat a few garments under the same conditions and compare the pressed result side by side. If one shirt prints well and the next one does not, the issue is usually in application or handling. A plain white test print on dark fabric can show weak zones clearly, even before the full artwork goes to press.
- Keep the spray path straight and repeatable
- Match garment position to the same platen markers
- Check for blocked nozzles and uneven output
- Run test pieces when changing fabric type or size
How to improve coverage without overdoing it
The goal is even coverage, not more liquid for the sake of it. Too much pretreat can leave a stiff hand feel and slow down production, while too little gives weak print brightness. The balance depends on garment weight, colour, fabric blend and the final print area. A small chest logo may need a different pass than a full front graphic.
A practical workflow is to standardise by garment type. Keep a basic setup for light tees, another for dark cotton, and a separate note for difficult items like hoodies or performance wear. If a shop in Crown Mines is getting repeat complaints on black fashion tees, the fix is often a tighter pretreat routine rather than a bigger machine. Consistency matters more than guesswork and you can feel the difference in the finished print.
- Set separate pretreat notes for each common garment type
- Use sample tests when changing supplier batches
- Press and dry according to the same timing each shift
- Record what works for cotton, blends and heavier fabrics
A Johannesburg example from a busy production floor
One mid-sized print shop in Johannesburg was handling school events and promo orders at the same time. Their black T shirts looked acceptable at first glance, but the white underbase kept appearing grey on the larger chest prints. After checking the workflow, the team found that the spray width was fine on small garments but too narrow for adult sizes, especially when operators worked quickly during peak load-shedding hours and changed tables often.
Once they standardised the platen position and added a quick check before pressing, the issue settled down. The print quality improved, there was less rework and the team spent less time arguing over whether the printer or the pretreat stage was at fault. That kind of fix does not need guesswork, just a clear process and a willingness to test.
For shops serving Sandton, Randburg, Midrand or Pretoria East, the same lesson applies. Different garment runs, different staff and changing daily conditions can all affect coverage. A steady pretreat method keeps the dark garments predictable from the first order to the last one.
When to review your workflow instead of chasing one bad shirt
If underapplication keeps showing up, it is worth reviewing the full workflow rather than making small random changes. The problem may be in the spray equipment, the operator timing, the press settings or the way garments are stored before printing. In some cases the shop is doing everything almost right, but the method is not suited to the volume they are trying to handle.
A workflow review can help when a shop is scaling up, adding a new garment type or dealing with tighter turnaround times from local clients. The aim is to reduce wasted ink, avoid reprints and keep dark garment results stable across the week. If a team is unsure where the weak coverage starts, sample testing and remote troubleshooting can save a lot of time.
- Review the process when reprints start climbing
- Test new fabric batches before full production
- Recheck settings after staff changes or seasonal demand spikes
- Use onsite support if the problem stays unresolved