
How overapplication shows up on the garment
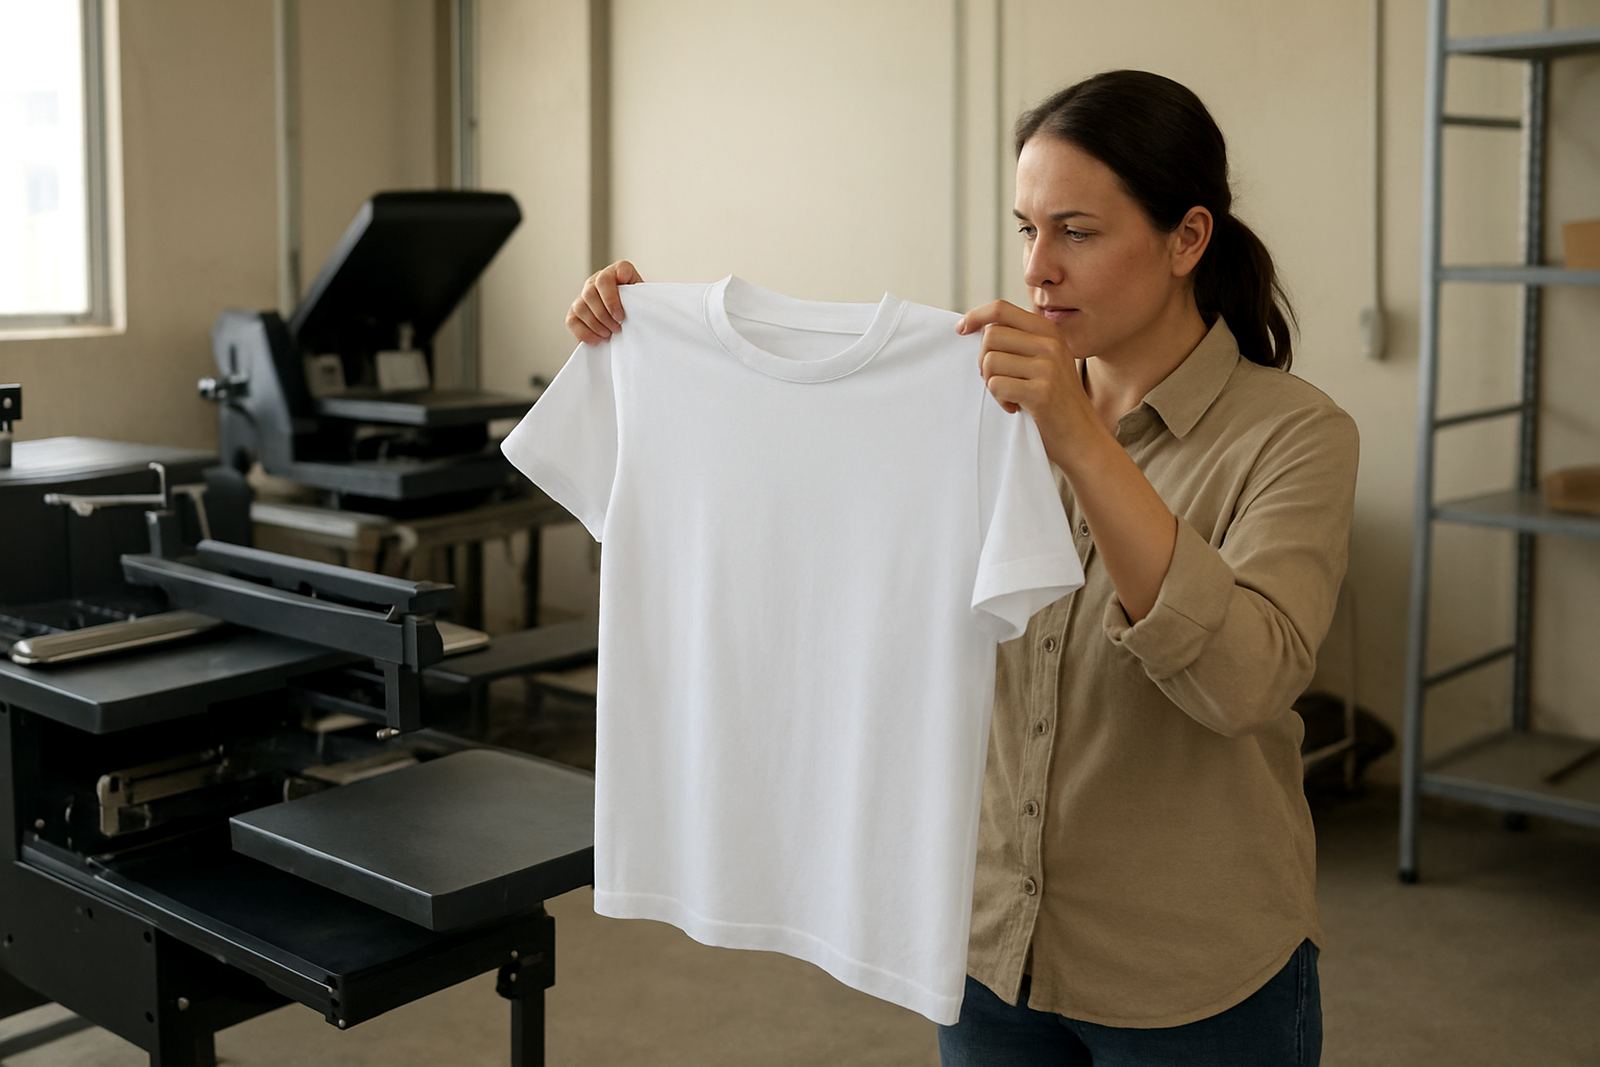
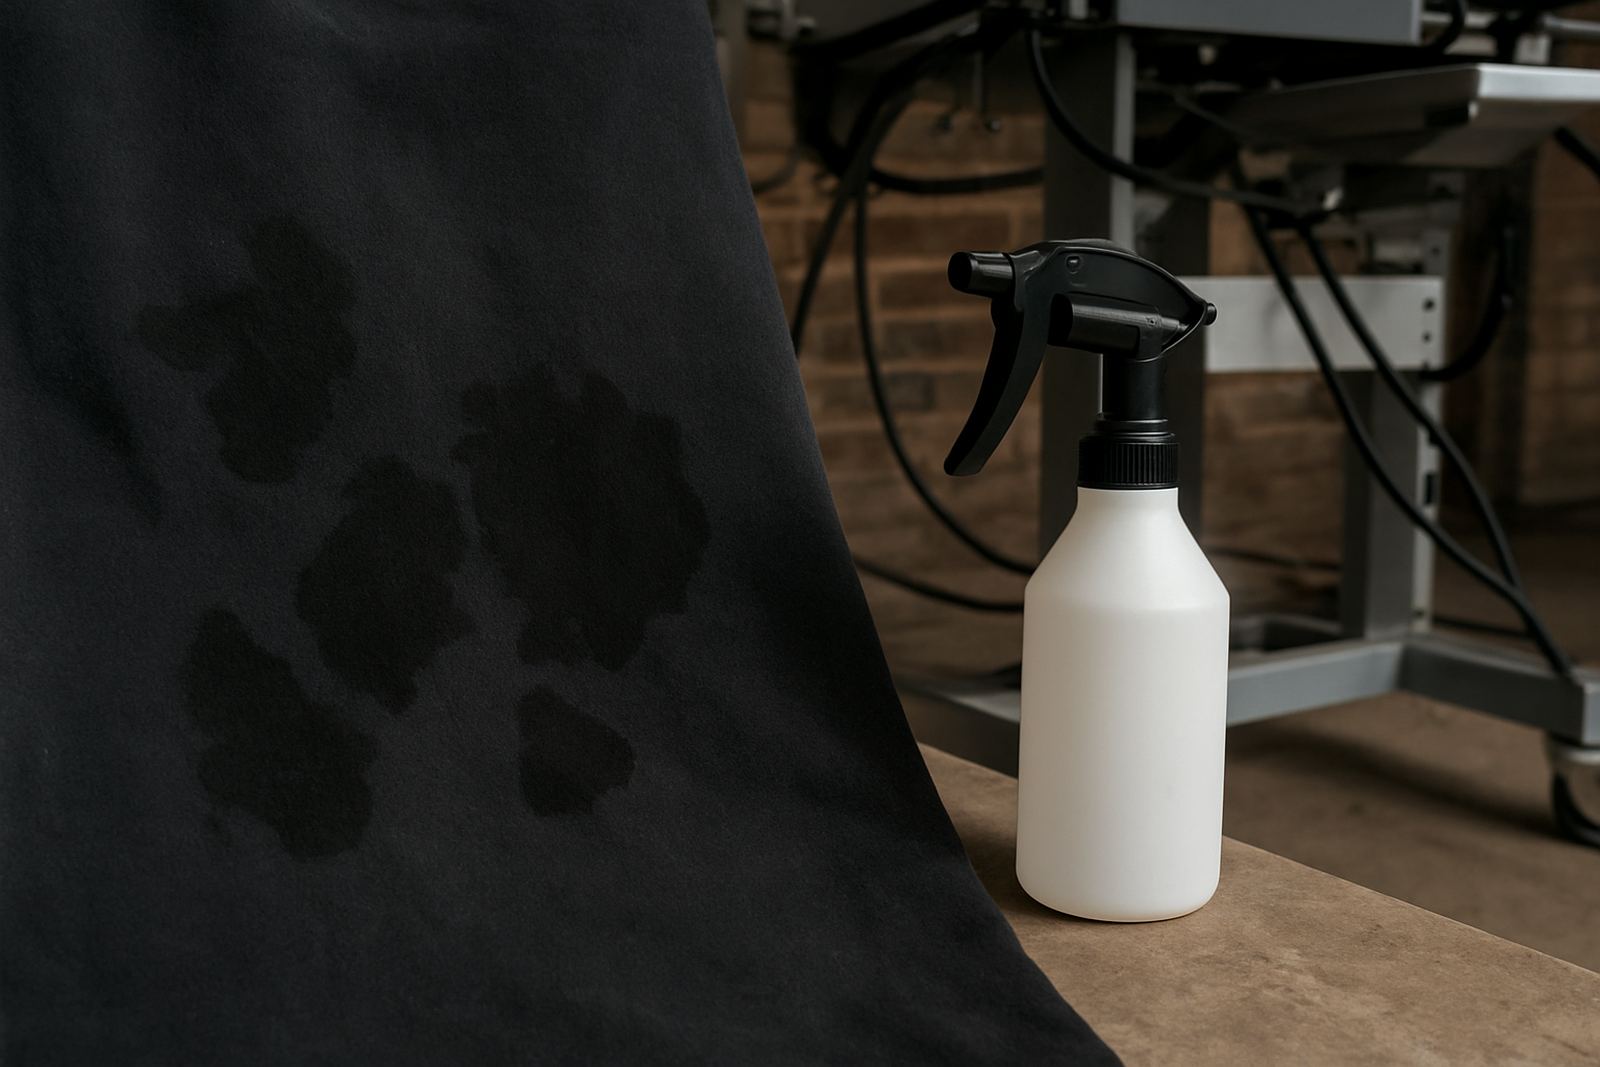
When pretreatment is applied too heavily, the fabric usually tells you before the print does. You may see a dark or oily patch on the garment, a stiff hand feel, or a mark that stays visible after pressing. On black and coloured cottons it can look like a wet square, while on pale garments it may leave a slight sheen that customers notice straight away.
Other signs are less obvious. Ink can sit on top instead of biting in evenly, which leads to a patchy print surface after curing. The garment may also take longer to dry, especially in humid coastal conditions or during winter in Gauteng when workshops close up to keep the cold out. If the pretreat is heavy, you can also get board marks, ghosting, or a print that feels tacky after the heat press.
A useful rule is this: if the shirt looks damp long after spraying, or the print area feels heavier than the rest of the garment, there is too much product going on. That extra liquid has to go somewhere, and usually it ends up in the fibres, on the platen, or in your heat press cycle.
What to check first before changing the whole workflow
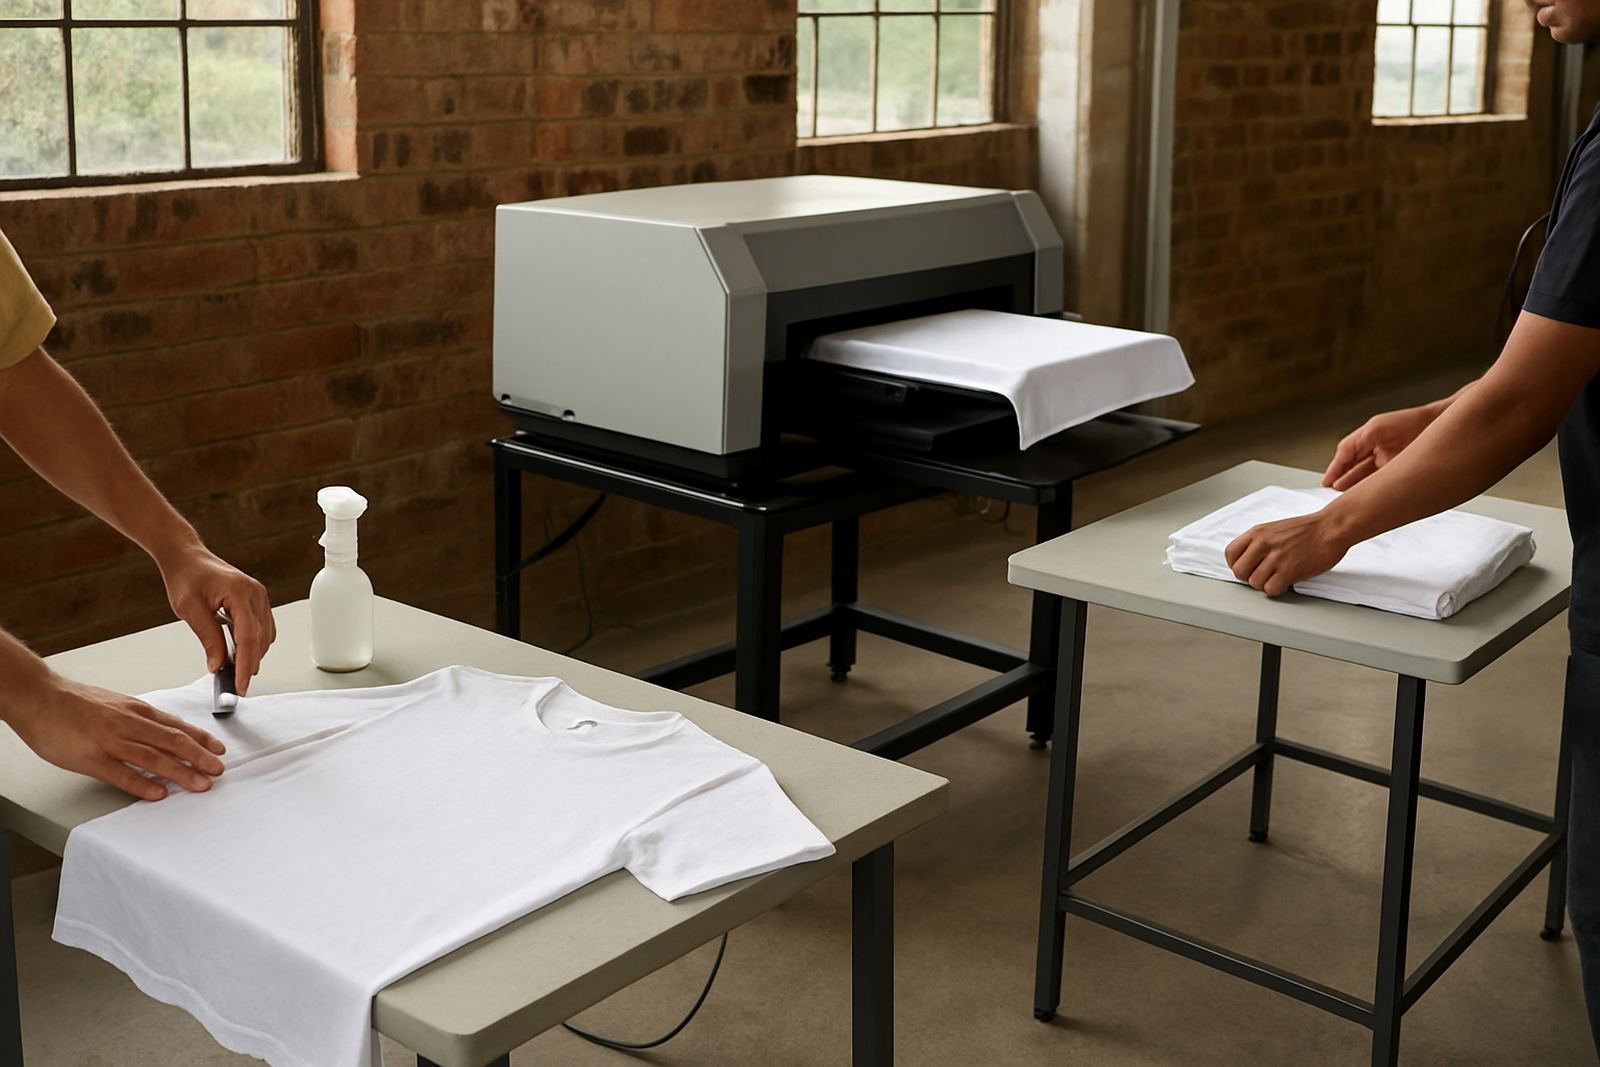
Start with the simplest controls first. In most shops, overapplication comes from the spray pattern, the distance from the spray head, or a setting that was copied from another fabric type. Do not jump straight to changing your curing time or press temperature before checking how the pretreat is being laid down.
- Check the spray volume per garment and compare it to your normal shirt size.
- Look at spray distance, angle, and whether the nozzle is building up in one spot.
- Confirm that the garment is sitting flat on the platen with no lift at the seams.
- Make sure the product is mixed properly before use, especially after standing overnight.
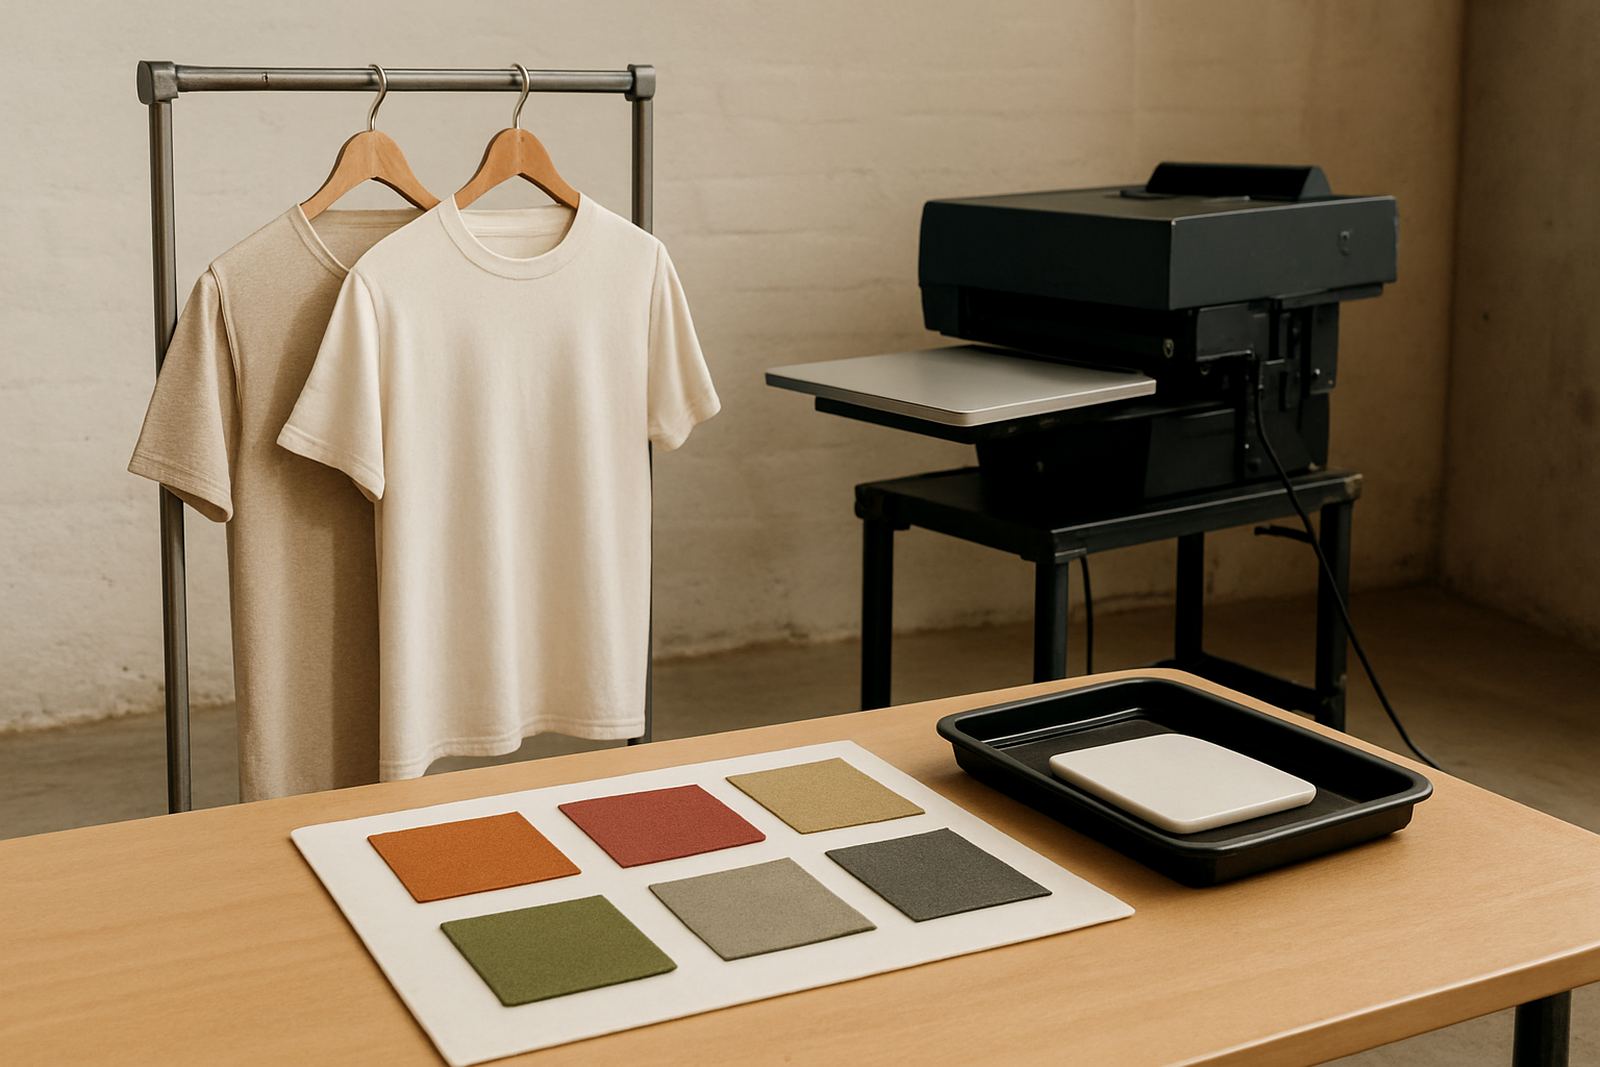
- Test on the same fabric type, because blends and heavier cottons behave differently.
If the same setup gives good results on one fabric and trouble on another, the issue may not be the machine at all. In that case, the adjustment is usually in the pretreat amount rather than the heat press settings.
Why too much pretreat hurts print quality
DTG printing depends on the ink sitting in the right layer of the fabric. When there is too much pretreatment, the fibres can become saturated and the ink loses its clean landing zone. That can cause dull colour, fuzzy edges, or a print that washes differently from the sample you approved.
Heavy pretreat can also create a surface film. Instead of the print anchoring neatly, the ink may bead, sit unevenly, or cure with a slightly cracked look. In some cases the white ink layer will look strong at first, then settle after curing and expose the issue. If you are printing for corporatewear, event shirts, or merch runs in Sandton and Midrand, that kind of inconsistency is costly because repeat orders need the same result every time.
There is also a maintenance angle. Extra pretreat can build up on platens, boards, and underboard surfaces. Over time that residue affects garment placement and can make the board feel sticky. That means more cleaning, more downtime, and more chance of marking the next garment. On a busy Friday shift, a small cleaning delay can throw off the whole queue.
How to dial the amount back without losing print strength
Do not cut the pretreat by half in one move. Adjust in small steps and test the result. If your garments are currently coming out stiff or marked, reduce the application slightly and check the next sample after drying and curing. Small changes are easier to read and much safer for production.
Where possible, aim for even coverage rather than more product. A lighter, consistent coat often performs better than a heavy patchy one. If you are using a spray-based workflow, keep the same movement speed each time and avoid pausing over the centre of the print area. That one hesitation is often enough to create a wet centre that shows through after curing.
- Reduce volume first, not heat, unless the product instructions say otherwise.
- Keep the spray pattern uniform from seam to seam.
- Allow proper drying before pressing or printing.
- Use sample tests on the exact fabric batch going into production.
If you are in Crown Mines and running mixed orders for retail, fashion labels, and promo items, a simple sample board can save a full run from being scrapped. One good test shirt is worth more than twenty guesses.
The drying and curing step matters more than many shops think
Overapplication often gets blamed on the spray stage, but the drying step can make the problem worse. If the pretreat is not dried properly before printing, you may get steam marks, moisture trapped in the fibres, or ink that cures unevenly. This is especially common when the workshop is under pressure and operators move garments too quickly from spray to press.
In colder months, or during load-shedding when backup power changes your rhythm, drying times can drift without anyone noticing. A garment that was fine at 8 am may be under-dried at 2 pm because the room temperature changed. If you are using a heat press, make sure the garment is dry to the touch, not just warm. Warm is not the same as ready.
On humid days, especially in Durban, you may need a bit more drying time even when the spray amount is correct. The trick is to separate moisture from pretreat quantity. If the garment is wet because of poor drying, do not automatically increase the pretreat to compensate. That usually makes the next run worse, not better.
A practical example from a busy Johannesburg shop
A mid-size print shop in the east of Johannesburg was seeing dark press marks on black cotton tees and a slightly shiny patch on the chest area. The operator had already increased curing time, thinking the ink was not setting. The real problem was that the pretreat was being sprayed too heavily on larger sizes, while the smaller sizes looked fine.
Once the team reduced the spray volume slightly and standardised the hand movement, the marks dropped off within the next test batch. They also adjusted the board cleaning routine so residue was wiped before the next shift started. The result was not a new machine, just a better workflow. That is often how it goes in local production, especially when the same shop handles school wear, promos, and fashion runs in one day.
If your shop is scaling up from a small setup to a multi-operator floor, it helps to document the exact pretreat amount for each garment type. Keep one setting for light cotton tees, another for heavy cotton hoodies, and another for blends. That reduces guesswork and helps new operators get consistent results from the start.
When to ask for support and what to bring to the conversation
If you have checked the spray amount, drying time, and garment placement but the issue keeps returning, it may be time for a proper workflow review. Bring sample garments, note the fabric type, and list the current spray and curing settings. That gives the support team something practical to work with instead of starting from scratch.
It also helps to mention where the shop is based and what kind of output you are doing. A setup in Pretoria East printing event tees has different pressures from a Randburg shop handling fashion capsules or an East Rand business working through bulk promo orders. The more specific your notes, the quicker the fix.
For many shops, the goal is not perfection on the first pass. It is repeatable print quality with less waste, fewer reprints, and less time spent cleaning up after the job. That starts with getting the pretreat amount under control.