
Why packing matters after the press
A finished garment can still be damaged before it reaches the customer. Fresh print surfaces can pick up dust, crease on the fold line, or scuff against rough carton board if the packing area is not set up properly. In a busy shop in Crown Mines or Midrand, this stage often gets rushed when orders are stacked for same day courier collection, but that is exactly when mistakes happen.
The aim is simple: keep each item clean, flat, dry, and easy to count. If you are sending tees to Sandton offices, event stock to Pretoria East, or clubwear to Durban, the pack-out should protect the print from rubbing and prevent the parcel from arriving with moisture smell or fold marks. A neat packing routine also helps your team work faster because everyone knows where the garment goes next.
Let the print cool before folding
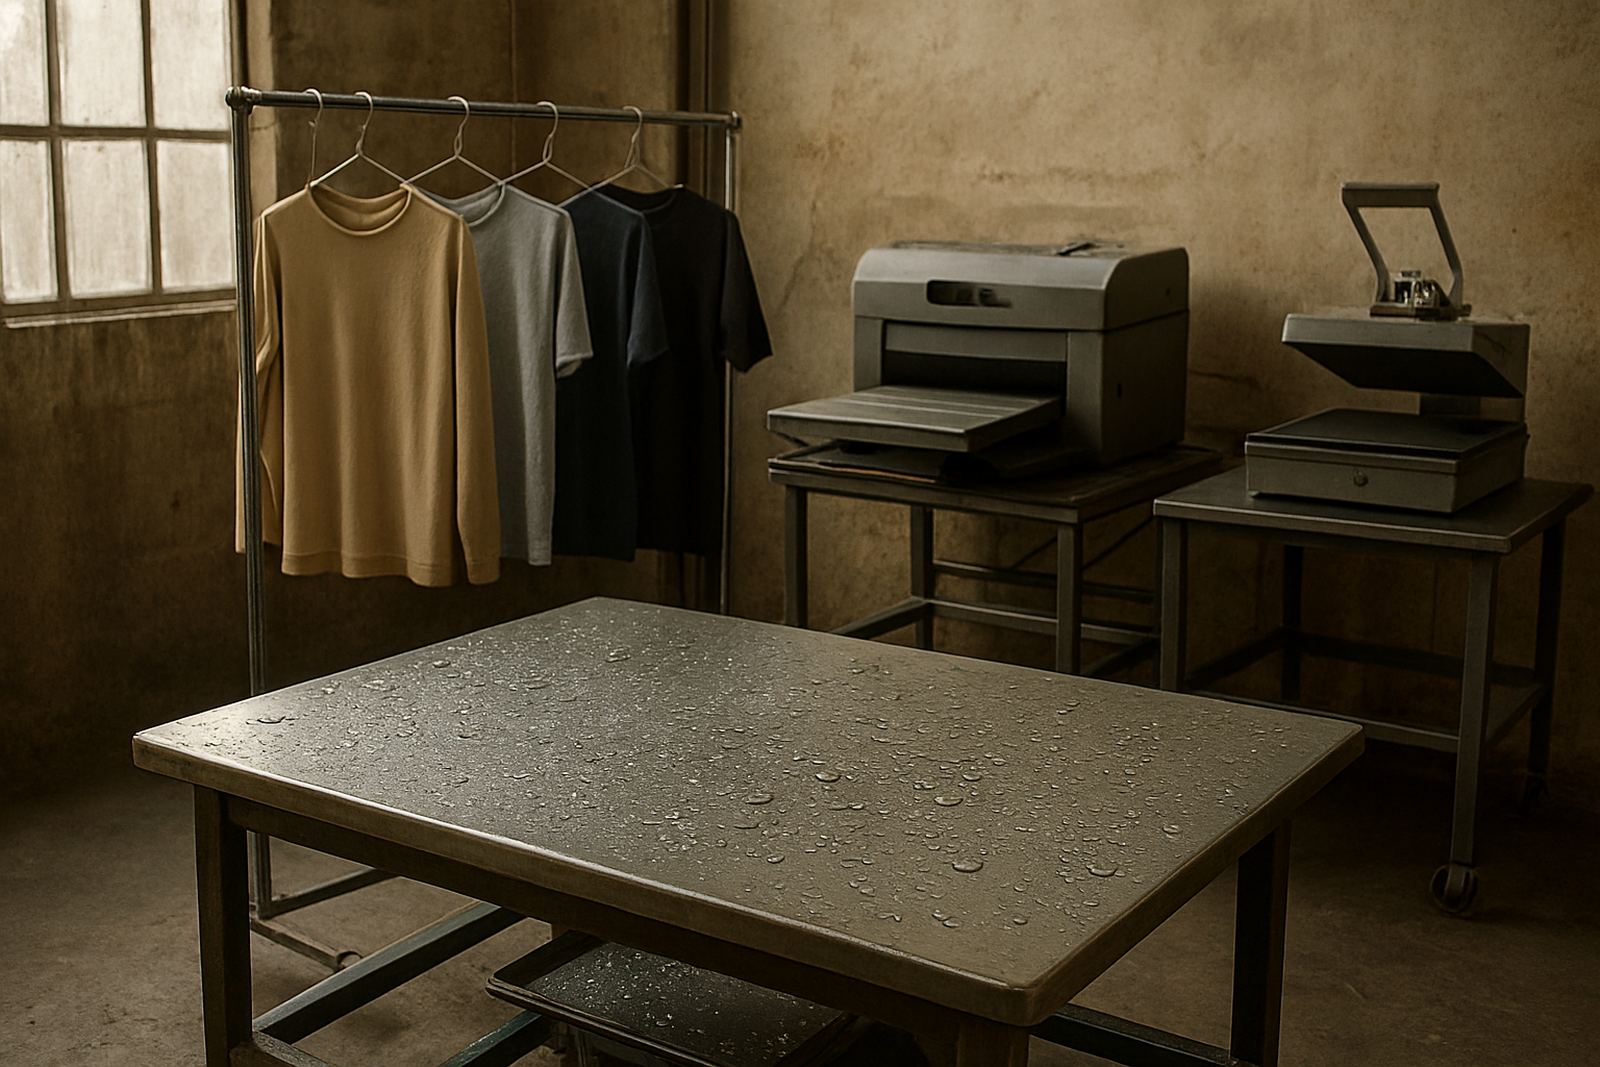
Direct-to-garment prints should be handled with care straight after curing. Even when the print feels dry, the fabric can still hold heat and a little residual moisture, especially in winter when a shop is working through load-shedding backlogs and curing queues build up. Give each garment a short cooling period on a clean table or rack before folding.
If you stack garments while they are still warm, they can trap steam and leave a faint mark on the print or the fabric surface. This is more noticeable on darker garments and on blends that hold heat longer. In coastal humidity, or when rain has pushed moisture into the workshop, cooling time matters even more. A fan helps, but do not blow dust straight onto the print area.
- Place cured garments on a clean, lint free surface.
- Separate dark and light items if the print area is still warm.
- Do not pack items that feel damp to the touch.
- Use a drying rack for larger runs so air can move evenly.
Fold for protection, not just for speed
The way you fold a shirt or hoodie affects how it arrives. A hard crease across the print can become a visible line after transport, while loose folding can allow the garment to shift inside the bag. Train your team to fold in a repeatable way that supports the print area and keeps the item compact without forcing sharp bends through the artwork.
For short sleeve tees, a basic side fold with the print facing inward is often enough. For hoodies, keep drawcords tucked so they do not press into the print or snag the packaging. If you are packing a mixed order, group the same garment type together so the cartons stay neat and the count stays accurate. It saves time later at the receiving end, especially when a client is checking stock for a promotion or uniform issue.
- Keep the print face protected from rubbing surfaces.
- Fold sleeves in consistently so each pack sits evenly.
- Use size stickers or insert cards where needed.
- Separate polos, tees, hoodies and tote bags into clear stacks.
Use clean packing materials and keep dust away
Print shops in Johannesburg deal with more dust than many people expect, especially if the workshop is near busy roads or open storage yards. That dust can cling to folded garments, sleeves, and packaging tape. A clean packing bench, closed storage for bags, and a simple wipe-down routine before packing are basic, but they make a real difference to presentation.
Choose packaging that suits the order size. Small runs often do well in clear inner bags or folded sleeves inside outer cartons, while bulk orders may need sturdier boxes with space for air flow. Do not overfill a carton until the items are under pressure. A box that bulges can crush the print surface and make the parcel harder to stack in a courier van.
Where municipal waste collection is limited or irregular, keep offcuts, loose labels, and damaged packaging out of the packing area. A tidy floor reduces contamination and helps staff move safely with armfuls of completed garments. It also keeps the final handover looking professional.
Match the packing method to the delivery route
Not every order leaves the shop in the same way. A small pickup for Randburg may only need light protection and a clear count sheet, while a national courier parcel headed for Durban needs stronger packaging and firmer internal stacking. The longer the route, the more attention you need on corner crush, moisture, and movement inside the box.
If garments are going out next day courier, mark the cartons clearly and keep the paperwork close to the batch. For larger jobs, split the order into manageable units instead of forcing everything into one oversized box. This helps with traceability if one carton is delayed in transit. It also makes it easier for the client to check quantities when the shipment arrives.
- Use stronger boxes for long distance courier loads.
- Keep a simple packing list with sizes and quantities.
- Label cartons by client, order number, and garment type.
- Do not mix completed stock with unfinished work.
A simple workflow for busy print shops
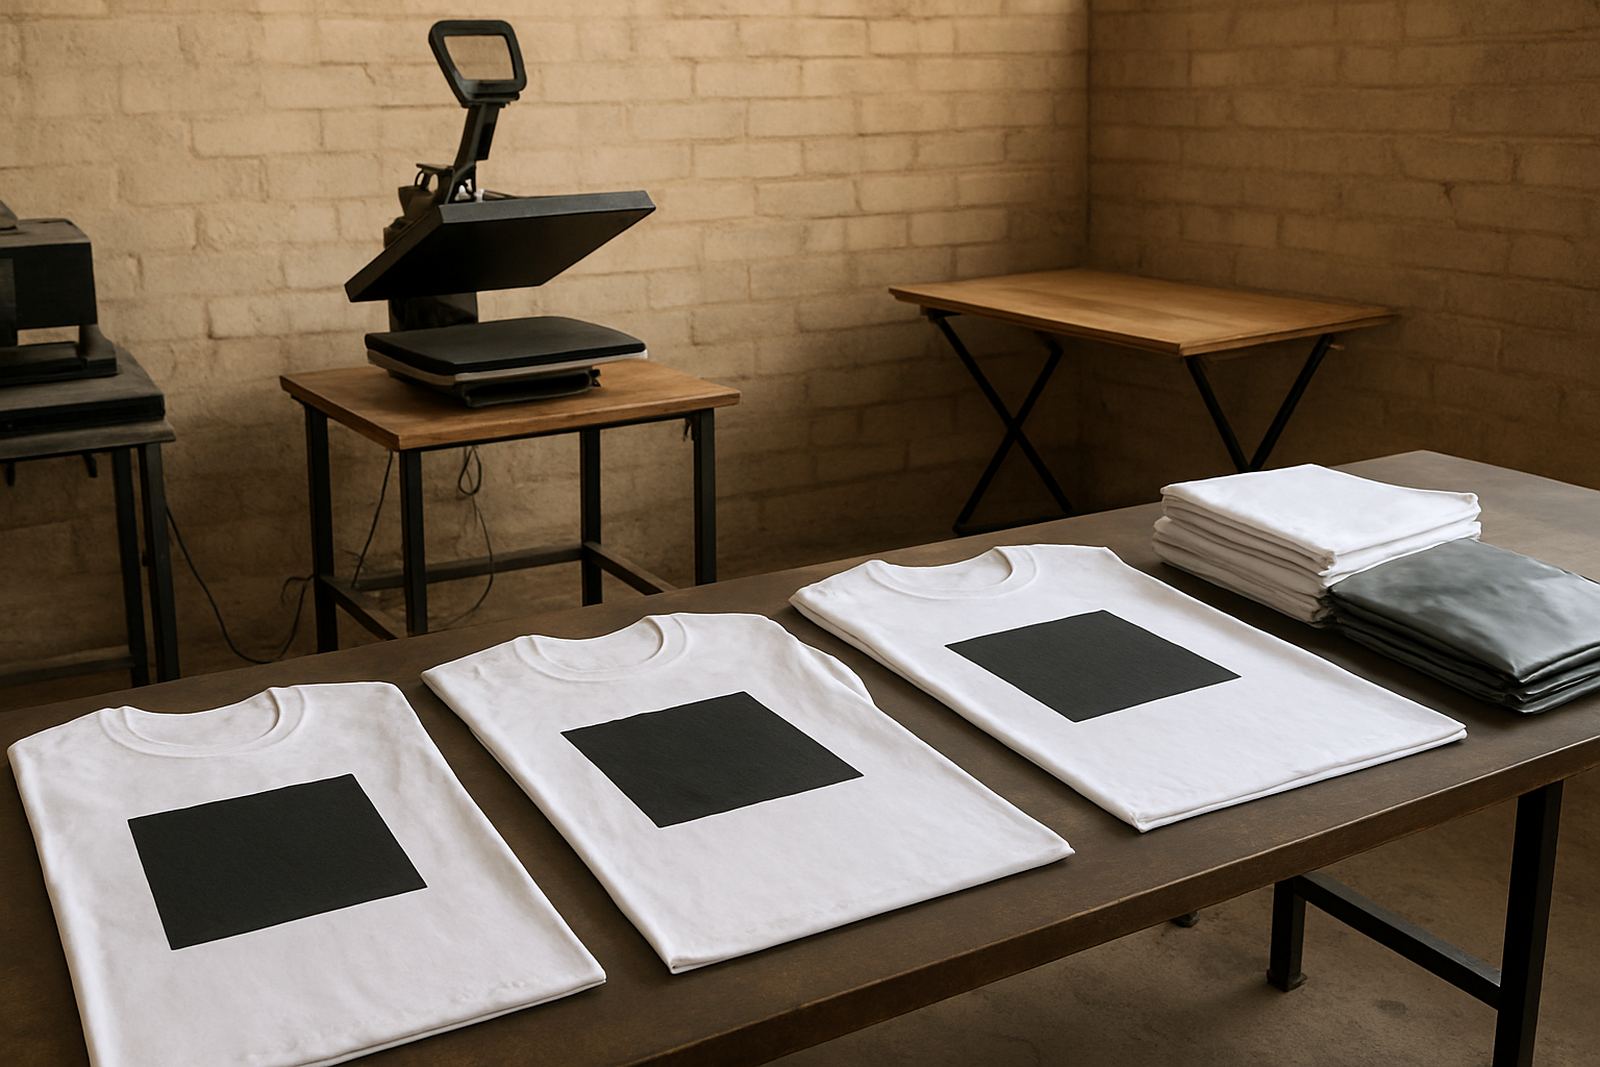
A practical packing line can be set up with very little extra equipment. One person checks the print and cool down, one folds, and one bags or boxes the garments. That division keeps the pace steady and reduces handling errors. In a Crown Mines workshop working through school wear, promo tees, and retail labels, this kind of flow is often the difference between an orderly afternoon and a late night clean-up.
Keep the packing table near the finishing area, but not so close that dust, lint, or heat from curing equipment reaches the garments. Add a small space for sample testing or recheck items so questionable pieces do not go straight into the finished pile. If your shop grows and the order volume increases, review the packing station before you buy more boxes. Often the answer is better layout, not more packing material.
Good packing after printing protects your work, your time, and your client’s trust. It is a small part of the production day, but it carries the final impression of the job. When the garment opens cleanly at the other end, the customer sees a careful print shop, not just a finished shirt.
When to review your packing process
Review the packing step whenever you notice repeated complaints about folded marks, missing sizes, or damaged parcels. It is also worth checking when the weather changes, when courier volumes rise, or when you switch to a new garment type. Thick fleece, stretch fabrics, and larger sizes often need a different fold and box size than standard tees.
If your team is unsure about the best packing method for a new production run, test a few garments first and inspect them after transport inside the workshop. Small adjustments now can prevent losses later. A shop that treats packing as part of print quality, not just admin, usually keeps happier clients and fewer reprints.