
Start With The Garment, Not The Artwork
Good hoodie loading starts before the shirt ever touches the platen. Check the fabric weight, seam bulk, pocket shape and whether the hoodie has drawcords that sit in the print area. A lightweight summer hoodie behaves very differently from a heavy winter fleece, and the loading method should change with it.
For print shops in Johannesburg, this matters even more when the weather swings from dry, dusty afternoons in Crown Mines to damp mornings on the East Rand. Cotton-rich hoodies can tighten up slightly in the cold and the seam bulk near the kangaroo pocket can shift the print surface if you rush the setup. Take a moment to feel where the garment wants to sit flat, then choose the platen size that lets the fabric lie without pulling hard at the shoulders.
- Check for side seams that may sit under the print area
- Move cords away from the platen edge before loading
- Test one garment before starting a full run
- Match the platen to the hoodie size, not just the print size
Choose A Platen That Supports The Bulk
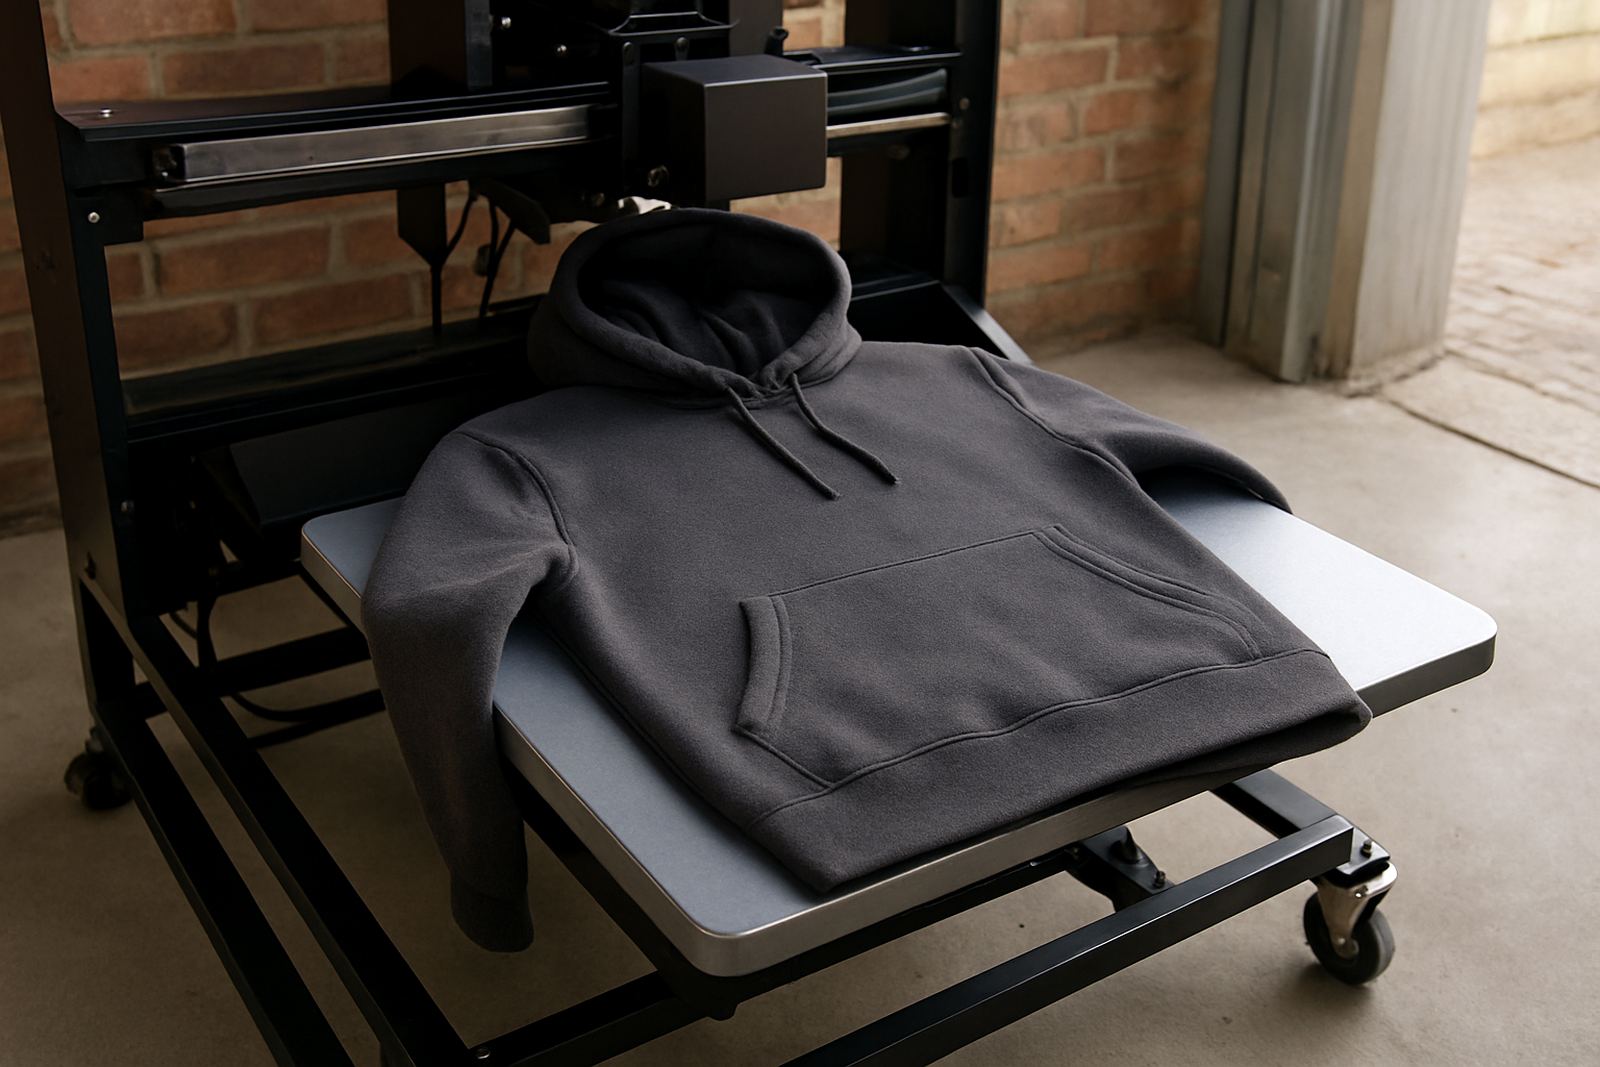
A hoodie platen should give the garment a firm base without forcing thick areas to wrap over the edge. If the platen is too narrow, the pocket and side seams can hang down and create pressure marks. If it is too large, the hoodie may stretch unevenly and the image can drift off centre.
For thick winter hoodies, many operators do better with a platen that supports the chest area while still leaving enough room for the lower hem and pocket to sit naturally. The aim is a flat print field, not a tight pull. On bulk orders, a steady platen choice saves time because the operator does not need to keep re-checking placement for every piece. That is especially useful when a shop is juggling school leavers, sportswear and corporate winter stock in the same week.
- Use a platen that matches the garment body width
- Leave the seam bulk outside the active print zone where possible
- Keep the neckline straight so the print sits level
- Check that the pocket does not lift the fabric at the centre point
Handle Pockets Without Forcing A Flat Lie
Kangaroo pockets are one of the biggest causes of poor hoodie loading. If you press the garment down hard to flatten the pocket, you often trap folds or create a ridge that shows after printing. The better approach is to settle the pocket first, then let the rest of the hoodie follow its shape.
Run your hand across the front and feel where the pocket joins the body. If the seam sits too high, move the print area up slightly rather than trying to squash the garment into place. Some decorators use a quick pre-press to release moisture and soften the pocket fabric, but that only works if the garment is positioned correctly on the platen first. Too much pressure and you can leave a mark around the pocket edge.
- Align the pocket before lowering the shirt fully onto the platen
- Use light hand pressure rather than a hard shove
- Pre-press briefly to reduce wrinkles and moisture
- Watch for puckering at the pocket corners
Keep The Hood Out Of The Print Zone
The hood can drag the whole garment backwards if it is not controlled properly. That is a common issue on larger sizes where the fabric weight sits high on the shoulders. Tuck the hood away from the front print area and make sure the neckline is open enough for the garment to settle cleanly on the platen.
In some shops the operator clips or folds the hood away before loading, which helps on oversized garments or thick fleece. If you are printing on a hooded sweatshirt with a full front design, check that the hood seam does not cast a ridge across the upper chest. That ridge can show through under pretreatment or heat. With darker garments especially, a clean laydown saves you from ghost marks and uneven coverage later.
- Fold or secure the hood so it does not pull the neckline back
- Keep drawcords clear of the print area and platen edge
- Check shoulder balance before closing the press
- On heavy fleece, allow the hood fabric to settle for a few seconds before pressing
Pretreatment And Drying Need A Different Touch
Pretreatment on hoodies needs a lighter hand than many shops use on plain tees. The fabric is thicker, the seams hold more liquid and the pocket area can dry unevenly if you saturate it too much. That shows up as patchy colour, a hard hand feel or a faint halo around the design.
Use a controlled spray pattern and keep the coat even across the print zone. On fleece or brushed cotton, a slightly lower application rate often works better because the pile can hold more liquid than you expect. After spraying, let the garment level out before moving it to the press. A rushed transfer can send drips toward the pocket or hood seam and spoil the finish. In humid Durban conditions this matters even more, since drying time can stretch out if the room has poor airflow.
- Apply pretreatment evenly, with no heavy wet spots
- Let the garment settle before heat setting
- Watch the pocket area for runoff
- Adjust drying time in humid coastal weather
Build A Loading Routine That Works Under Pressure
The fastest hoodie loaders are usually the most consistent. They use the same steps every time, from checking the size tag to setting the neckline, pockets and hood in the same order. That routine matters when the shop is under pressure from a Friday deadline or a seasonal rush before winter teamwear orders go out.
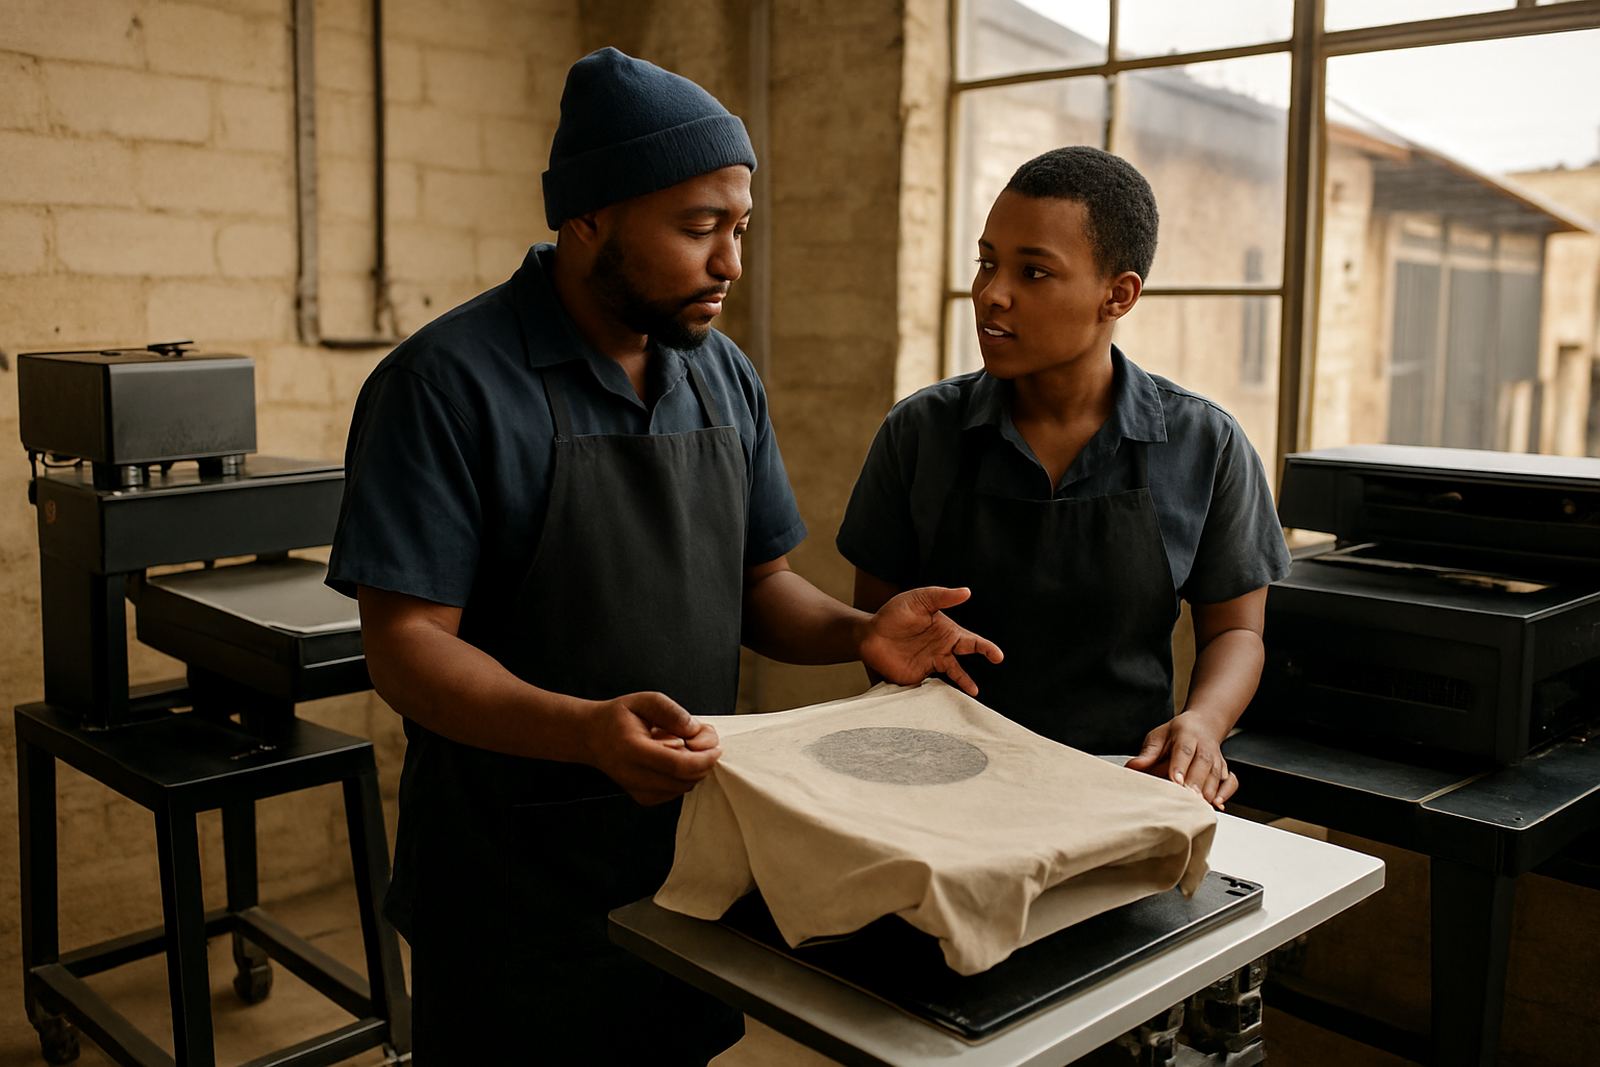
A practical routine also makes training easier. A new operator can learn where the garment should sit, how much pull is too much and when a seam is likely to cause trouble. At our Crown Mines base, we often see shops in Sandton and Midrand improve their output simply by standardising the loading sequence and assigning one person to final alignment. It keeps the press moving and reduces rework.
- Use one loading sequence for every hoodie style
- Assign a final alignment check before pressing
- Separate heavy fleece from lighter hoodies in production
- Record which platen works best for each garment type
When To Ask For Setup Help
If hoodies keep shifting, cracking near seams or printing off centre, the problem is often in the setup rather than the print itself. A short workflow review can help you identify whether the issue is platen size, loading order, pretreat coverage or operator movement. That is usually cheaper than scrapping a batch of branded hoodies after the fact.
For a growing print shop in Pretoria East or Centurion, the goal is not just to fix one bad print. It is to make hoodie loading repeatable across different garment suppliers and changing order sizes. Once the setup is sorted, production becomes easier to scale and the team spends less time fighting bulky garments. A small adjustment to the platen or loading method can save a lot of wasted time, and a lot of heat press frustration too.
If your team needs help with platen setup, training or a seasonal reconfiguration, start with a clear sample garment and a repeatable loading test. That gives you a better result than guessing, especially when the job is due out before close of trade.