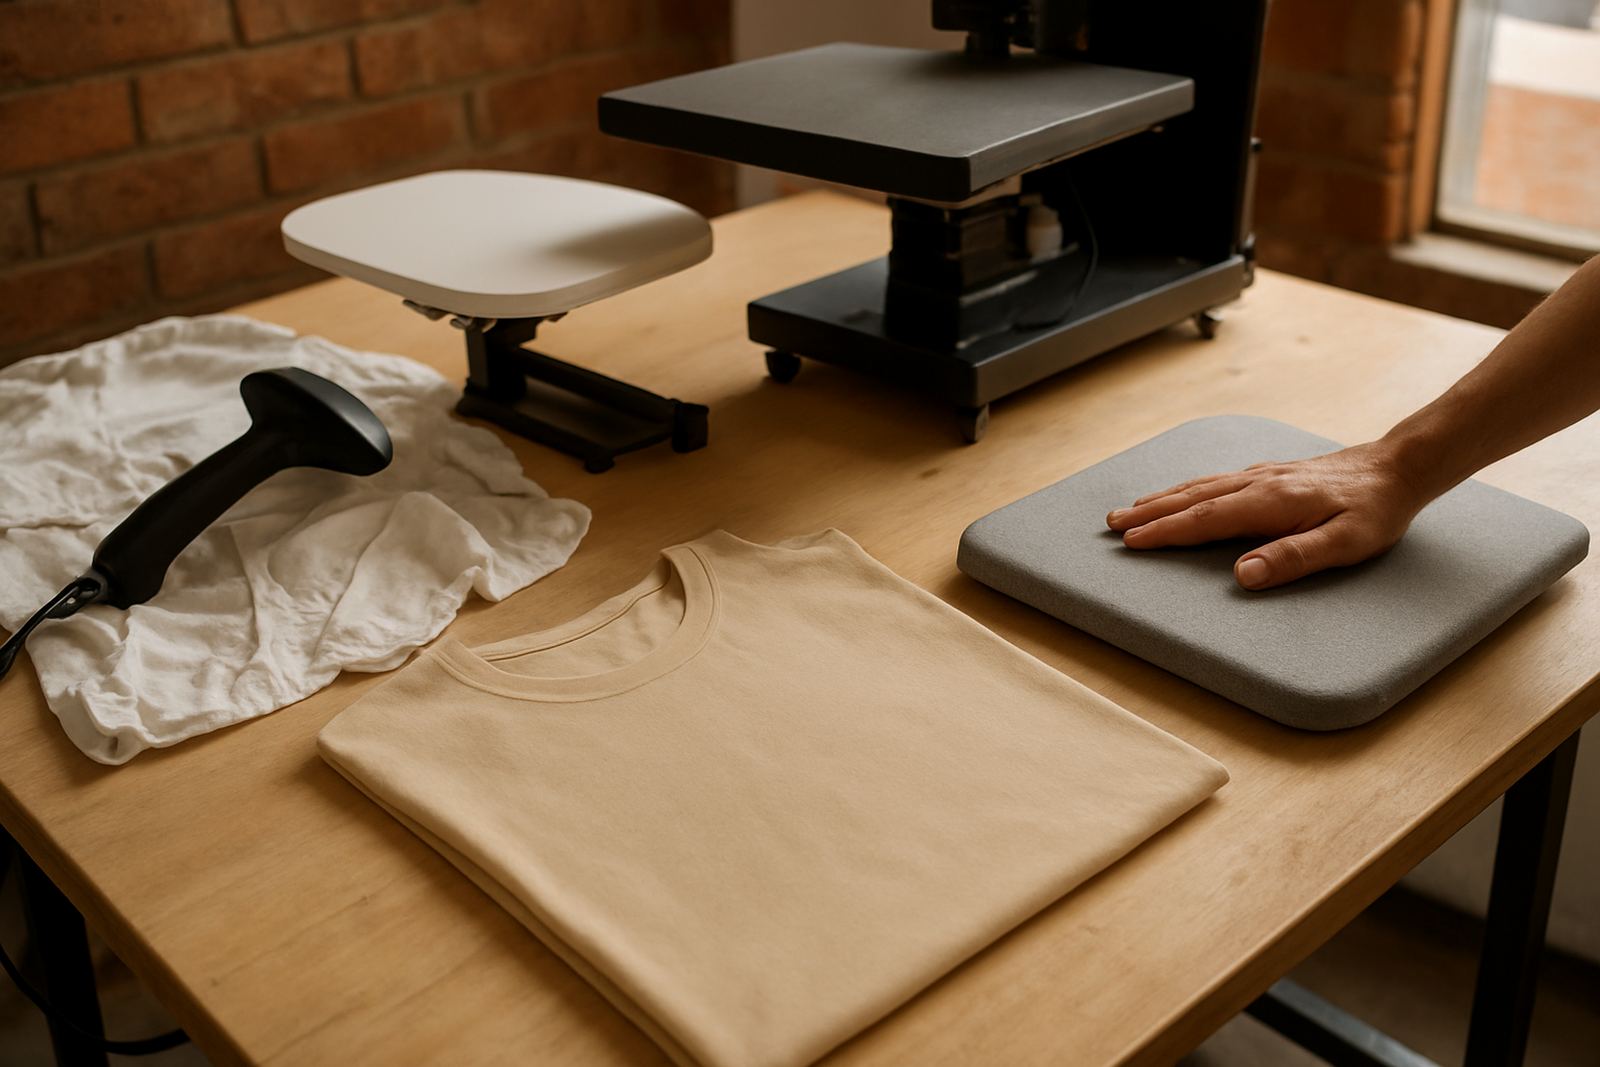


Why dark garments need tighter prep before white ink
Printing white ink onto dark garments is less forgiving than printing on light cotton. Any lint, uneven moisture, stretch, or poor garment placement shows up straight away in the final print, especially on black tees, navy hoodies and charcoal workwear. In a busy shop in Crown Mines or Midrand, that means a rushed setup can turn into reprints, wasted ink and a slower line by lunchtime.
The main aim is simple: give the platen, garment and print area a clean, flat and stable surface. White ink depends on good contact and a controlled surface profile. If the fabric is wrinkled or full of fibre, the ink sits unevenly and the underbase loses strength. That is why prep matters just as much as the print file.
Start with fibre control and moisture control
Dark garments attract lint and show press marks more clearly, so the first step is always fibre control. Use a lint roller or garment brush on the print area before prepressing. On cotton rich fabrics, especially when the weather is humid in Durban or after a rainy week in Pretoria East, garments can hold extra moisture and that affects curing and print feel.
A short prepress helps remove moisture and settles the fabric but do not overdo it. Too much heat can create a shiny patch, flatten fibres too far, or leave a slight box mark that shows through the white ink. The best prep is firm, controlled and repeatable, not aggressive. If your workshop runs through load-shedding periods, keep an eye on heat recovery too because uneven platen temperature can change the result from one shirt to the next.
- Prepress only long enough to remove moisture and smooth the fabric.
- Use clean cover sheets or protective paper on every cycle.
- Store blank garments in a dry area away from open doors and workshop dust.
Use the correct platen and support for the garment size
One of the quickest ways to improve dark shirt printing is to use the right platen size for the garment. Oversized platens can stretch a small shirt and cause the print area to warp. A platen that is too small makes it harder to keep the print zone flat, particularly on oversized fashion tees or heavier promotional garments. In Johannesburg print shops handling mixed orders, the right platen setup saves time across the whole day.
Support matters too. If the garment sags at the sides or the collar sits too close to the print area, the alignment will drift. A stable platen setup gives a cleaner underbase and makes it easier to hold the artwork in the same position from sample to final run. That helps when you are printing repeats for schools, events or retail packs where the artwork must stay consistent.
- Choose platen size based on garment width and intended print area.
- Check collar, seam and pocket positions before locking the garment down.
- Revisit platen setup when moving from fitted apparel to oversized cuts.
Pretreat evenly or the white base will fight back
Pretreatment is where many dark print jobs succeed or fail. On dark cotton and cotton rich garments, an even pretreat layer helps the white ink stay on the surface and gives the print better brightness. Too little pretreat and the white looks weak. Too much and you can get bleed, hard hand feel, or patchy curing. The goal is not a heavy coating, but a consistent one.
Apply pretreat with the same pass pattern every time. Keep the spray distance, pressure and overlap steady. If you are switching between light tees and dark hoodies, the settings may need a quick check because heavier fabric can absorb product differently. This is where a clean workflow matters, because one rushed operator can affect the whole batch.
- Test pretreat on sample garments before a full production run.
- Let each pretreat layer dry according to your process, not by guesswork.
- Track settings for different fabric weights and blends.
Set alignment before the shirt reaches the printer
Dark shirt prep is not only about chemistry and heat, it is also about placement. If the garment is off-centre, the print lands too high or too low and the finished shirt looks untidy. That is a problem on promotional jobs where a client expects a full pack to look the same. A quick alignment check before printing can prevent a batch of rejects and a lot of waste.
Use consistent loading points on the platen, then check the neckline, shoulder line and side seams. If your shop in Randburg or Centurion handles mixed sizes through the same shift, mark your loading habits clearly so each operator places the garment the same way. Small differences add up fast when you are printing 50 or 100 units in one run.
- Centre the neckline and shoulders before clamping or smoothing the garment.
- Use the same load position for each size group.
- Confirm print location against the artwork before every run.
A Johannesburg example from sample to run-ready workflow
A local shop in Crown Mines might receive a small order of black cotton tees for a brand launch on Friday and need a sample on Wednesday. The team can save a lot of pressure by testing one shirt first, checking the underbase, then adjusting pretreat, platen pressure and cure settings before the full run. That gives the operator a clear standard for the rest of the batch.
In practice, the best result comes from the same sequence every time: lint control, short prepress, even pretreat, correct platen fit, and final alignment check. When the workflow is clean, the print line moves faster and there is less second-guessing at the press. For shops working with next-day courier orders, that kind of consistency is what keeps production on track and the client happy.
When to call for setup help or workflow review
If dark shirt prints keep coming out dull, patchy or misaligned, the problem is usually in the prep stages long before the file reaches the printer. That can mean poor platen choice, uneven pretreat, rushed prepress or operators doing the steps differently. A workflow review can pick up where the time is being lost and what is causing repeat rejects.
Shops in Sandton, East Rand, Durban and Pretoria East often ask for help when they are scaling up, adding new garments or training a second shift. A practical setup review, sample test or operator training session can sort out the process before the rush season starts. For many businesses, the biggest gains come from small changes made early, not from replacing everything.