
Start With the Bag Shape, Not the Artwork
Before you lock in the design, look at the bag itself. Tote bags rarely sit perfectly flat, and the side gussets, bottom fold and stitched handles can change how a print lands on the fabric. If the artwork is placed too close to a seam, the pressure from the platen may leave a gap, a crooked edge or a faint shadow where ink does not cure evenly.
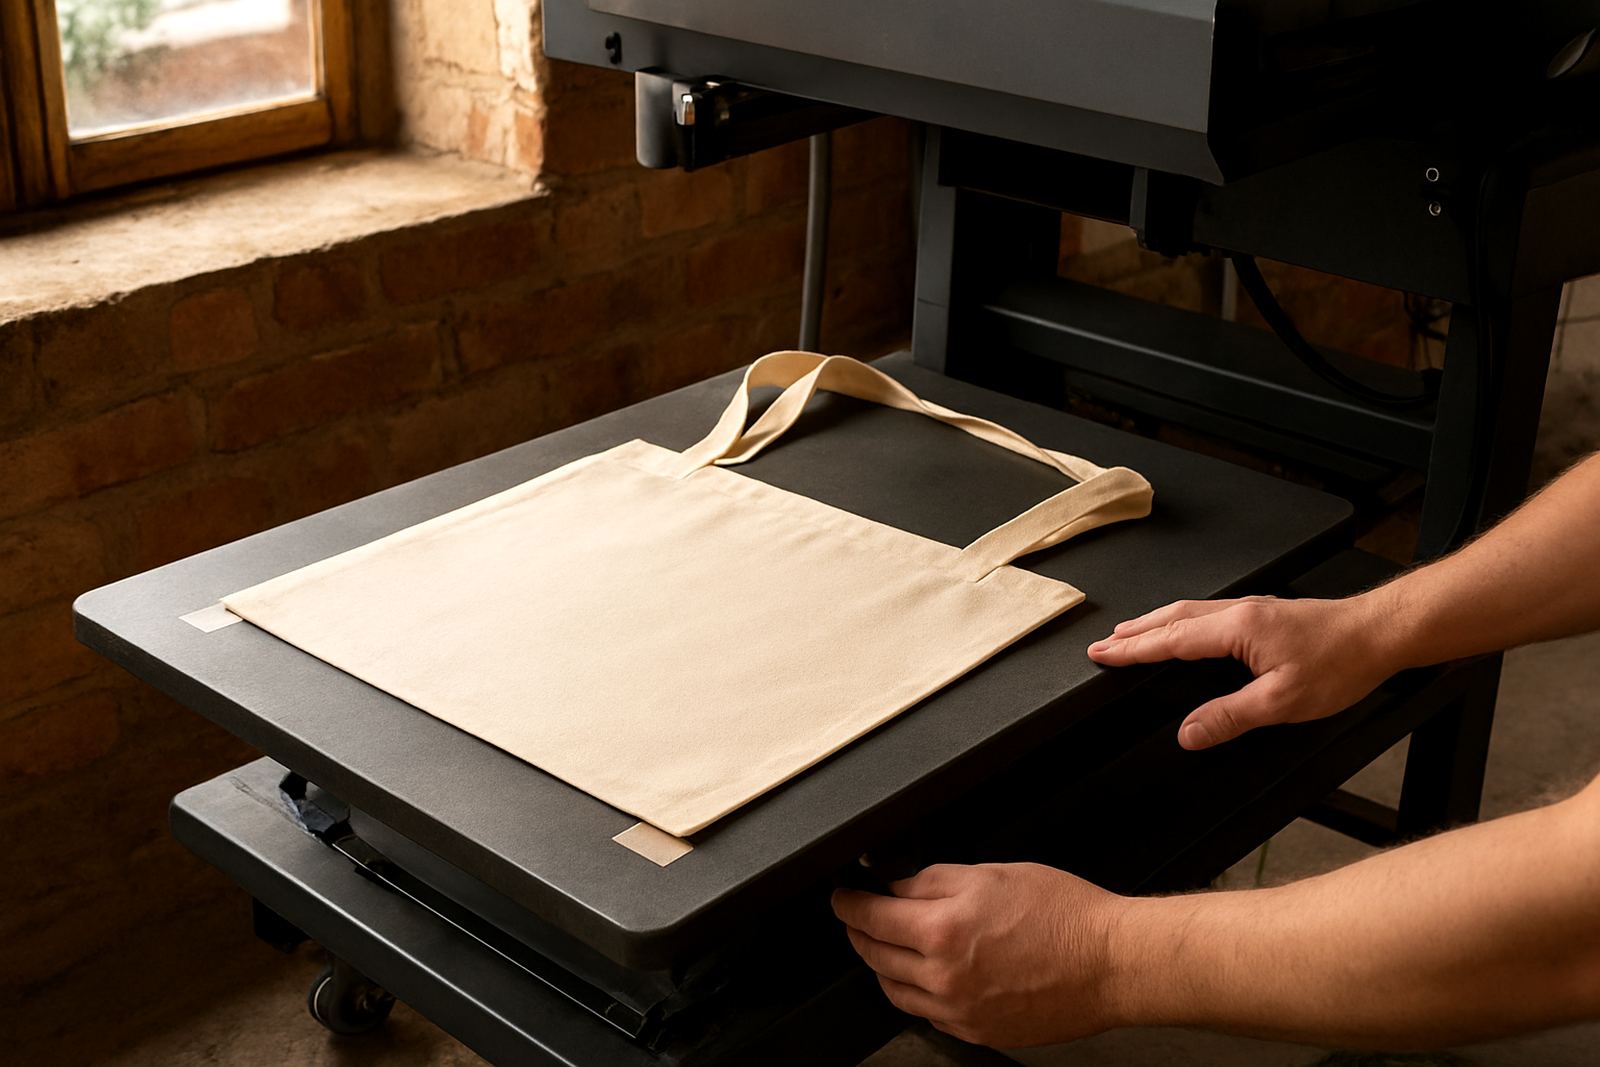
For most tote jobs, the first step is to measure the print zone with the bag on the platen, not on the cutting table. A good rule is to mark the centre point, then check how far the seam lines sit from that centre. If the handles are thick webbing, lift and tape them away from the print area so they do not press back into the garment. On lighter cotton bags, even a small ridge can show through, so flatness matters more than many shops expect.
Choose a Platen That Gives the Bag Room to Sit Flat
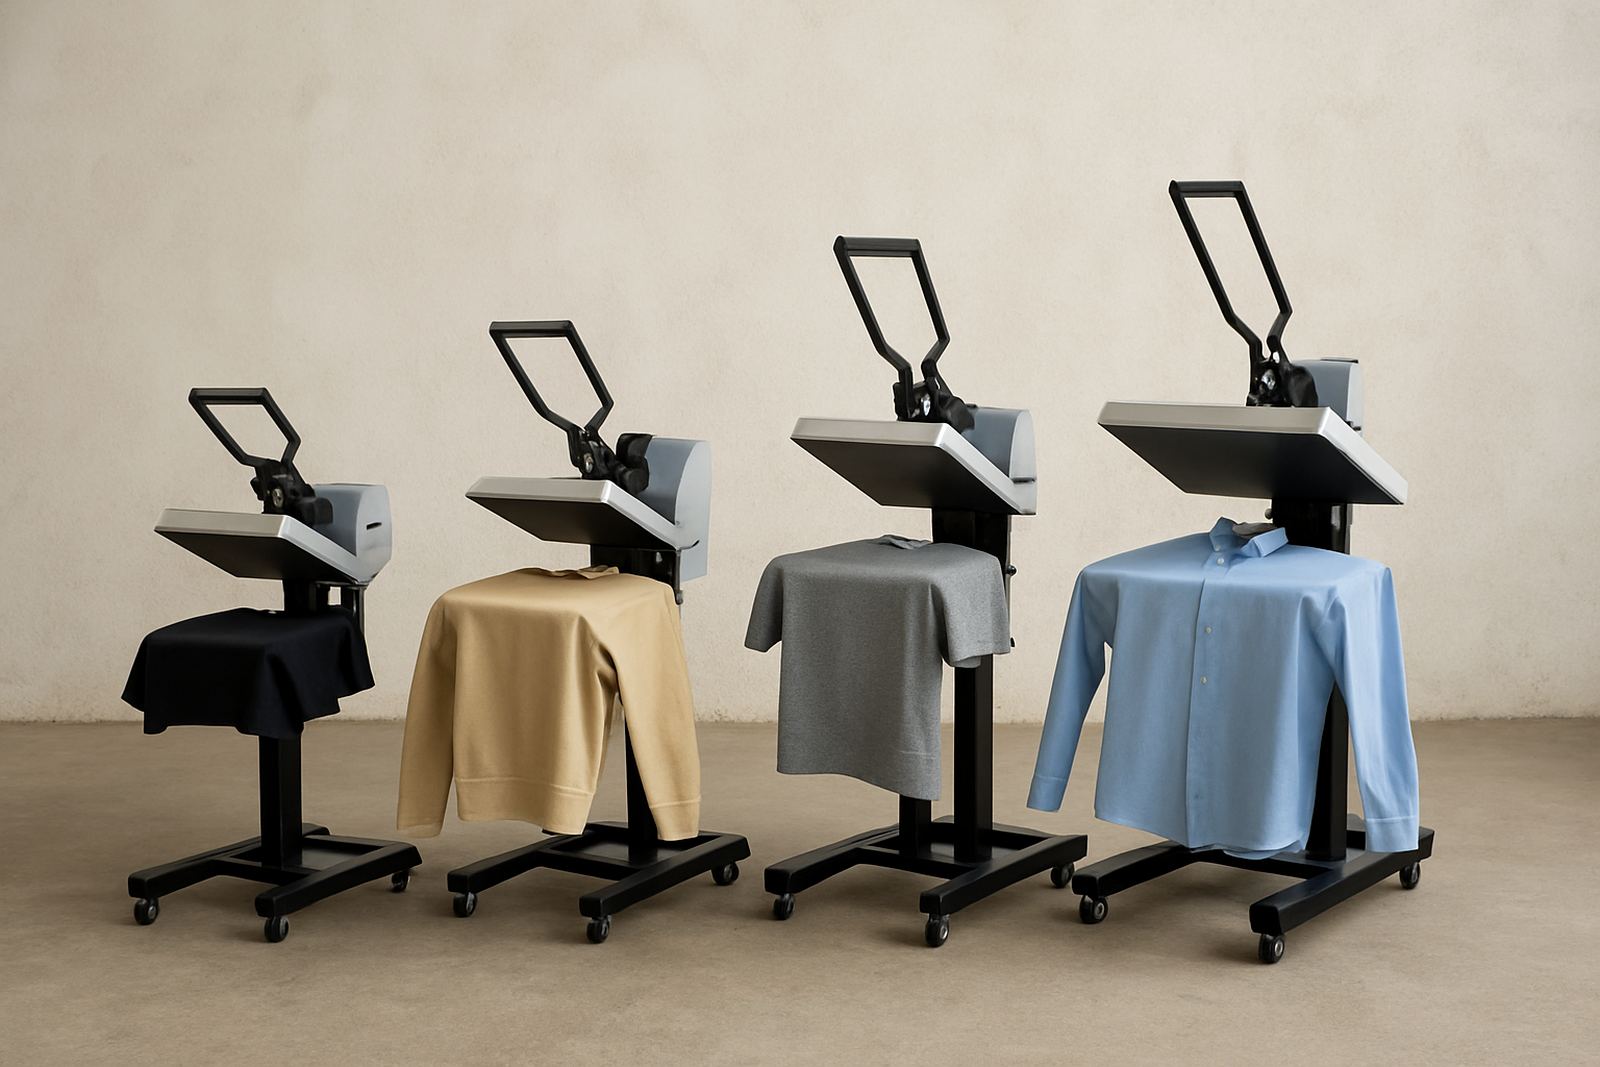
Bag printing becomes easier when the platen matches the job. A tote bag needs support under the fabric, but it also needs enough open space so seams and handles do not bunch up against the edges. That is where a properly sized platen helps. If the platen is too large, the bag can stretch and curl at the sides. If it is too small, you get sagging and poor registration at the print edge.
For shops in Johannesburg, Pretoria and the East Rand doing mixed promos and retail orders, it helps to keep a few platen sizes ready for different bag widths. A narrow gift bag, a standard cotton tote and a heavy canvas shopper all behave differently under heat and pressure. During load-shedding periods, you also want a setup that reduces handling time, because every extra minute spent repositioning bags slows the line and can upset your curing rhythm.
- Use the smallest platen that fully supports the print area
- Test the bag on the platen before loading the next batch
- Keep seams outside the main print field where possible
- Use heat-resistant tape only where it will not mark the fabric
Treat Seams and Handles as Part of the Layout
Many bag failures start with artwork placed as if the tote were a flat T shirt. It is not. The seams create height changes, and the handles can pull the fabric upward when the platen clamps in. If the print must sit near a seam, reduce the artwork width slightly and leave more breathing space on the edge closest to the stitch line. That gives you a cleaner finish and less risk of a warped logo.
Handles are another common trouble spot. On some bags, the webbing is stitched so close to the top edge that it curls back over the print zone. In that case, the best fix is not to force it down harder. Instead, use a different loading method, rework the print position, or move to a platen setup that allows the bag to hang more naturally. A small adjustment now saves a reprint later, and the customer usually does not care how hard the job was, only that it arrived clean and on time.
- Measure from the seam, not only from the centre line
- Check handle length before every batch
- Move the design down if the top edge distorts under heat
- Keep repeat orders on the same setup sheet for consistency
Flatness Is a Workflow Problem, Not Just a Press Problem
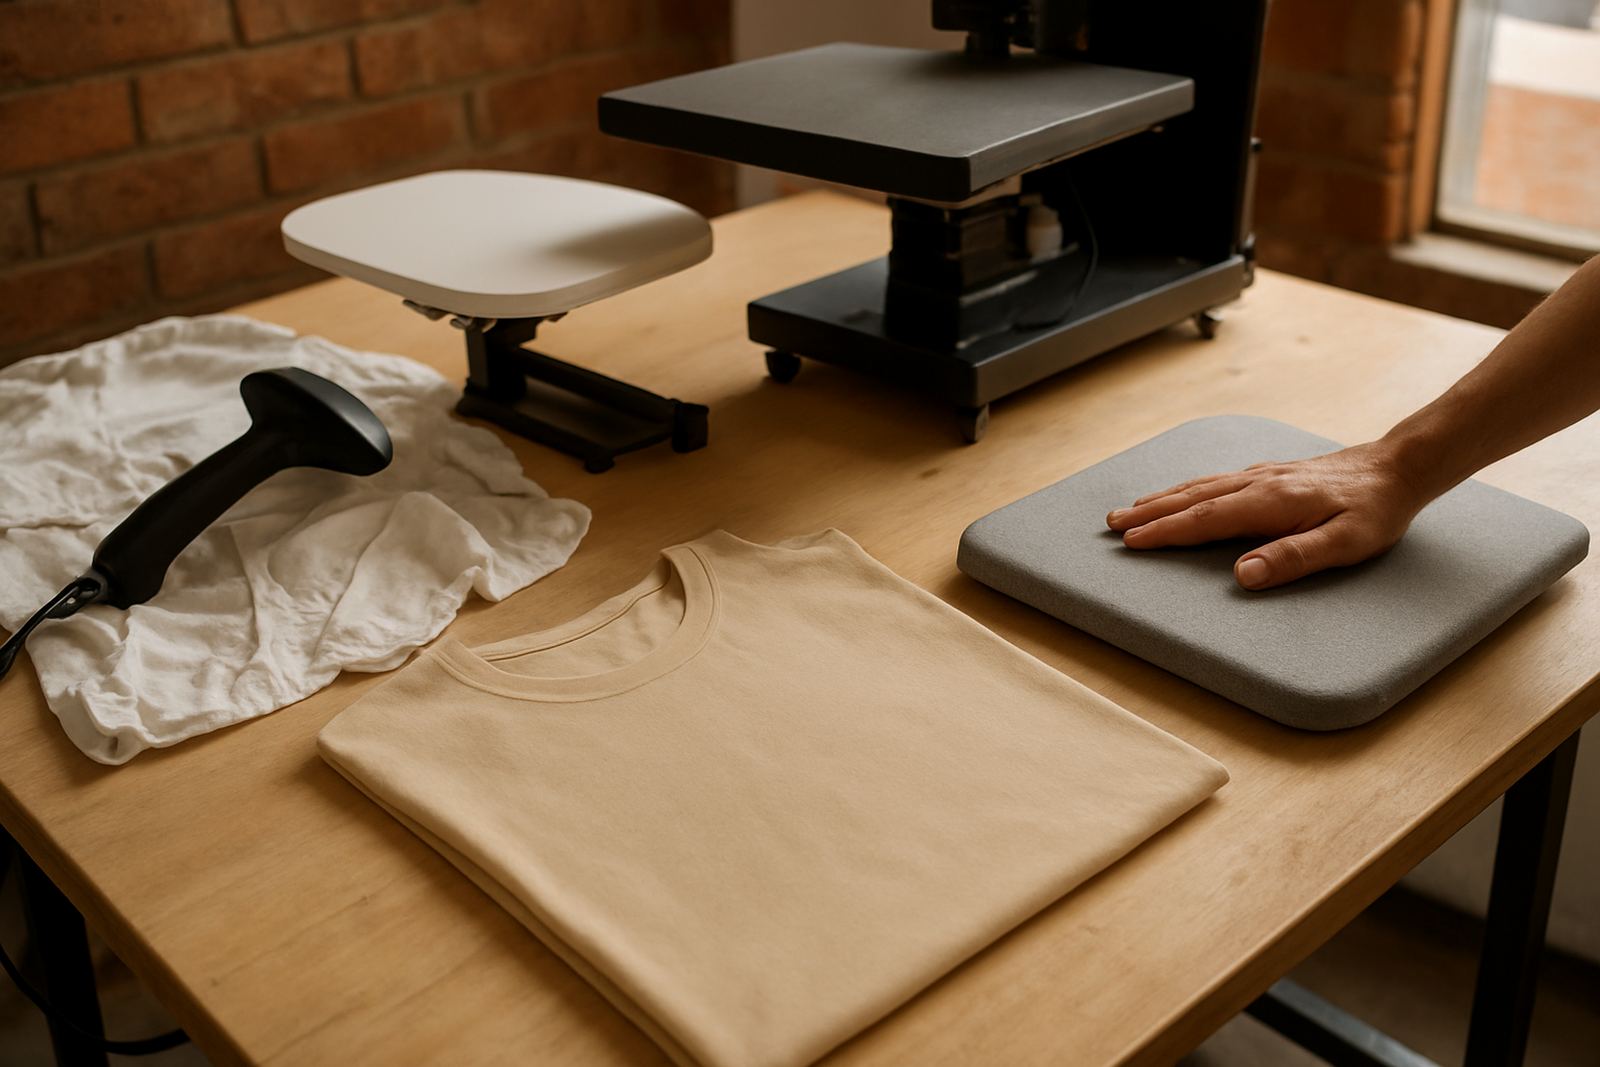
Flat prints on bags depend on more than pressure. They depend on a repeatable workflow from pretreatment through to curing. If the fabric is damp, dusty or folded badly after packing, the ink can sit unevenly. A quick shake-out, light lint removal and a proper pre-press can make a big difference. For canvas bags especially, fibres settle differently from one batch to the next, so sample testing is worth the time.
In coastal areas like Durban, humidity can soften the way the fabric behaves and slow drying between steps. In winter around Pretoria East and Centurion, the opposite can happen and the bag may feel stiff after storage. Shops that adjust their pretreat workflow by season tend to get fewer surprises. That does not mean changing everything each week. It means keeping notes on temperature, dwell time and curing, then making small fixes when the room or fabric changes.
Use Sample Testing Before a Full Run
Sample testing should not be treated as a luxury. It is the cheapest way to catch a seam issue, a handle pull or a platen mismatch before a fifty bag order goes wrong. A single test piece can show whether the print sits straight, whether the pretreat coat is even, and whether the cure leaves the surface too hard or too soft.
For promotional bag jobs in Sandton or Randburg, clients often want fast turnaround and a neat finish for events. A sample lets you confirm the bag behaves the same way across the whole order. If the first bag shows the logo drifting to one side, check whether the loading mark is off-centre or the bag has a hidden stitch line pulling the fabric. Those small faults often explain what looks like a printer problem at first glance.
- Test one bag from the top of the batch and one from the middle
- Check colour, edge sharpness and alignment after cure
- Record settings for repeat orders so the next run is quicker
- Keep a sample of each bag type for future setup checks
Plan for Small Shops and Bigger Runs Differently
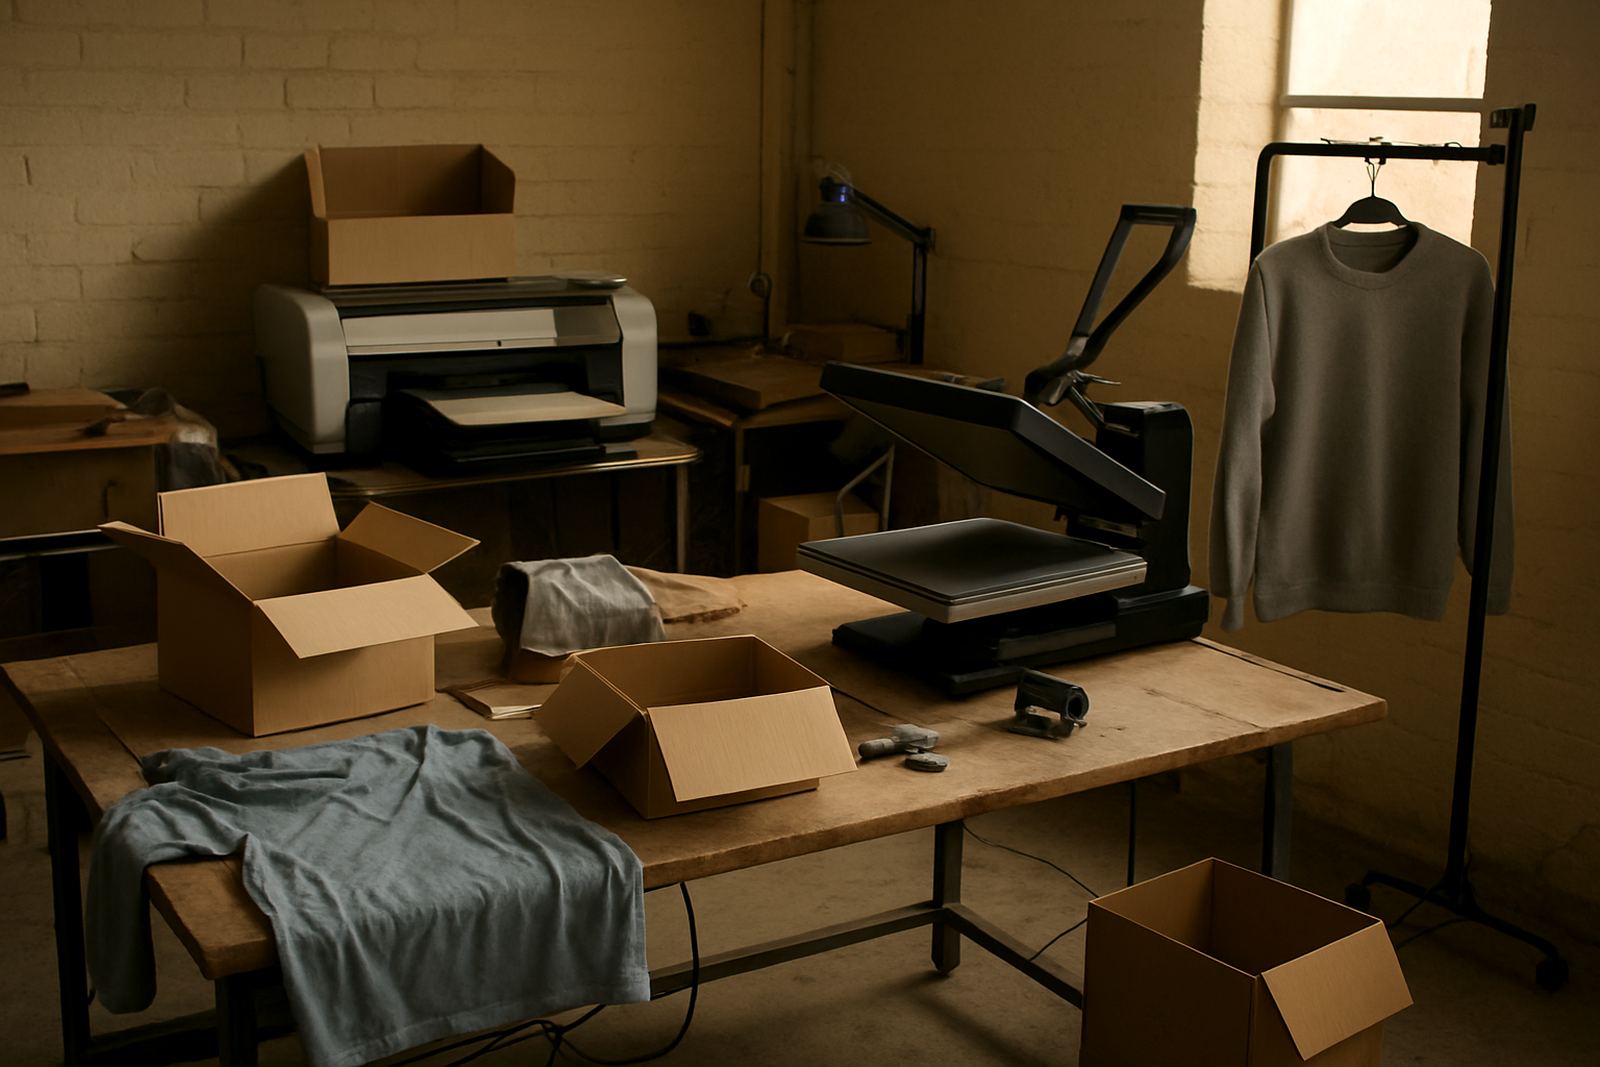
A one-off sample order and a 300 bag production run need different thinking. Small shops often try to use one generic setup for everything, but that usually creates waste. Bigger runs need a clearer workflow, with loading, pressing, curing and packing separated so the operator is not stopping every few minutes to rethink the setup. If a shop in Crown Mines takes orders from across Johannesburg and beyond, a simple production sheet can save a lot of time.
As the work scales up, the best results come from standardising the bag type, platen choice and print position before the job starts. That is also where training helps. Operators should know how to spot a twisted seam, when to re-align the bag, and how to decide if a sample needs another pass. A well run bag line does not rely on luck, it relies on routine and a few practical checks that everybody follows.
A Local Example From a Busy Promo Week
A print shop in Midrand took on tote bags for a trade show, with a mix of light cotton and heavier carry bags. The first sample looked fine on the flat table, but once loaded, the top seam pushed the artwork down by nearly 10 mm. The handles also curled back after pre-press. The shop adjusted the platen size, moved the print down slightly and taped the handles out of the way before running the next set. The final batch came out clean, and the client collected on time without asking for a reprint.
That kind of fix is common across South Africa. The job is not just about printing ink on fabric. It is about reading the bag, controlling the shape and keeping the process steady from the first sample to the last carton. When the seams and handles are managed well, tote bag work becomes predictable, and that is what keeps margins healthy.