
Why collar strikes happen near the print zone
A collar strike is what you get when a thick neckline, rib knit, zip guard, hood edge, or raised seam sits too close to the print area and touches the platen or the underside of the printhead path. It sounds simple, but in a busy shop it can be the reason a good shirt comes off with a faint outline, a hard press mark, or a print that sits a few millimetres off centre.
The problem gets worse on garments with a heavy trim, washed cotton that has shrunk unevenly, or cut-and-sew items where the neckline is slightly twisted. In Johannesburg winter, dry fabric can sit flatter, but on humid Durban stock the same garment may ride up or hold a curl around the collar. That small change is enough to affect the print.
If you are printing for schools, corporates, or promo runs, the neckline often matters more than people think. A chest logo may be small, but a collar that lifts at the wrong moment can still spoil the finish. One bad setup on a run of 40 shirts can mean reprints, delays, and extra wash tests, so it pays to catch the issue before the first shirt goes under the machine.
Choose the platen that matches the garment shape
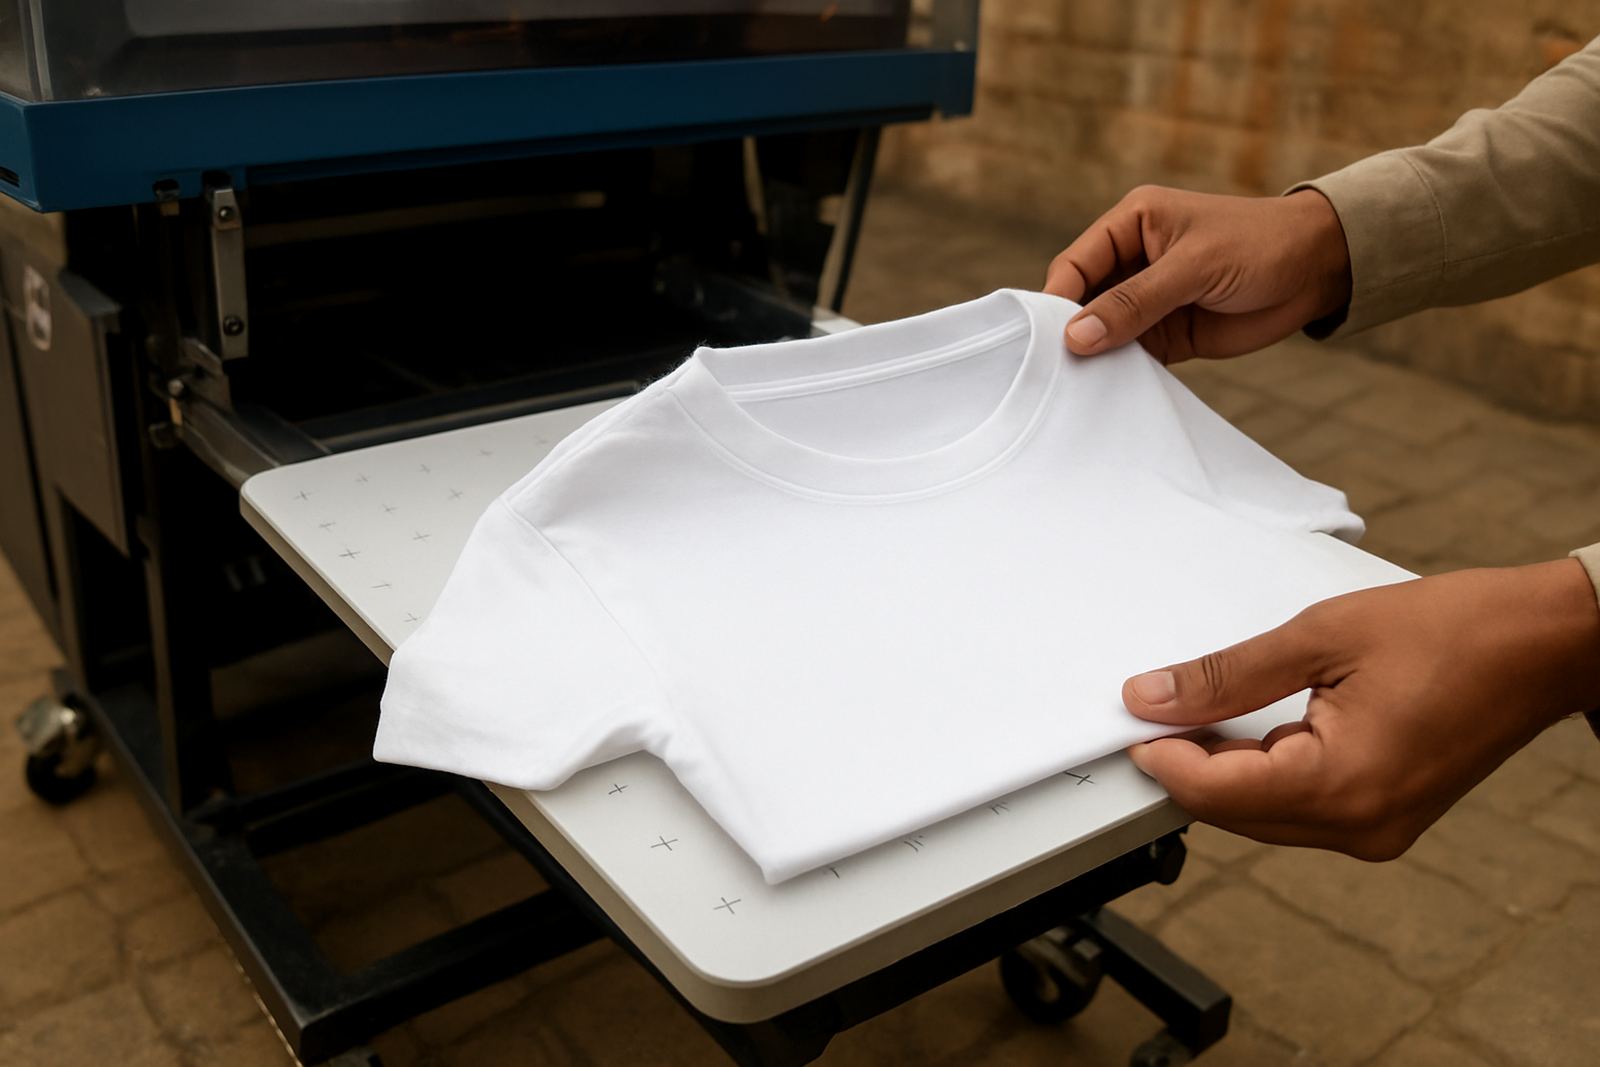
Many collar strikes are really platen-mismatch problems. If the shirt is too loose on the board, the neckline can sag into the print zone. If the platen is too wide, the shoulder line may be pulled tight in the wrong place. The goal is support under the print area without forcing the garment into a shape it does not want to hold.
- Use a platen that supports the chest area without dragging the collar too close to the printhead.
- Check that the neckline sits flat before loading the garment, especially on v-necks and polo shirts.
- For youth and slim-fit items, reduce excess tension at the shoulders and side seams.
- Keep a separate setup for thicker items such as hoodies, sweatshirts, and workwear with rib trim.
In Crown Mines and Randburg workshops, we often see shops trying to make one platen do everything. It can work for a while, then the problems start on an awkward garment size or a thicker knit. A planned platen setup gives you more repeatable results and less time spent shifting shirts around by hand. That also helps when load-shedding interrupts a rush order and you need to restart cleanly without guessing where the garment sat before.
Inspect collars before ink goes down
A quick garment check saves more money than a later clean-up. Before pressing, look at the neckline from both sides and feel for raised stitching, binding, labels, and any thick seam allowance. If the collar is uneven, decide whether the shirt needs a different board, a lighter touch, or a change in print position.
Some shops skip this because they are working through mixed stock from different suppliers. That is when the trouble starts. Two shirts with the same size tag can behave very differently if one has a firmer neck rib or a bulkier shoulder seam. The answer is not to force every item into the same setup, but to spot the awkward ones early.
- Check for twisted necklines and uneven shoulder seams.
- Feel for labels, woven tabs, or inner trims that may create a bump.
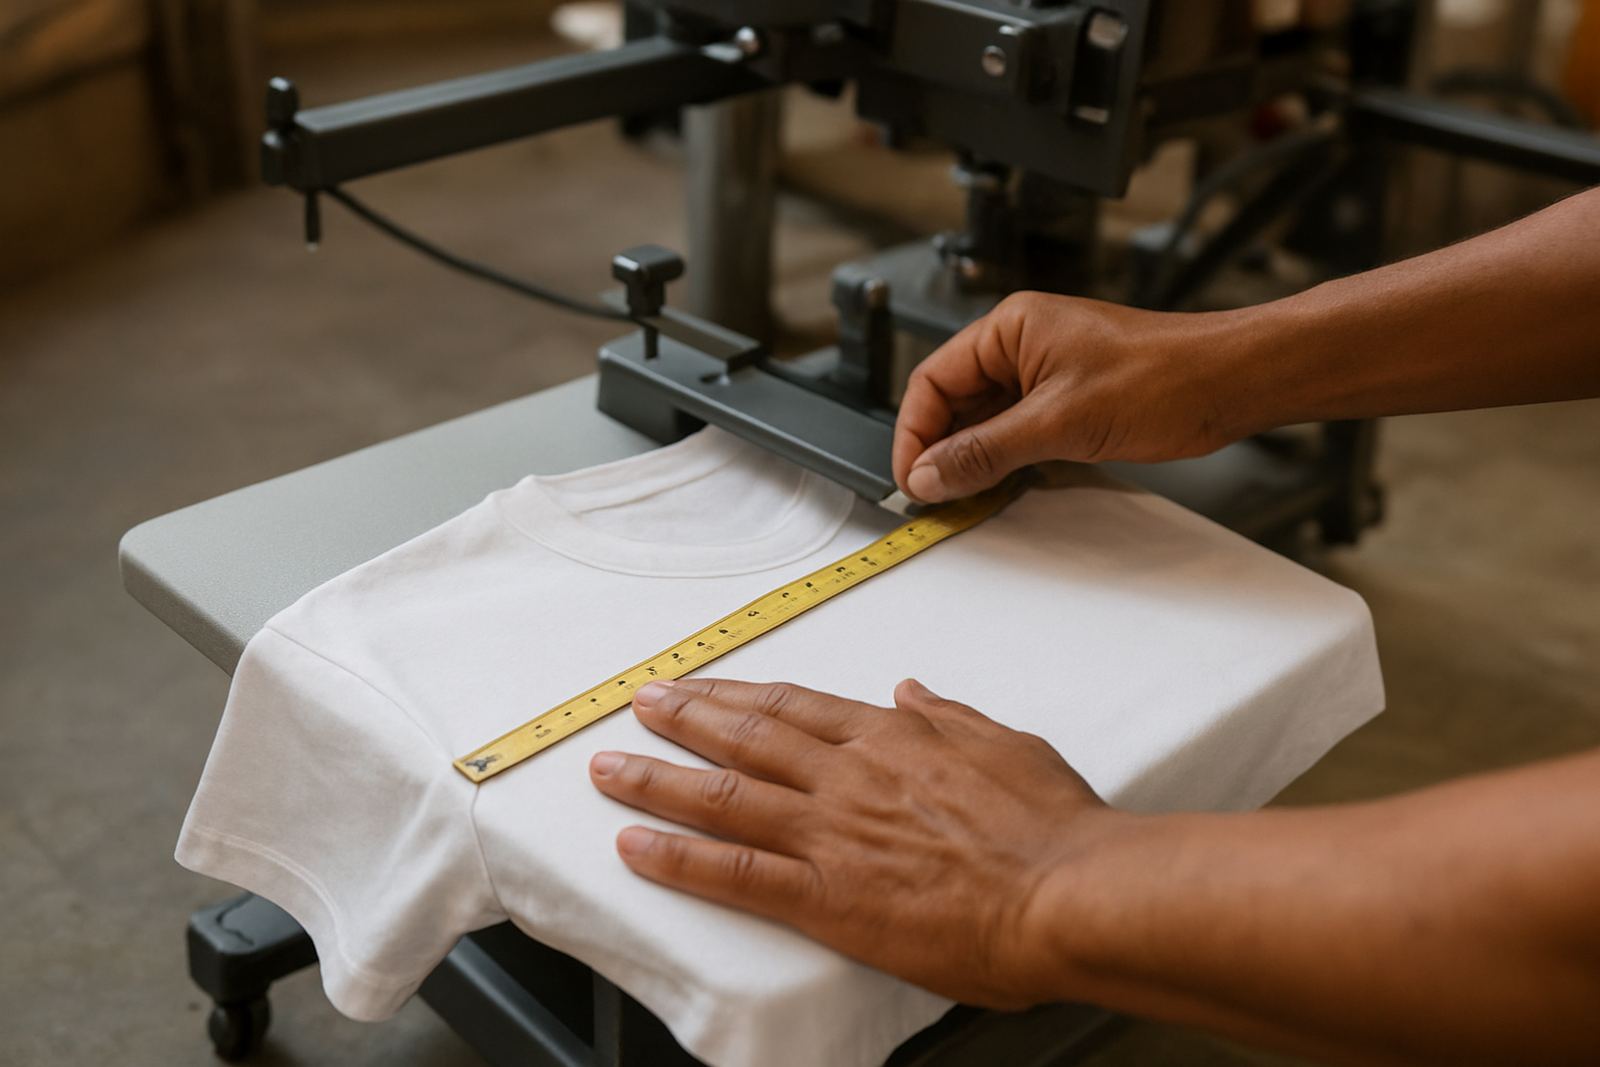
- Lay the garment flat and measure from the collar to the print position before loading.
- Reject or isolate damaged stock before it reaches the press station.
For shops serving Pretoria East, Centurion, or the East Rand, this habit matters because courier timelines are tight and reprints eat into your next-day delivery plan. A five-second check is cheaper than sending out a shirt with a collar mark and having to collect it back later.
Adjust the workflow before the press closes
Good workflow is often the real cure. If the garment is loaded fast and closed with no alignment check, the collar can shift just enough to catch the platen edge. Slow the process down at the points that matter: loading, smoothing, and final position check. That does not mean working slowly all day, only removing the rushed steps that cause repeat mistakes.
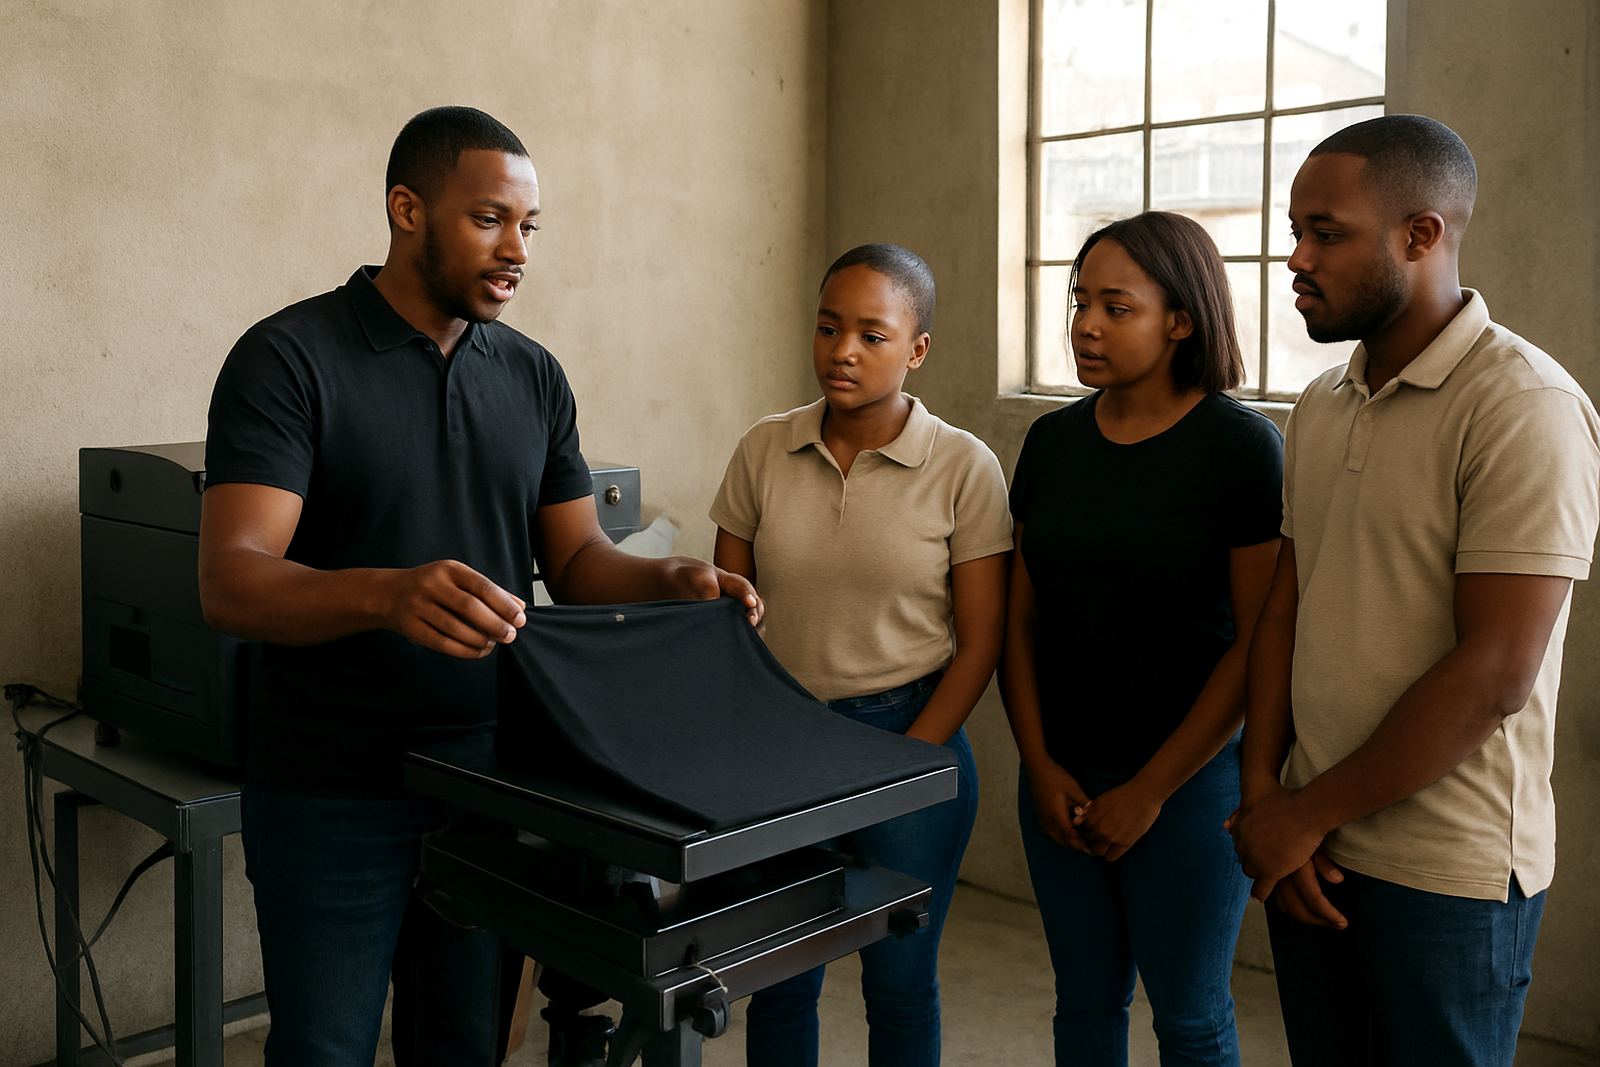
Training helps here. Operators need to know where the collar should sit, how much tension is too much, and when to stop and reset the piece. A little discipline goes a long way, especially on mixed orders where one batch has crew necks, another has ladies' cut tees, and the next includes hoodies and zip tops.
- Place the garment on the board in the same sequence every time.
- Smooth from the centre outward so the neckline is not pulled sideways.
- Use a final visual check before closing the press or starting the print cycle.
- Keep a separate note for items that need reconfiguring mid-run.
When operators understand why a collar strike happens, they stop treating it as bad luck. It becomes a setup issue, a placement issue, or a fabric issue, and each one has a fix. That mindset is especially useful in smaller production rooms where the same person may be handling pretreatment, loading, and packing before courier collection.
Pretreatment and heat settings can make the problem worse
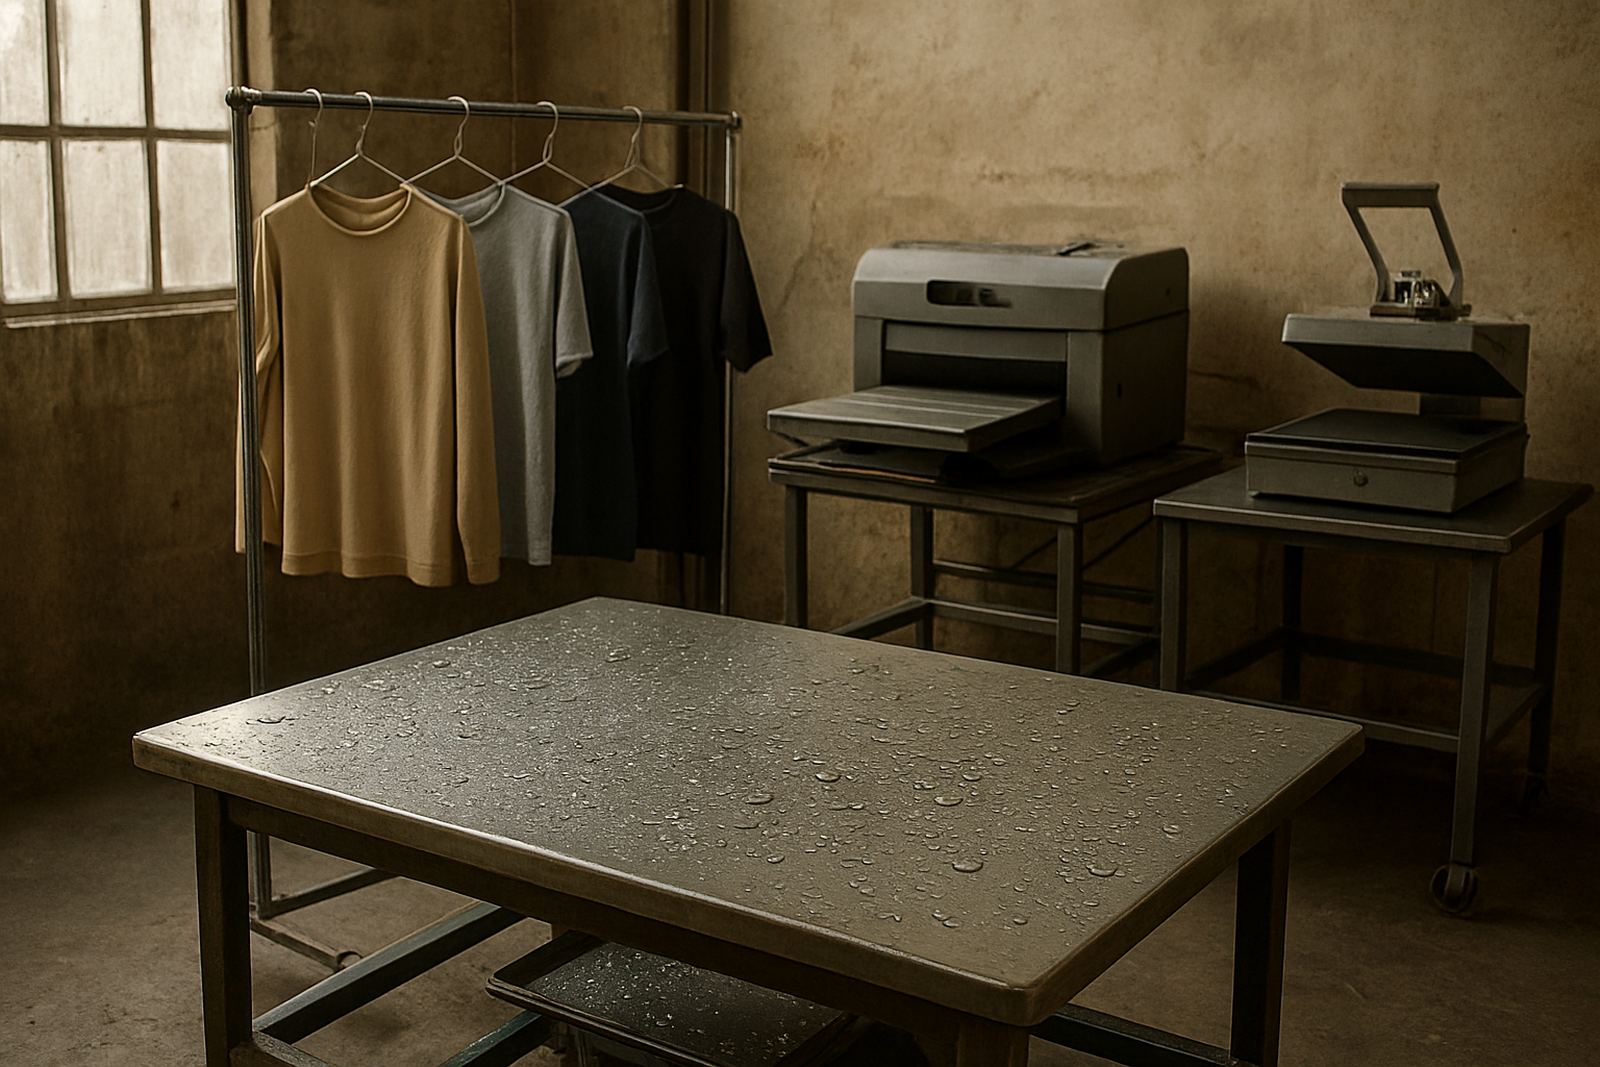
Pretreatment is part of the picture too. Too much liquid near the neckline can stiffen the fabric and create a ridge. Too little can leave the print less stable on the chest area. If the pretreat spray or application overlaps the collar line, the garment may dry unevenly and lift in the exact spot you want to keep flat.
Heat settings matter just as much. If the pre-press is too hot or too long, the collar may shrink, curl, or set into a raised edge. That is a common complaint in coastal areas like Durban, where shirt stock can behave differently from what the operator expects in a dry inland shop. A bit of trial and sample testing is worth it before you commit to a full production run.
Keep records of what works by fabric type. Cotton, poly blends, fleece, and textured knits all react differently. If you already offer sample testing or workflow review, use that time to test collar behaviour as well as print colour. A neat chest print means little if the collar has been pressed into a visible line that the customer notices first.
Practical fixes for common South African shop conditions
Local print shops do not work in perfect conditions. Power cuts, weekend rushes, coastal humidity, and mixed supplier stock all affect garment handling. The answer is to build a process that can cope with day-to-day interruptions without creating collar strikes every time the rhythm changes.
For a shop in Sandton or Midrand, that might mean keeping separate platen sizes for adult tees, ladies' cuts, and heavier tops. For a print room in Durban, it may mean allowing extra drying time before loading. In Pretoria East or Centurion, where bulk corporate work is common, it can mean tagging awkward garments during intake so the operator knows which pieces need extra care.
- Set aside a test shirt for new styles before the full job starts.
- Keep platen and hoop settings written down for repeat orders.
- Review collar-related rejects weekly, not only when a customer complains.
- Use remote troubleshooting or an onsite support visit when the same fault keeps repeating.
Collar strikes are usually preventable once the shop treats them as a process fault instead of a printing mystery. A better board, a cleaner load, and a tighter operator routine will protect both the print and the garment, and it keeps production moving when the courier deadline is already fixed.
What a steady setup gives your print room
When the collar problem is under control, everything else gets easier. Prints sit where they should, the neckline stays clean, and the operator spends less time adjusting each shirt by hand. That gives you better consistency on small orders and less risk on bigger runs.
At DTGrip, the focus is on practical tools and support for garment decoration shops that need repeatable results. That includes platen installation, hoop setup, pretreat workflow, operator training, and print alignment help, all with the realities of South African production in mind. If your shop is scaling up, changing garment types, or trying to reduce rejects, a good collar workflow is one of the first things worth tightening up.
The fix is rarely one big change. It is usually a few small ones: the right platen, a cleaner loading habit, proper pretreatment, and a check before the press closes. Once those steps are in place, collar strikes stop being a regular headache and become just another issue your team knows how to handle.