
Start With The Apron Cut And Strap Position
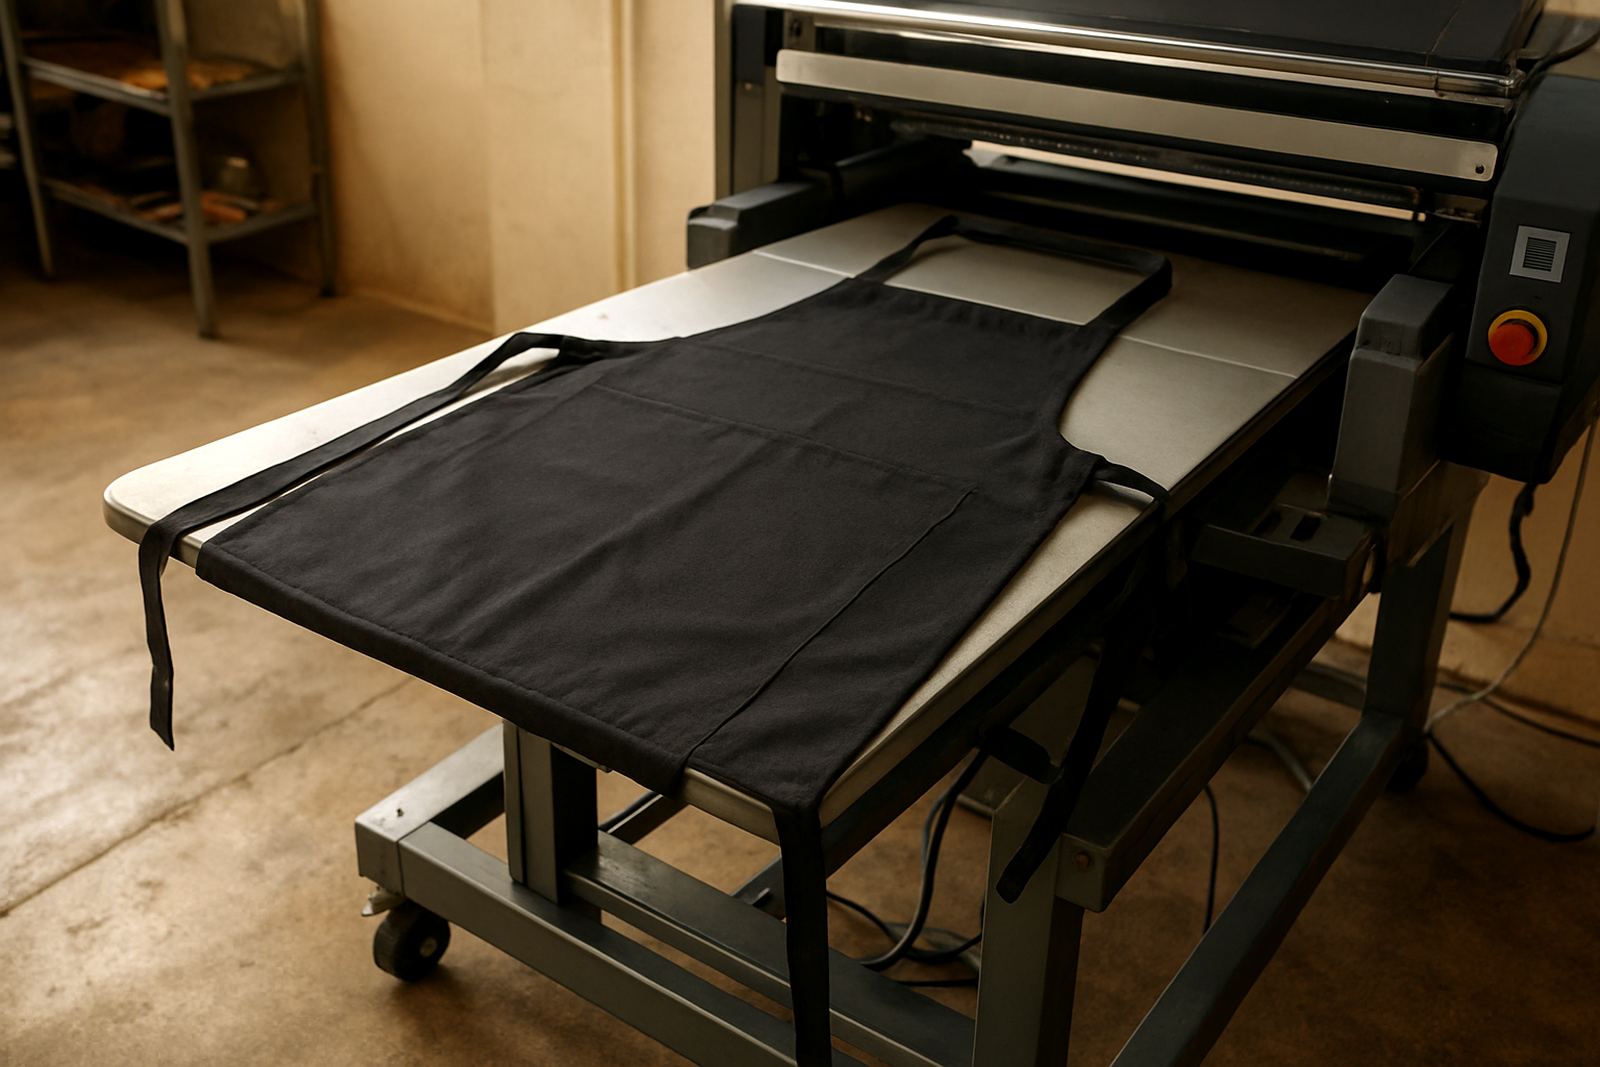
Aprons are not all cut the same. Some have a flatter chest area, some taper hard at the waist, and many use straps that sit closer to the neck line than expected. That matters when you are loading a platen or hooping for direct-to-garment work because the usable print area changes from one style to the next. If the straps are stitched close to the upper chest, leave extra room at the top edge so the print does not ride into the seam or fold.
For shop teams in Johannesburg or Pretoria, the quickest way to avoid waste is to keep a sample apron from each supplier and mark the safe print zone on it. Use the sample during setup rather than guessing from memory. A small shift of 10 to 15 mm can be the difference between a neat centre print and a job that must be reworked, and that gets expensive on short runs.
- Check where the neck strap joins the body before loading.
- Measure the widest flat area, not just the full apron size.
- Mark seam lines, pocket tops and tie points on a sample piece.
- Allow extra clearance for thick stitching and folded hems.
Match The Platen To The Fabric Weight
Light polycotton aprons behave differently from heavier cotton drill or canvas styles. A thin apron needs a platen that supports the fabric without stretching it out, while a heavier apron benefits from firmer support under the print zone. If the platen is too small, the fabric can sag at the edges and the print may blur on the lower line. If it is too large, the apron can sit too flat and the straps may pull back against the print zone.
At DTGrip we see this most often when a shop switches from promo aprons to hospitality aprons in the same week. The operator keeps the same setup and wonders why the logo sits lower or the garment lifts at the corners. A better habit is to keep one loading note per apron type, with the platen size, garment tension and print height written down for quick repeat use. It saves time on load shedding days too, when there is less room for trial and error.
- Use a smaller platen for lightweight aprons that need less stretch.
- Use firmer support for heavy cotton or canvas aprons.
- Keep a written note of the correct print height for each fabric weight.
Centre The Print Area Without Fighting The Straps
The straps are often the biggest source of off-centre prints. If the apron hangs from a neck loop, the natural pull can tilt the body slightly left or right. The answer is not to force the whole garment into place. Instead, load the apron so the top edge is square, then use the side seams or pocket line as your visual reference. On many aprons the pocket is the most reliable guide, even if it is not perfectly placed by the manufacturer.
A simple check before printing is to fold the apron in half from top to bottom and compare both sides. If one side is longer, set your print to the shorter side and keep the artwork clear of the fold line. A small slip in alignment is easier to spot on dark aprons, so check under decent lighting and not only under the workshop tube lights.
- Use side seams and pockets as your alignment reference.
- Fold once to confirm whether both sides are equal.
- Keep artwork clear of the top strap join and lower hems.
- Do a dry placement check before the first print of the batch.
Pretreatment And Drying For Mixed Apron Fabrics
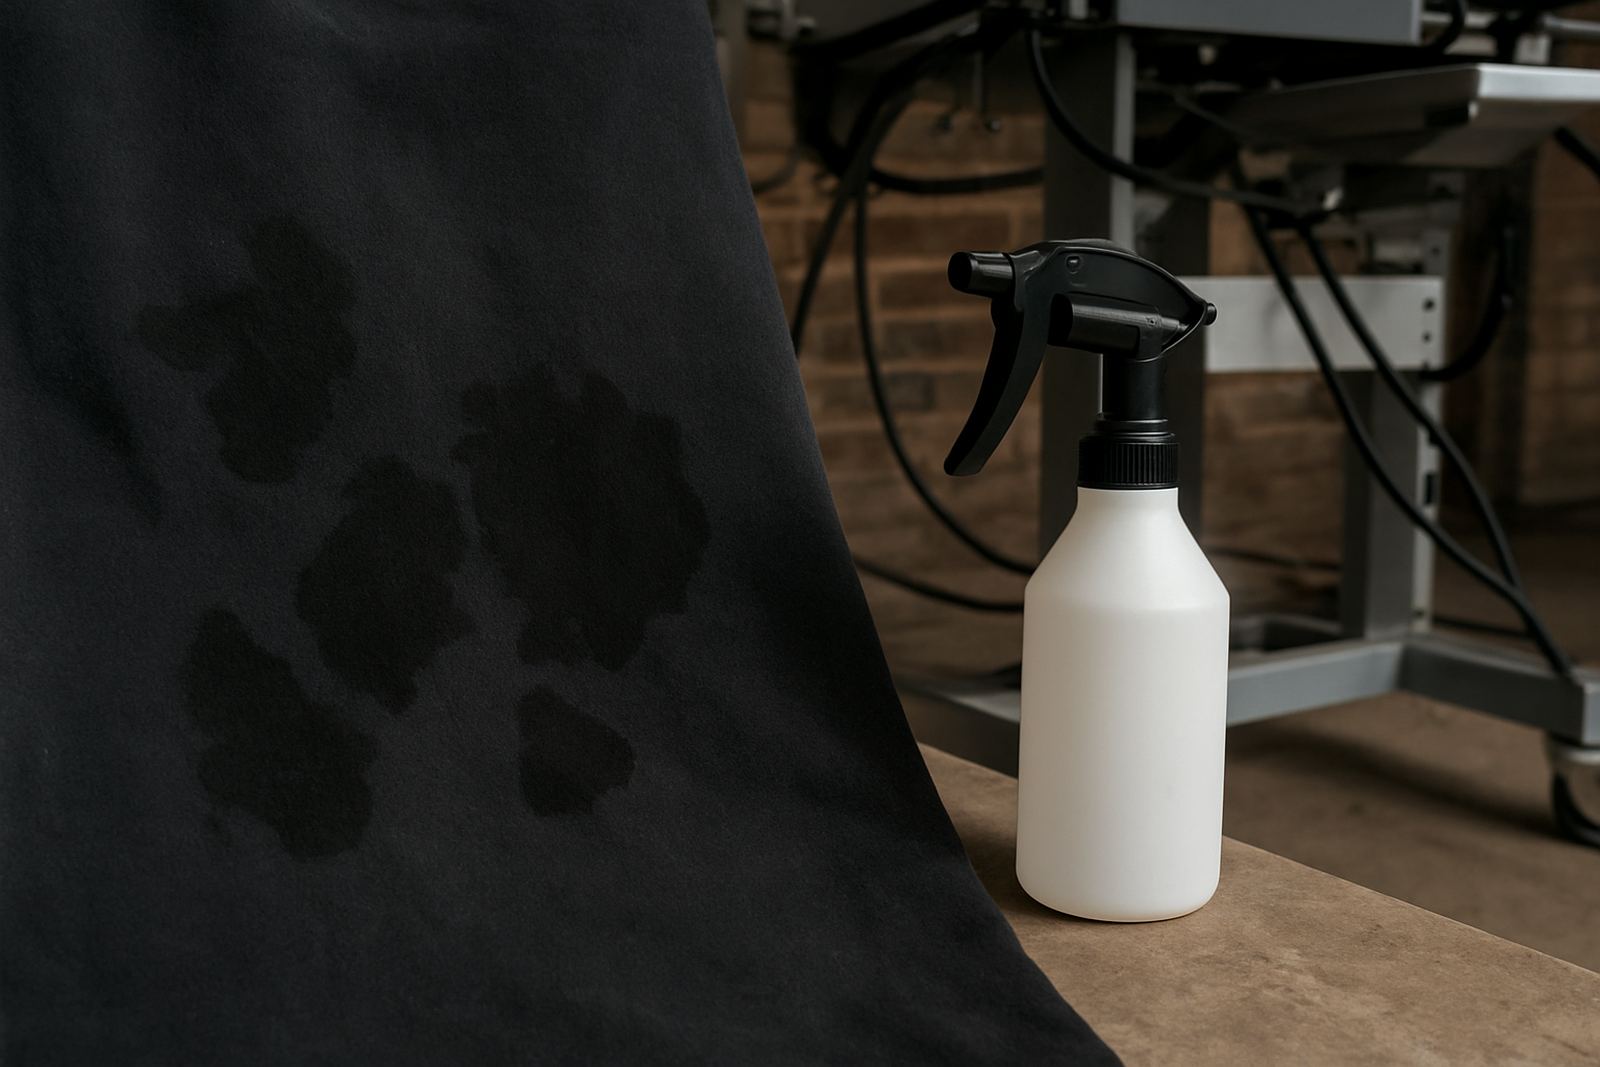
Mixed fabric aprons can take pretreatment unevenly, especially if they have a brushed surface or a high synthetic content. Too much liquid in one area can leave marks, and too little can cause weak white underbase coverage on darker aprons. For the best result, apply pretreatment in a controlled pattern that suits the garment size, then dry evenly before loading. Do not rush this part if the workshop is warm and humid, because moisture left in the fibres can change how the print cures.
In Durban, where humidity can stay high for long periods, we advise shops to keep pretreat workflow as steady as possible. Use the same spray distance, the same pass count and the same drying time for each apron type. If the apron has pockets or thick seams, avoid heavy build-up near those areas because it can leave a stain line or stiff patch that the client will notice. It helps to keep a sample from each fabric type for side-by-side checks, even if the aprons come from different suppliers.
- Apply pretreatment evenly and avoid heavy edge build-up.
- Dry fully before printing, especially in coastal conditions.
- Watch for pocket seams that trap excess liquid.
- Keep the same workflow for each repeat order.
Set Up For Straps, Ties And Bulk Orders
When aprons are being packed in bulk for a restaurant, event company or hardware promotion, the real challenge is consistency across the whole run. Straps twist, ties snag, and folded aprons can hide print placement problems until the stack is already done. The best approach is to prepare the first piece carefully, then use that setup as the standard for the rest of the order. If the apron has long ties, keep them clear of the platen edge so they do not pull the body off centre during printing.
For production in Crown Mines or Randrand shops handling courier work nationwide, a short setup note sheet can prevent repeated mistakes. Include the apron type, strap length, fabric weight, platen size and curing time. When orders move quickly, that written note is often more useful than a memory test and it keeps the team consistent across shifts. If a batch needs seasonal reconfiguration for school events or year-end campaigns, update the note before the work starts, not after the first bad print.
- Prepare one reference piece before the full batch starts.
- Keep long ties away from the platen edge.
- Write down the setup details for repeat orders.
- Update notes when the apron style or fabric changes.
When To Ask For A Workflow Review
If apron jobs keep coming out off-centre, faint at the seams or inconsistent across sizes, the problem may not be the printer alone. It can be the full workflow, from loading and pretreat to alignment and curing. A proper review helps identify whether the issue is with platen choice, operator positioning or garment preparation. That is especially useful for growing shops in Midrand, Sandton and the East Rand that are taking on larger promo orders and need a tighter process.
DTGrip supports print shops with workflow review, remote troubleshooting, sample testing and onsite support visit options for Johannesburg and nationwide customers. We also help with new shop planning, production scaling and operator training where apron runs are part of a broader garment mix. If your team is handling different apron weights every week, a short review can save a lot of rework later on. You may think the machine is the issue but often it is just one small setting that needs to be reset.
Good apron setup is about repeatability. Once the team knows where the strap tension sits, how the fabric reacts and where the safe print zone really begins, the whole run becomes easier to manage.