Start With the Right File Before Any Garment Is Loaded
The cleanest print starts with a clean file. Before you think about placement, check that the artwork is saved at the correct size for the garment and that the image is sharp enough for print at full size. Low resolution files may look fine on a screen but show soft edges, broken text or blocky detail once they are printed on fabric.
For most garment work, it helps to keep the artwork in the intended print size from the start. That makes it easier to judge the final look on a standard T shirt, hoodie or tote bag. If the file will be used for repeat orders, save the approved version separately so it does not get edited by mistake. A neat folder system saves a lot of back and forth, especially when orders come in fast.
- Check the artwork dimensions against the garment print area.
- Keep text large enough to read clearly after printing.
- Save a master file and a print ready copy.
- Use the same naming pattern for every job, so files are easy to find.
Match Placement to Garment Size and Shape
Placement changes with garment size, neck shape and fabric type. A chest print on a small T shirt will not sit in the same place as the same artwork on a 2XL shirt. Hoodies also need extra care because pockets, zips and seams can shift the print area. When the artwork is prepared with the garment in mind, it is easier to keep prints centred and repeatable.
Use a consistent placement guide for each product type. This can be as simple as measuring from the collar point and side seam, then marking the same distance on every shirt. When printing mixed sizes in one run, check the smallest and largest garments first. That is where placement problems usually show up, especially if the shop is running two shifts or working through load shedding later in the day.
- Measure from the collar, shoulder line or centre zip rather than guessing by eye.
- Make a note for each garment style, including hoodies, vests and kids wear.
- Test placement on sample sizes before full production.
- Keep a printed placement sheet near the pretreatment and press area.
Separate Artwork Types So Production Stays Clear
Some jobs need one clean logo, while others include names, numbers, full colour graphics or fine detail. Keep each version separate so the team can move faster at print time. If every variation is mixed into one file, there is more room for error and it becomes harder to spot what should be printed on which garment.
When a job has many sizes or personalisation details, label each version clearly. This is also useful for schools, sports clubs, merch drops and workwear. A clear file name can tell the operator what goes on a small chest print, what is for the back, and what needs a special placement. It sounds simple, but it helps the whole floor run smoother, no need to search through ten versions during a rush.
- Keep logo-only, name-and-number and full artwork files separate.
- Use a simple label system for front, back and sleeve placements.
- Mark any special notes such as metallic ink, white underbase or small text.
- Store approved artwork in one place so repeat orders are faster to set up.
Check Colours, Contrast and Fabric Behaviour
Artwork that looks strong on a white shirt may fade into the background on a dark garment. For that reason, the background colour matters as much as the design itself. High contrast artwork is easier to read and usually gives a better result on busy production days. If the artwork is for cotton blends, polyester mixes or dark fabrics, confirm the colour plan before printing starts.
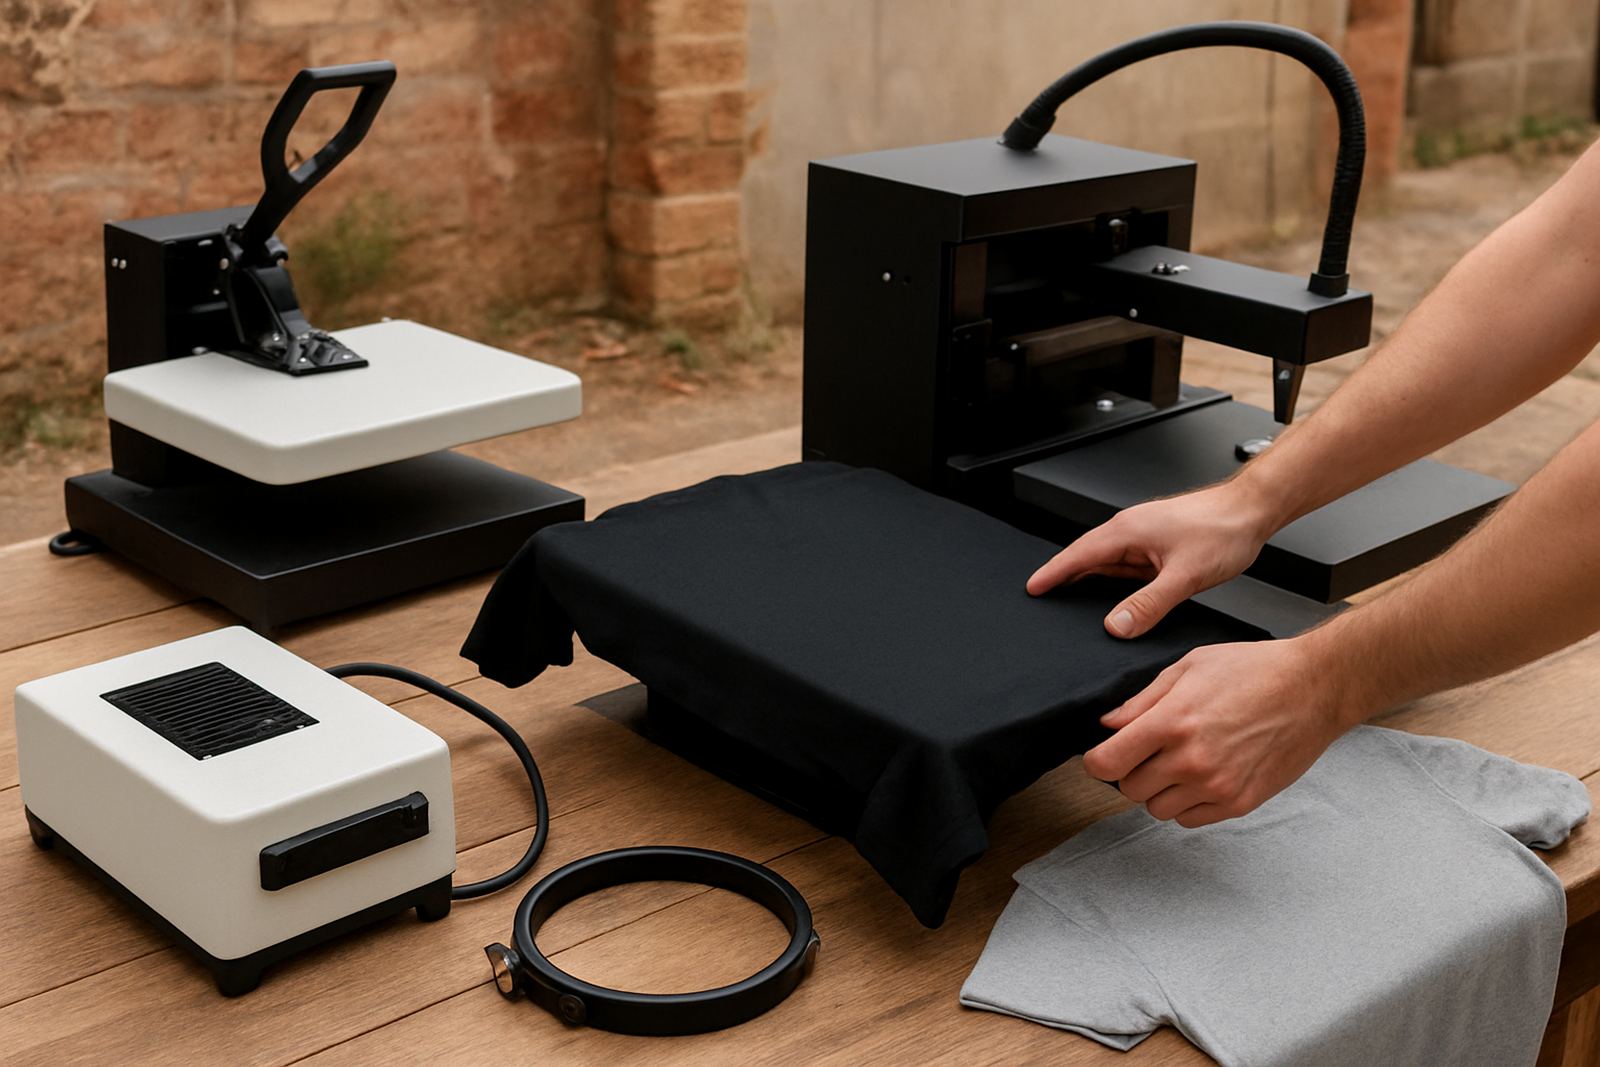
Fabric behaviour matters too. Stretch fabrics, textured knitwear and thicker hoodies can change how a print sits once the garment is hooped or loaded onto a platen. It is worth checking whether fine outlines will hold up, or if the artwork needs bolder strokes. In humid coastal areas like Durban, it can also help to keep a closer eye on storage and drying time, since moisture in the air can slow things down a bit.
- Use stronger contrast for dark garments and busy backgrounds.
- Avoid very thin lines if the fabric has stretch or texture.
- Test the artwork on the actual garment type, not only on paper.
- Keep sample prints for future reference when the same order returns.
Plan for Pretreatment and Press Time Before the Job Starts
Artwork prep is not only about the graphic, it also affects how the garment is prepared for print. If the print area is large or detailed, the pretreatment and press sequence may need adjusting so the garment stays flat and the design lands in the right place. A print that is too close to a seam or pocket can shift once the shirt is moved between stages.
Set the workflow before the first garment goes under the machine. Decide which sizes are printed first, where the samples will be checked, and who signs off on placement if there is a question. In a busy shop, this reduces stoppages and avoids wasting garments. If the artwork needs a last minute shift, make that decision before the run begins, not halfway through it.
- Confirm the print area before pretreatment is applied.
- Check for seams, zips, pockets and labels that may affect alignment.
- Use a sample garment to confirm placement and drying behaviour.
- Keep the same order of steps for every job so operators do not improvise.
Use One Clear Approval Step Before Production Begins
Once artwork, placement and fabric choice are in line, get a proper approval before production starts. This can be done with a marked up proof, a sample print or a signed off placement note. The aim is to catch problems early, while the fix is still simple. If the customer wants the print slightly higher, smaller or more centred, it is far easier to change that before the garments are pretreated and stacked.
For shops handling regular orders from Johannesburg, Pretoria, Sandton, Randburg, Midrand and the East Rand, a standard approval step keeps the process tidy. It helps teams stay consistent across multiple jobs and makes repeat orders easier to quote later. Good artwork prep is really about control, and control saves time, wastage and extra courier runs.
- Get approval on size, colour and placement before printing.
- Keep a record of the approved version for repeat work.
- Use the same approval method for every customer, from one shirt to a full production run.
- If a change is requested, update the file before the next batch starts.
Keep a Simple Artwork Checklist for Every Job
A short checklist is one of the best tools in the workshop. It keeps the same standards in place whether the job is for a startup brand, a school order or a company uniform run. The person preparing the file should know exactly what to check, and the operator should know what has already been approved. That removes guesswork and keeps the line moving.
Many shops in Crown Mines and across Gauteng use the same basic checks every day because they work. It does not need to be complicated. A clean file, correct size, clear placement and approved version are usually enough to keep production running smoothly. When that process is followed, the printer, platen and garment all work better together, and the final result is easier to repeat next time.
- File size checked
- Placement measured
- Fabric type confirmed
- Approval captured
- Repeat order version saved